Building Sitefinity Continuous Deployment on AWS with GitHub, Jenkins and AWS Elastic Beanstalk

In a deployment pipeline, automation lets you focus more on your application and worry less about the manual aspects of deployment or the steps required to get application code updated. This is in addition to enabling you to continuously integrate code changes and offer faster feedback to the developers.
In this blog post, we’ll show you how to use GitHub, Jenkins AWS Elastic Beanstalk Deployment plugin and AWS Elastic Beanstalk to create a deployment pipeline for Sitefinity that is updated automatically every time you change your code. For this, we assume you have working knowledge of Git and Amazon EC2.
Before we get started, let’s cover what Elastic Beanstalk and Jenkins are, and the roles they play.
Elastic Beanstalk is an easy-to-use service for deploying and scaling web applications and services developed with Java, .NET, PHP, Node.js, Python, Ruby, Go and Docker. Elastic Beanstalk enables you to focus on development instead of infrastructure, as it will automatically handle provisioning and operating the infrastructure required to get your apps up and running.
Jenkins is a popular continuous integration and continuous delivery tool. Jenkins can build and test your software projects continuously while offering various delivery options as well as a very extensible interface powered by Jenkins plugins.
For this demo, we are using the GitHub repository (this is where our Sitefinity sample application is stored), one dedicated Jenkins server (which is responsible for pulling our latest source code changes from GitHub), building our solution and preparing a package (which is deployed to AWS using Jenkins AWS Elastic Beanstalk deployment plugin).
Preparation
First, we must prepare our local Sitefinity solution to be deployable in AWS. For that, we need to:
- Export the local DB instance and then import it to AWS (more info)
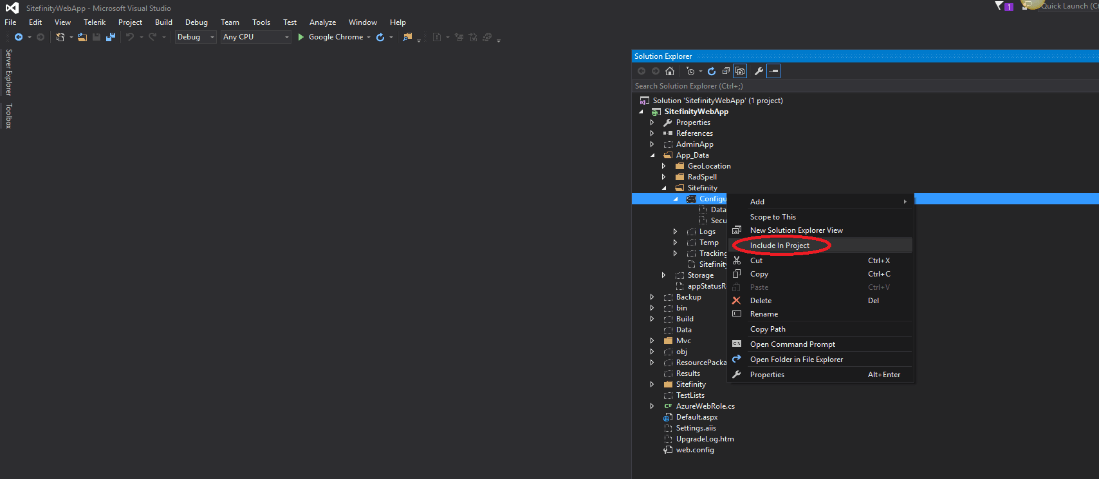
- Include 'Configuration' folder of your Sitefinity app as well as 'Sitefinity.lic' as part of your project
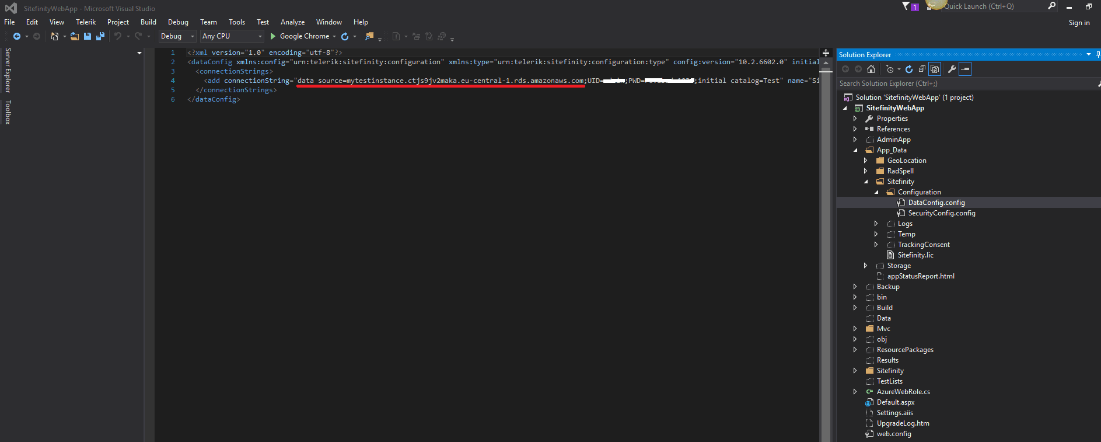
- Make sure your connection string in DataConfig.config is pointing to your RDS instance in AWS
After that, we need to prepare our source code as package ZIP file, then we will upload this package for our initial deployment in AWS:
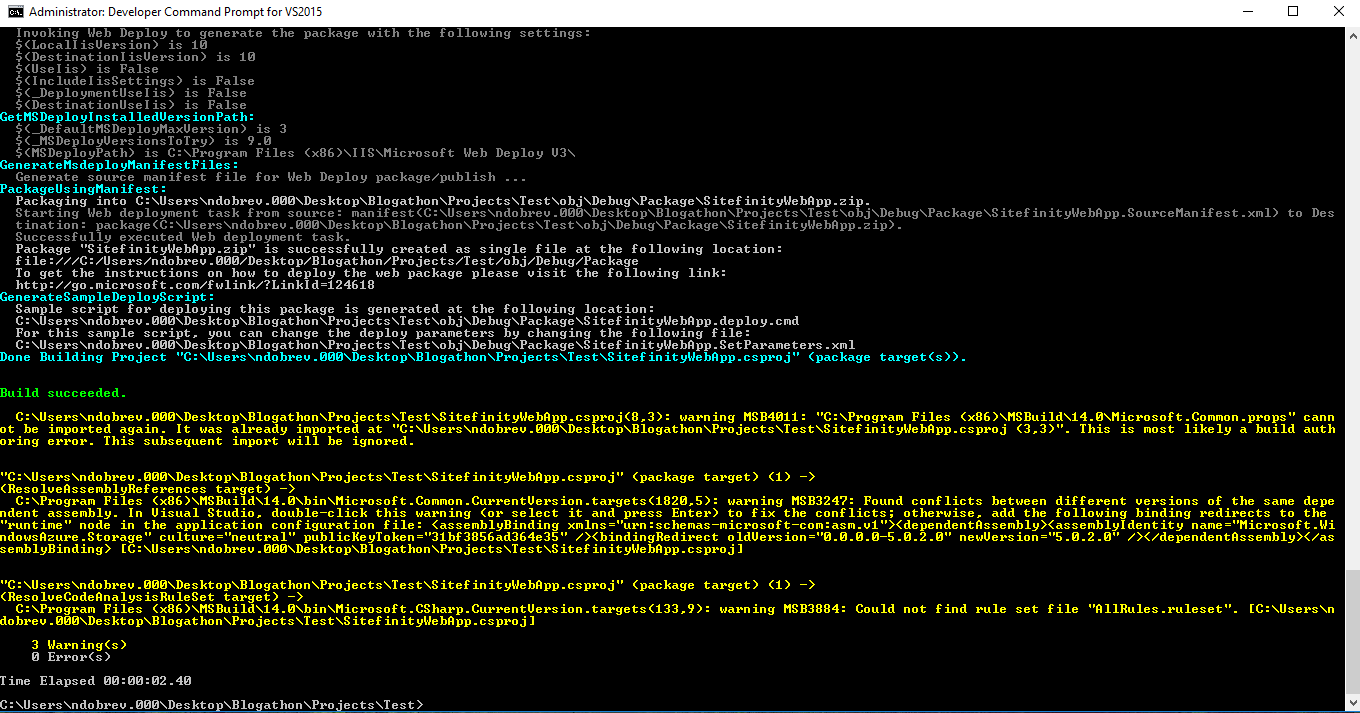
- Open "Developer Command Prompt for VS"
- Navigate to your Sitefinity Web App directory
- Execute following command: msbuild.exe SitefinityWebApp.csproj /t:package /p:DeployIisAppPath="Default Web Site"
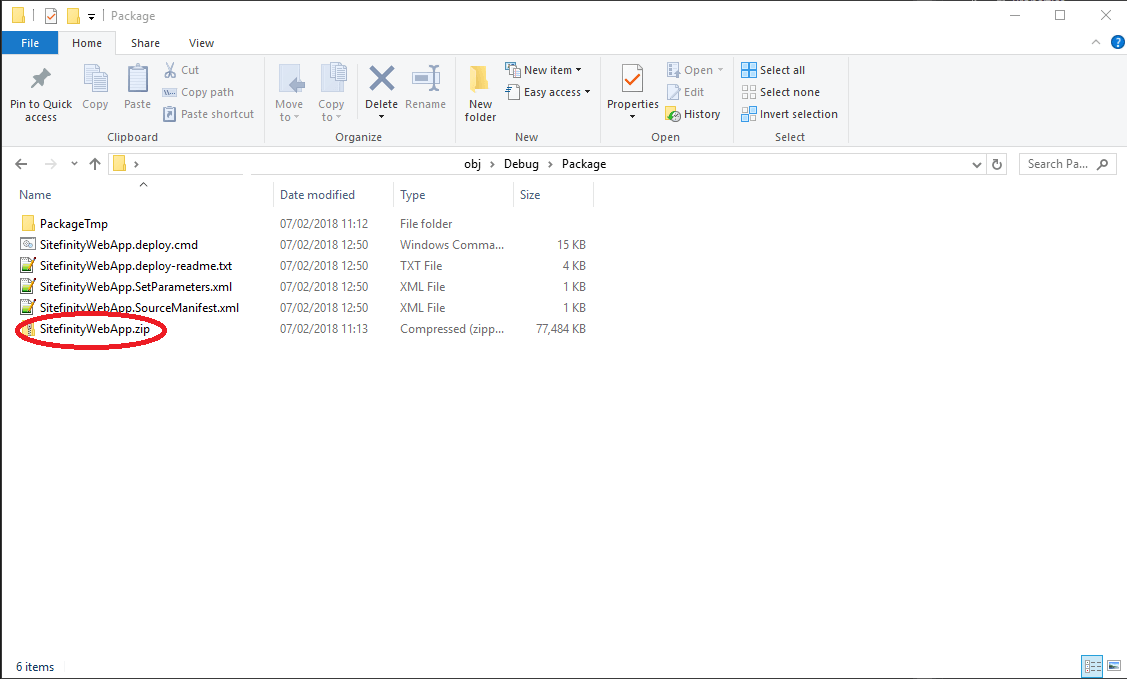
- After that, the following package should be available in your main project directory: ~/obj/Debug/Package
GitHub Repo Setup
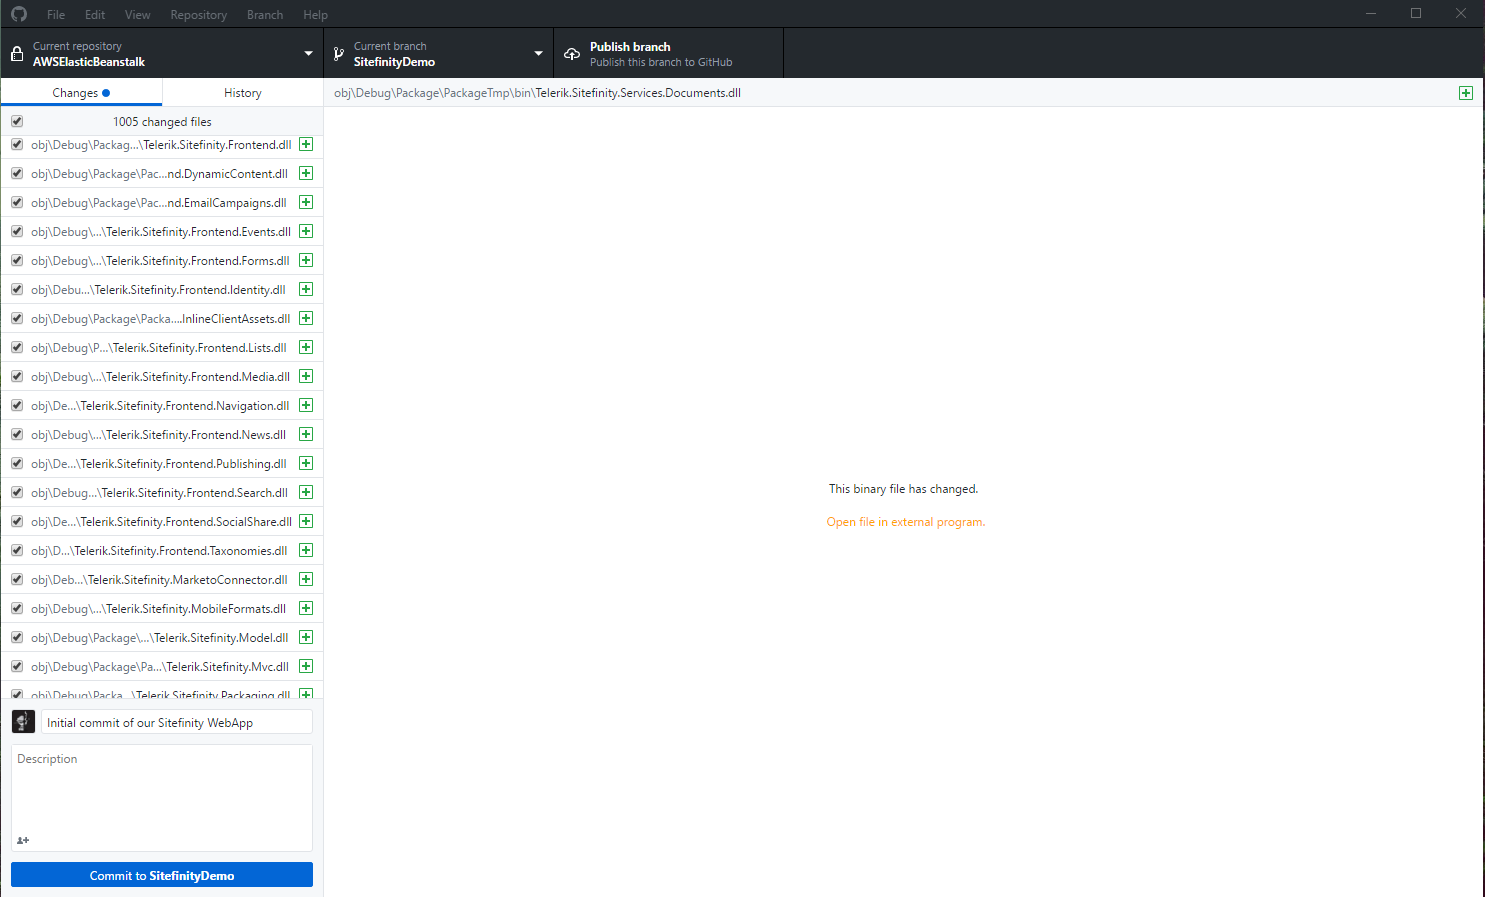
First, create a GitHub repo, commit and push your changes.
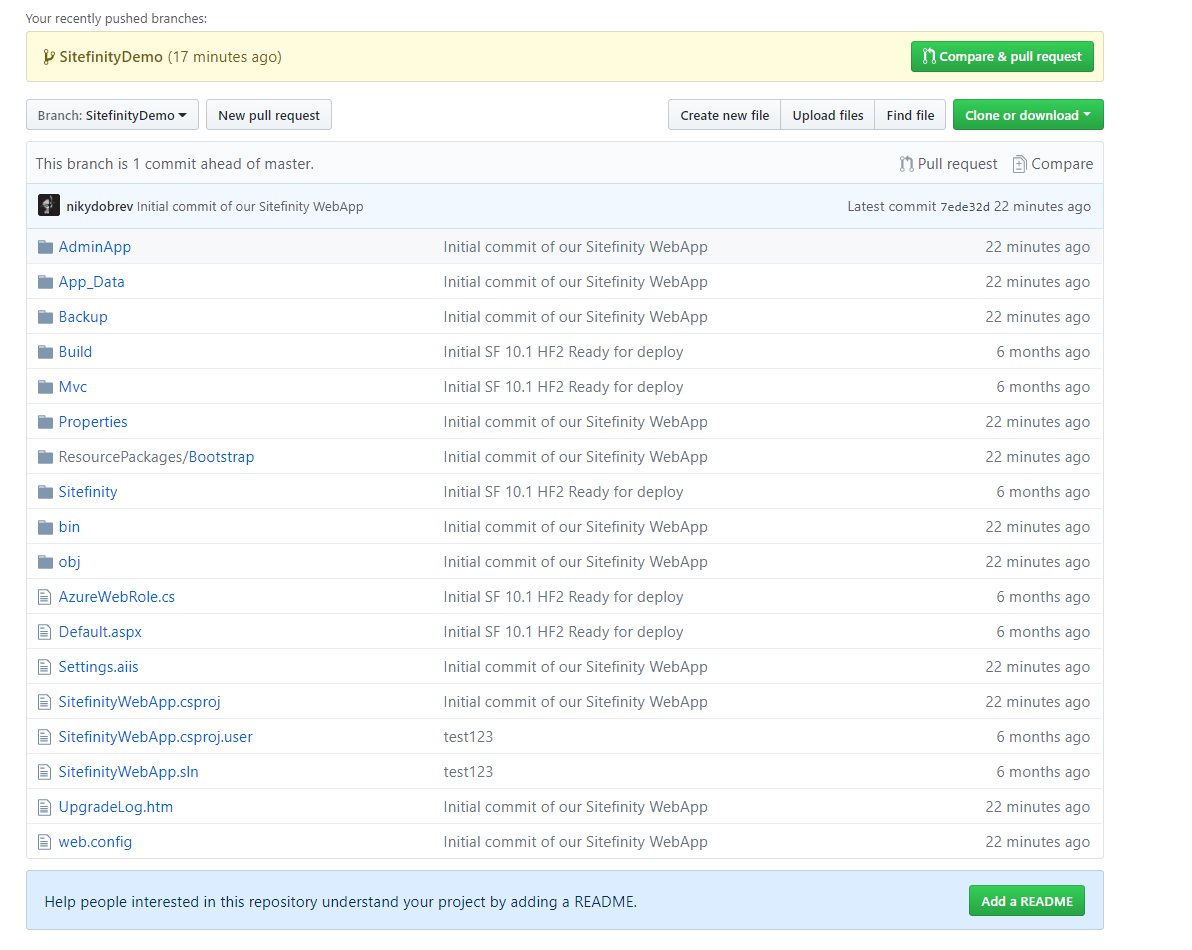
Once you’ve pushed your changes, your repository should look like this:
Deployment Environment Setup
This environment is where the Jenkins AWS Elastic Beanstalk deployment plugin will deploy our code.
Create an Elastic Beanstalk application named SitefinityDemo. Next, create an Elastic Beanstalk environment named SitefinityDemo-env with the following parameters:
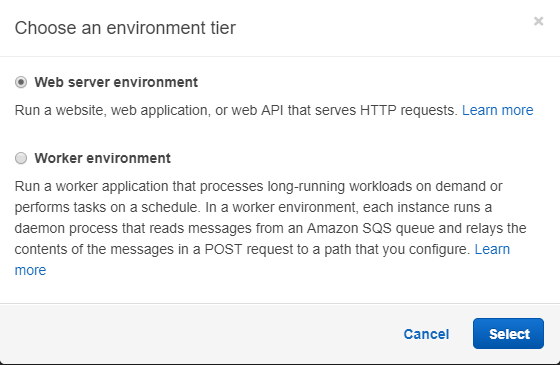
For Web Server Environment, choose Create Web Server.
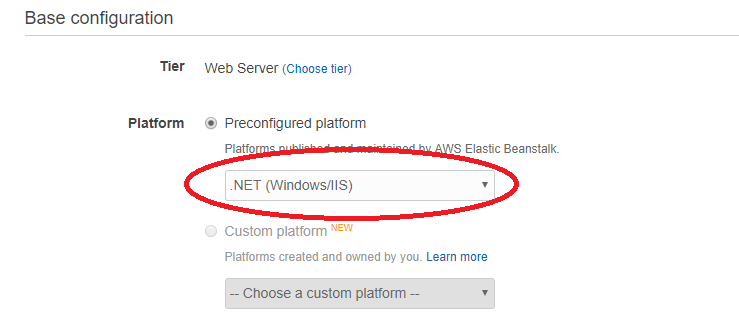
For Predefined configuration, choose .NET (Windows/IIS).
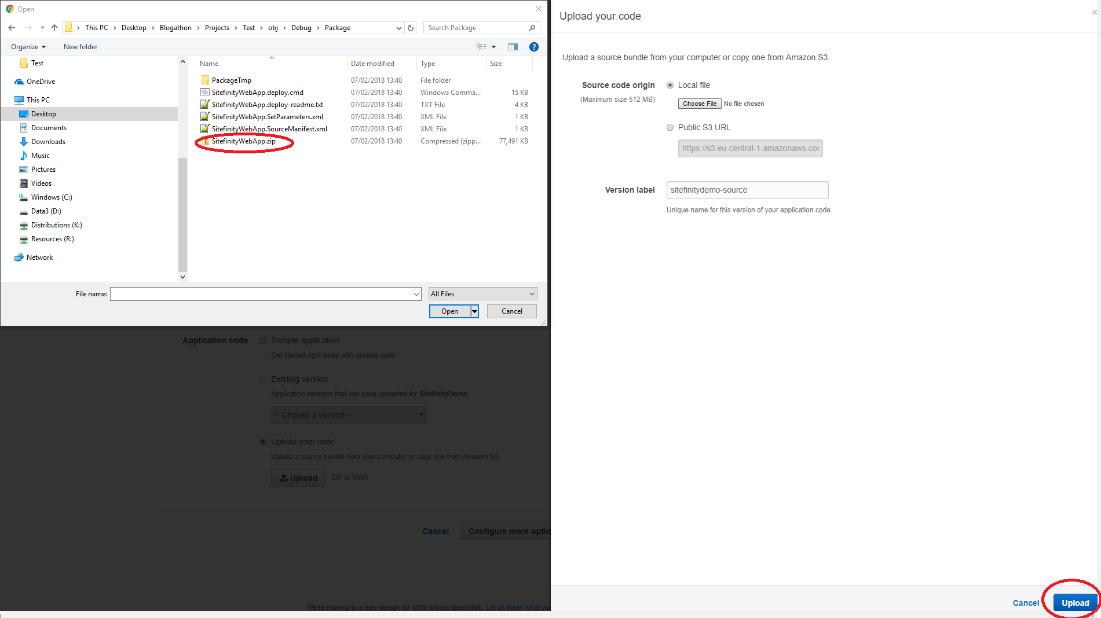
For Source, choose Upload your code, then click Upload
Choose your ZIP file located in ~/obj/Debug/Package and click Upload.
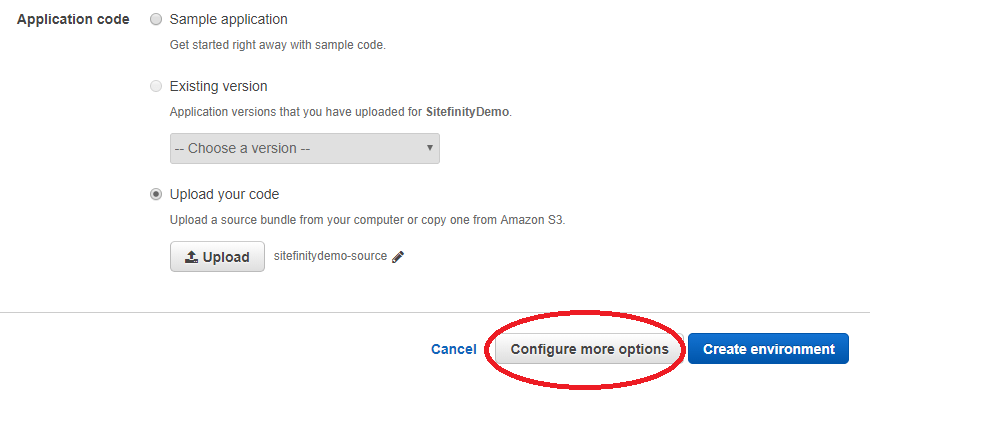
Click Configure more options
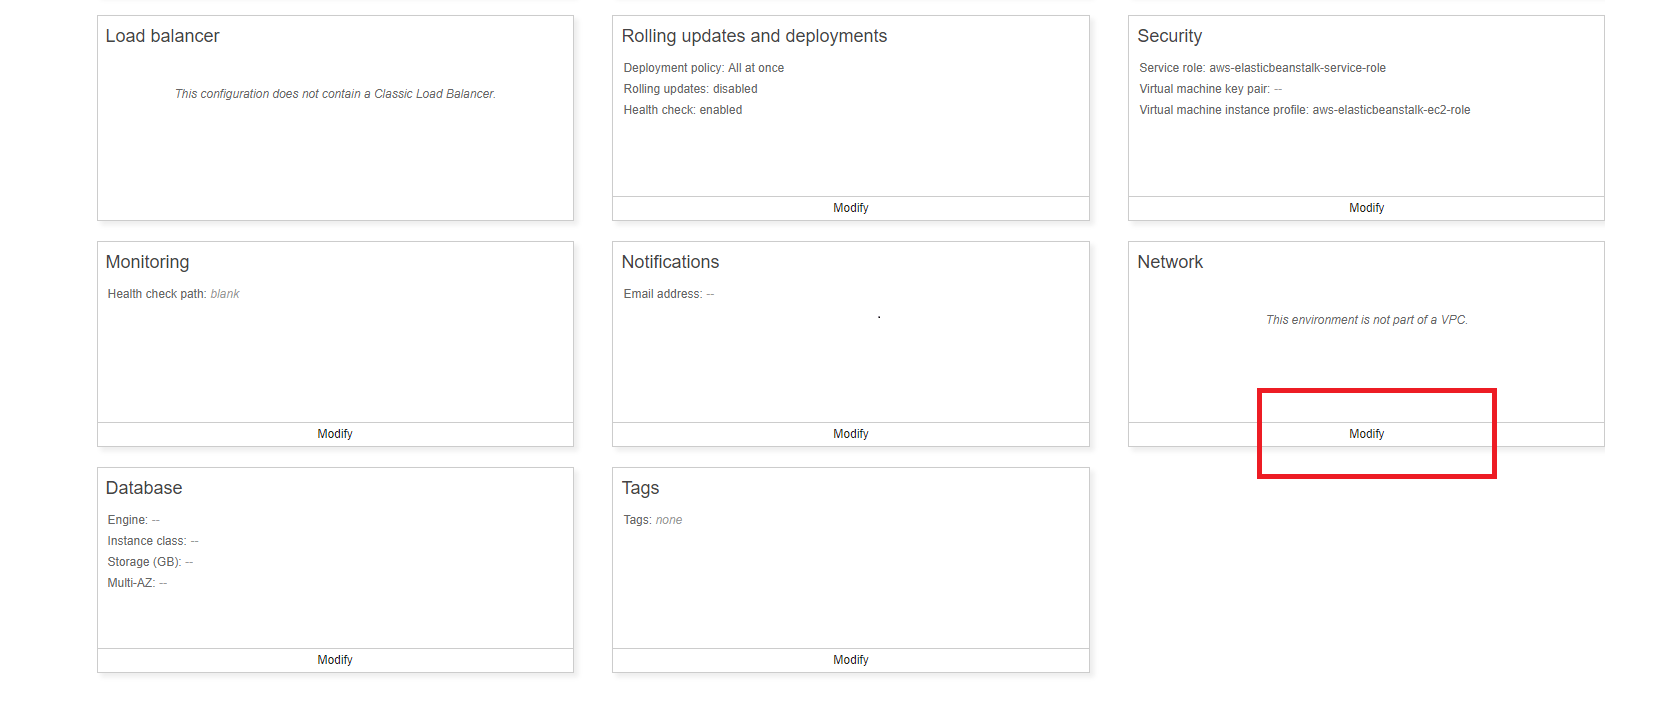
Under Network section click Modify
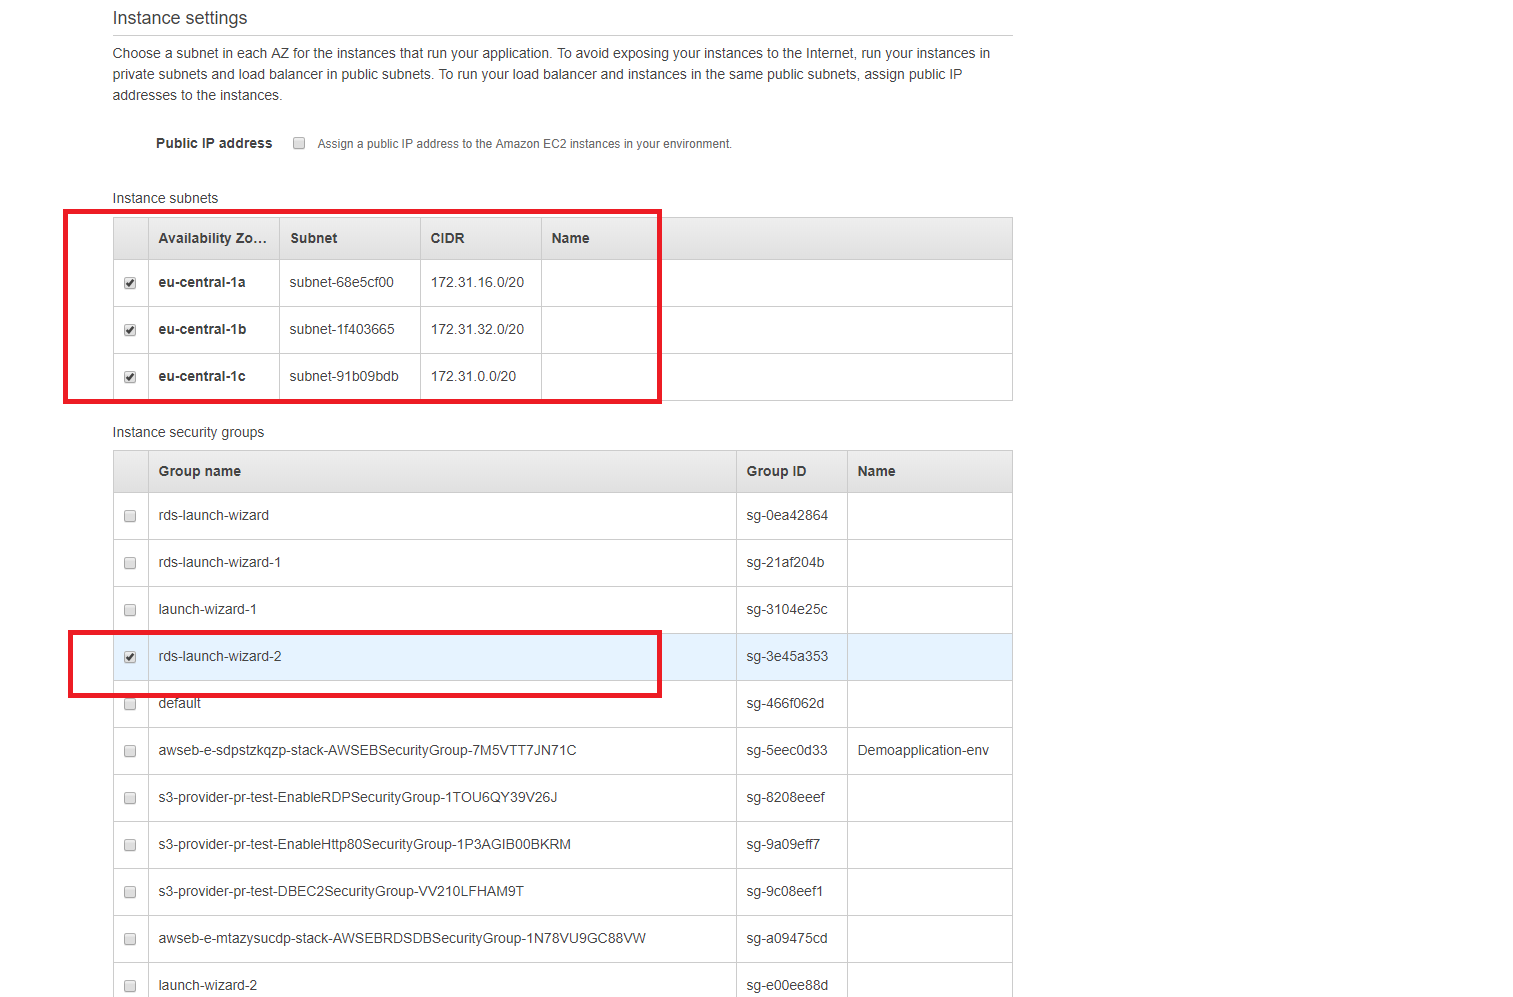
Check all Instance subnets and, most importantly, check instance security group to match your RDS security group, as shown below:
Click Create Environment
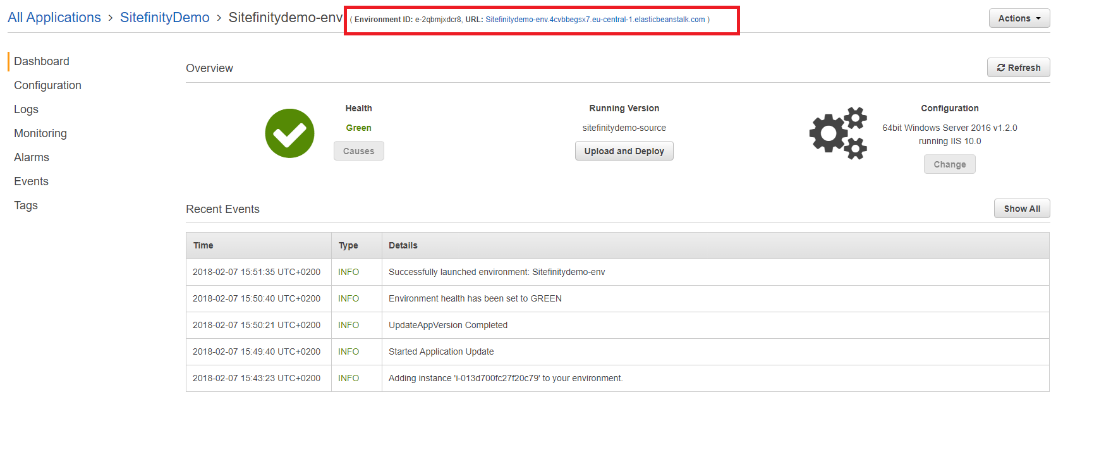
Elastic Beanstalk will begin provisioning your environment as shown below:
After successfully creating our environment, there will be a URL on which our Sitefinity Web App will be available.
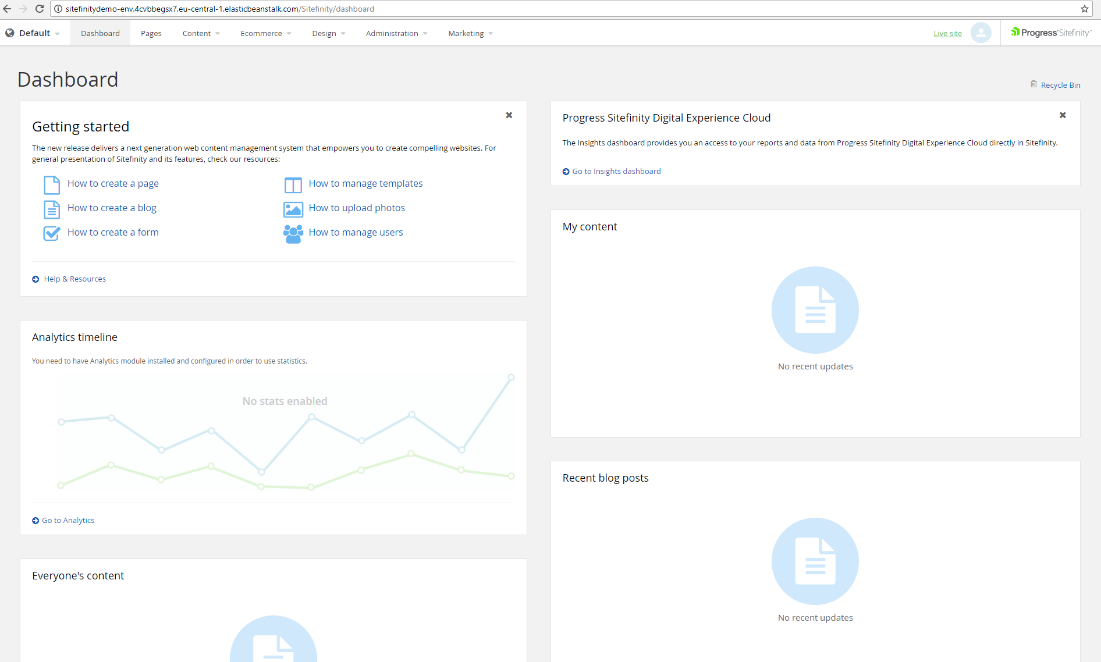
Click on the URL, and there is our Sitefinity hosted in AWS Elastic Beanstalk environment!
Build Environment Setup
Once we’ve prepared our deployment environment, we need to set up our build environment. First install and set up Jenkins on an EC2 instance (https://github.com/laardee/jenkins-installation).
Once you have installed Jenkins, navigate to Manage Jenkins -> Manage Plugins and install the following plugin: AWS Elastic Beanstalk Deployment Plugin
Click New Item
Enter “SitefinityDemo” for the name and chose Freestyle project.
Jenkins Job Configuration
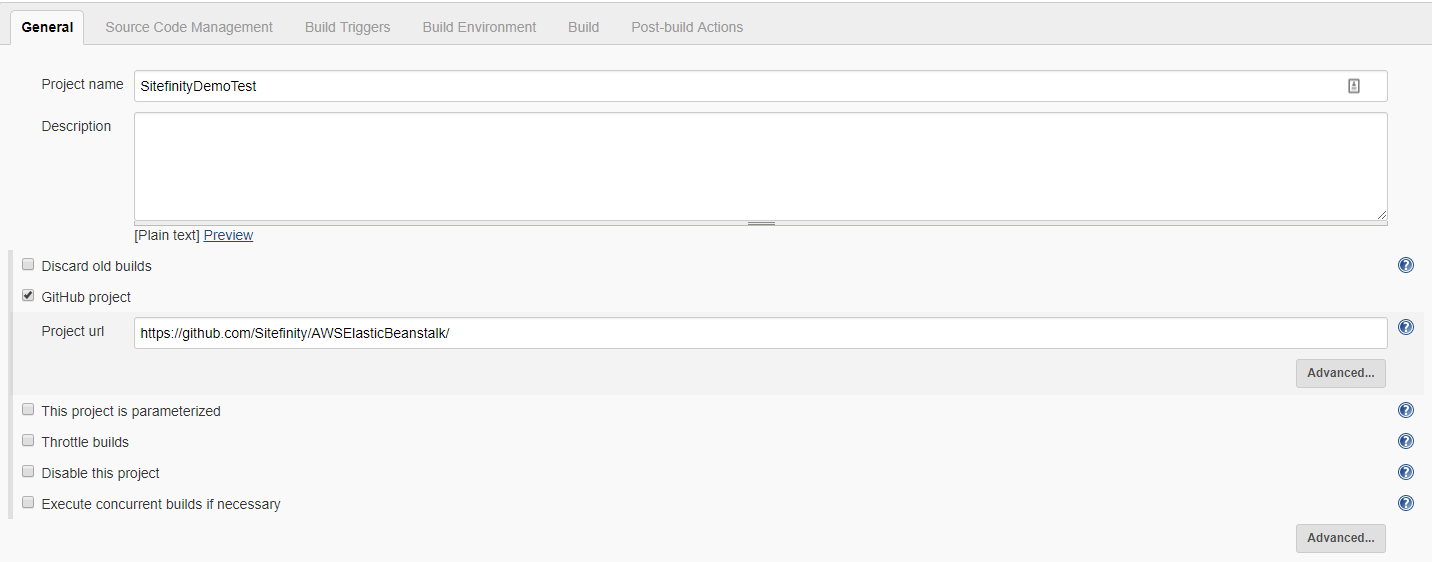
First check, GitHub project option.
- Project URL—enter your repository url: (for example, https://github.com/Sitefinity/AWSElasticBeanstalk/)
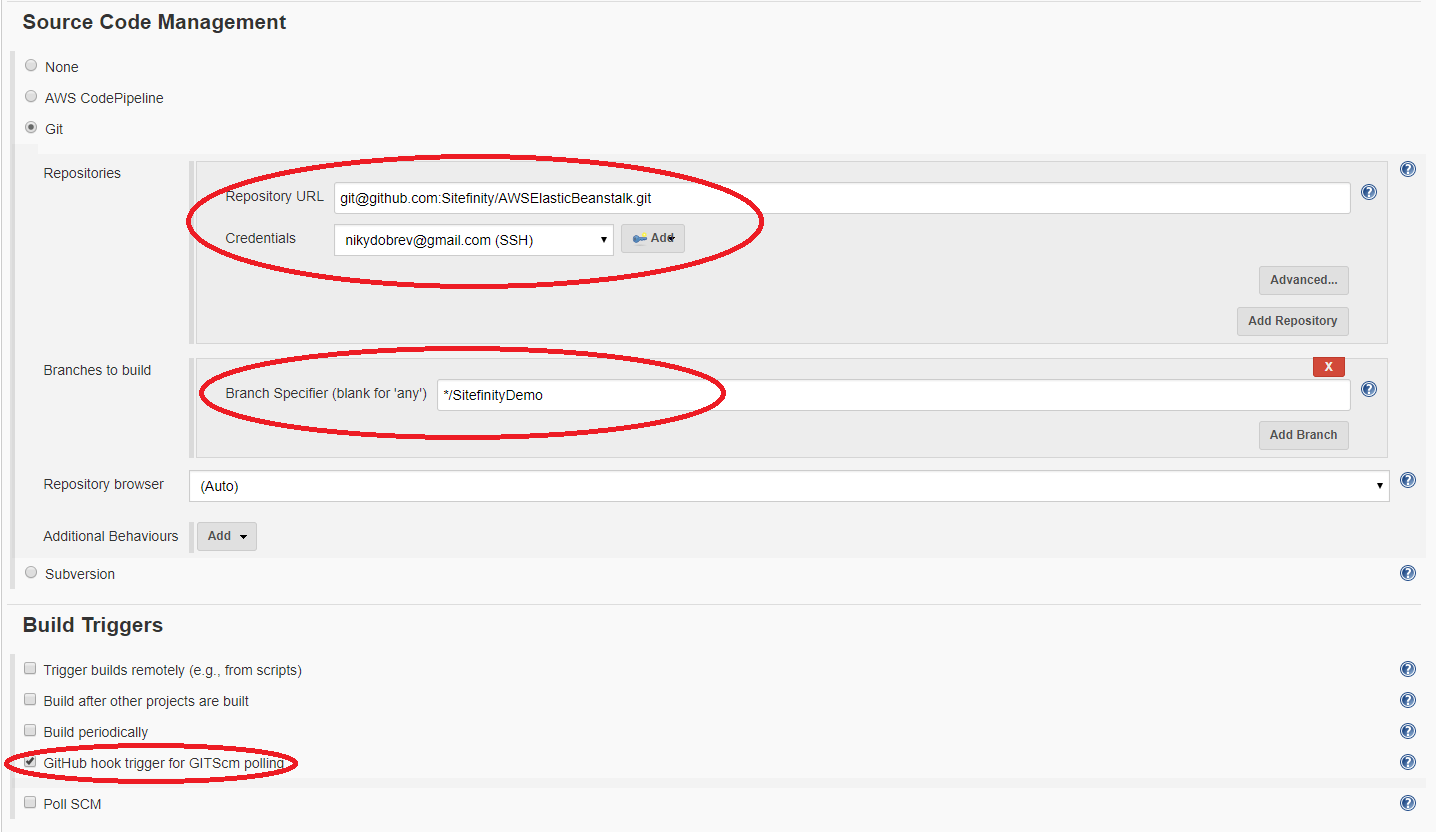
Under the Source Code Management section:
- Choose Git and enter the Repository URL, Credentials and specific branch.
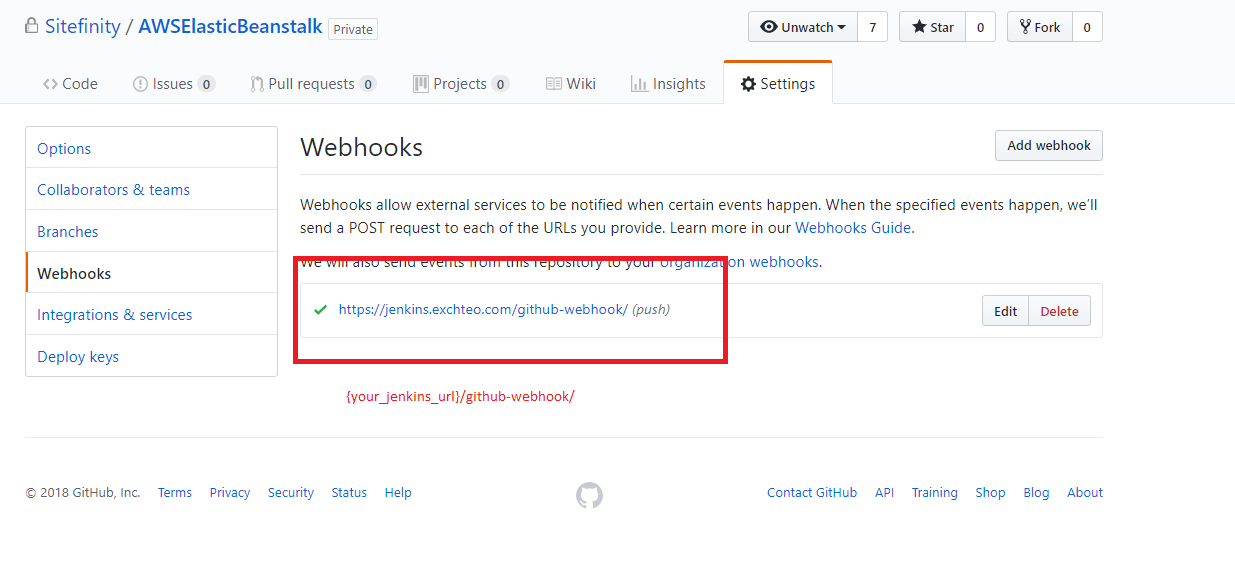
- Under Build Triggers section, check GitHub hook trigger for GITScm polling—this ensures that after we commit something on our localmachine, the Jenkins job will trigger automatically
- Note: Make sure in your GitHub repository that webhooks are configured as followed:
Under Build Environment:
- Check “Delete workspace before build starts option”
Under Build Sections:
- Click “Add build step” and choose “Build a Visual Studio project or solution using MSBuild”
The following argument is important: /t:package /p:DeployIisAppPath="Default Web Site". This will make sure that each time you commit your changes to source code, a new package will be created and then deployed to AWS using Elastic Beanstalk deployment plugin.
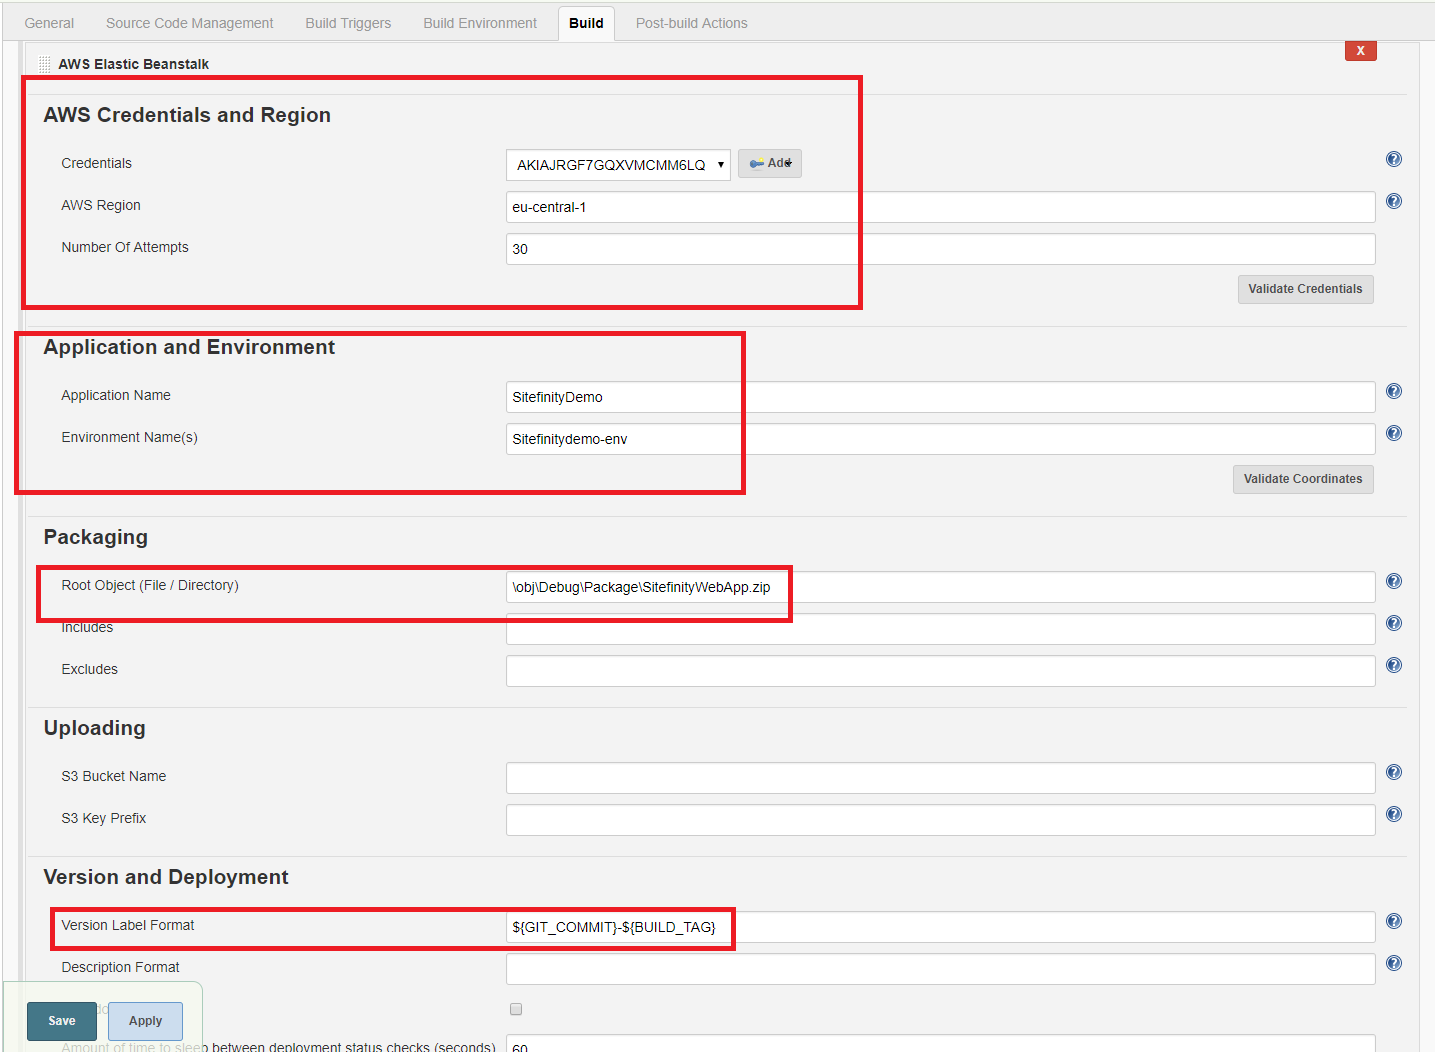
Click “Add build step” and choose “AWS Elastic Beanstalk”.
- For Credentials, you should configure your AWS Credentials (you should know your Access Key and Secret Access Key)
- For AWS Region, enter the region in which you have deployed your initial Sitefinity Web App version (in our case, “eu-central-1”)
- Under Application and Environment—this is the environment where our package will be deployed each time:
- Application Name: SitefinityDemo
- Environment Name: Sitefinitydemo-env
- Under Packaging—this is what package will be deployed each time
Root Object: “\obj\Debug\Package\SitefinityWebApp.zip”
Ready to Use
Now, you have a continuous deployment that will automatically build and deploy to Elastic Beanstalk each time you check in code. We are curious to hear more about your deployment setup, so share your setup in the comments. Happy deploying!

