Getting Started with Node & Kinvey

This is a quick post to help you get up and running with a new Node project connected to a Kinvey backend. Let's just jump right in!
Creating a Node Project
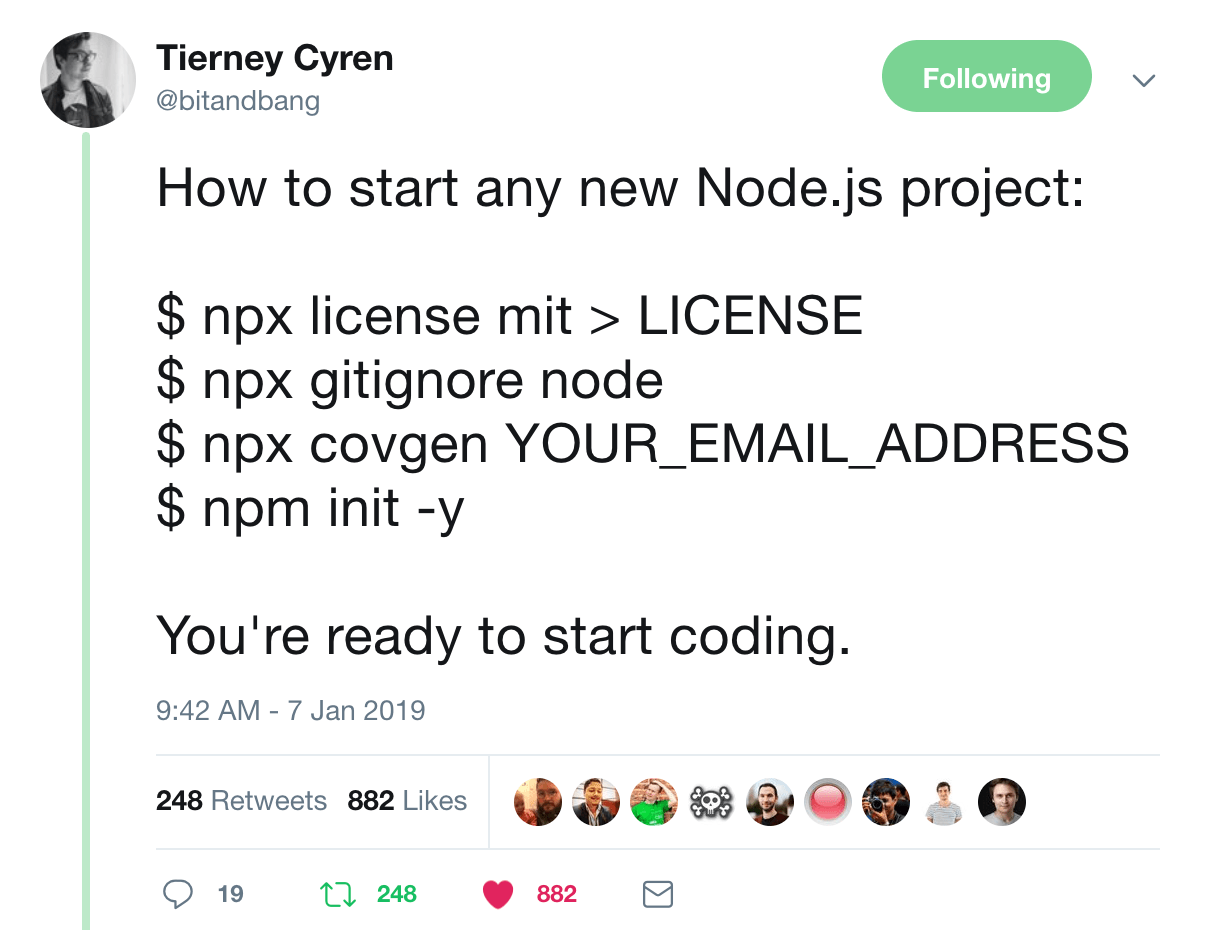
I make a lot of Node projects, some even see the light of day 😛, so I have a script to spin one up. I got the idea from this tweet from Tierney Cyren and learned even more from this post by Phil Nash.
As the tweet says, to get a Node project started you can just type this in your terminal :
What all is happening here? We're using npx to use an npm module whether we have it installed or not. First, license to generate the MIT license, gitignore to fetch a Node.js .gitignore file, and covgen to generate the Contributor Covenant inside your project directory using your email as the contact info. Finally, we run npm init -y to spin up a package.json file for the project. The -y or --yes flag uses the defualt values or the configs you can set using npm.set.
npm set init.author.email "example-user@example.com"
npm set init.author.name "example_user"
npm set init.license "MIT"
That's it! I have a shortcut in my ~/.bashrc file so that I can just type node-project in an empty directory and it spins all this up plus initializes git in the directory and makes the first commit. Nash explains it in-detail in his post I listed above. Here's what my function looks like:
function node-project {
  git init
  npx license mit>LICENSE
  npx gitignore node
  npx covgen "$(npm get init.author.email)"
  npm init -y
  git add .
  git commit -m 'initial commit'
}
🐙 you can check out this project's repo to see what we have so far.
Connecting to Kinvey
Now that we have our base project we get to connect it to our Kinvey backend. First things first, we'll want to install the Kinvey SDK, which is open source 😃.
npm i kinvey-node-sdk
*As long as you're using an updated version of npm you do not need to use the --save/-s flag to save the module as a dependency, it does it automatically.
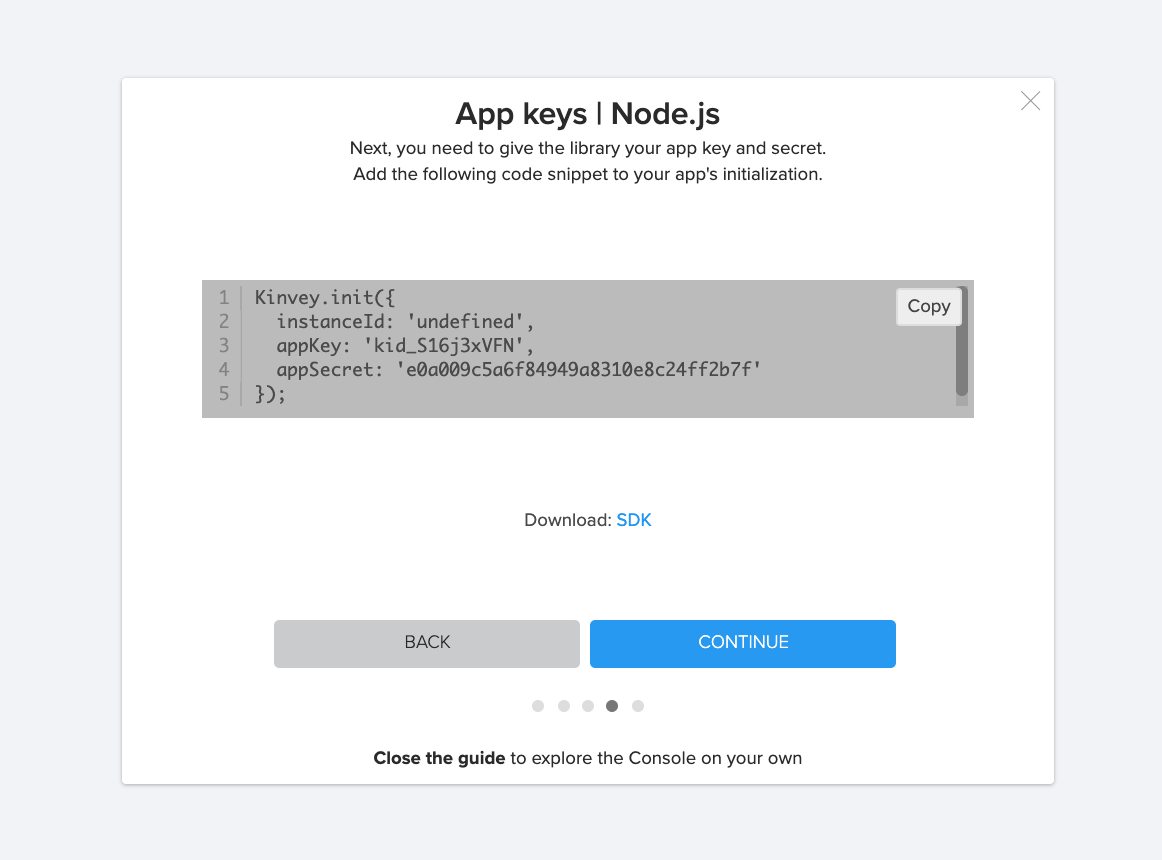
Once we have that installed we just need to include the SDK in our project and initiate Kinvey with our project's key and secret. When you create a project with the Kinvey guide it will show you your information in one of the pop-up windows.
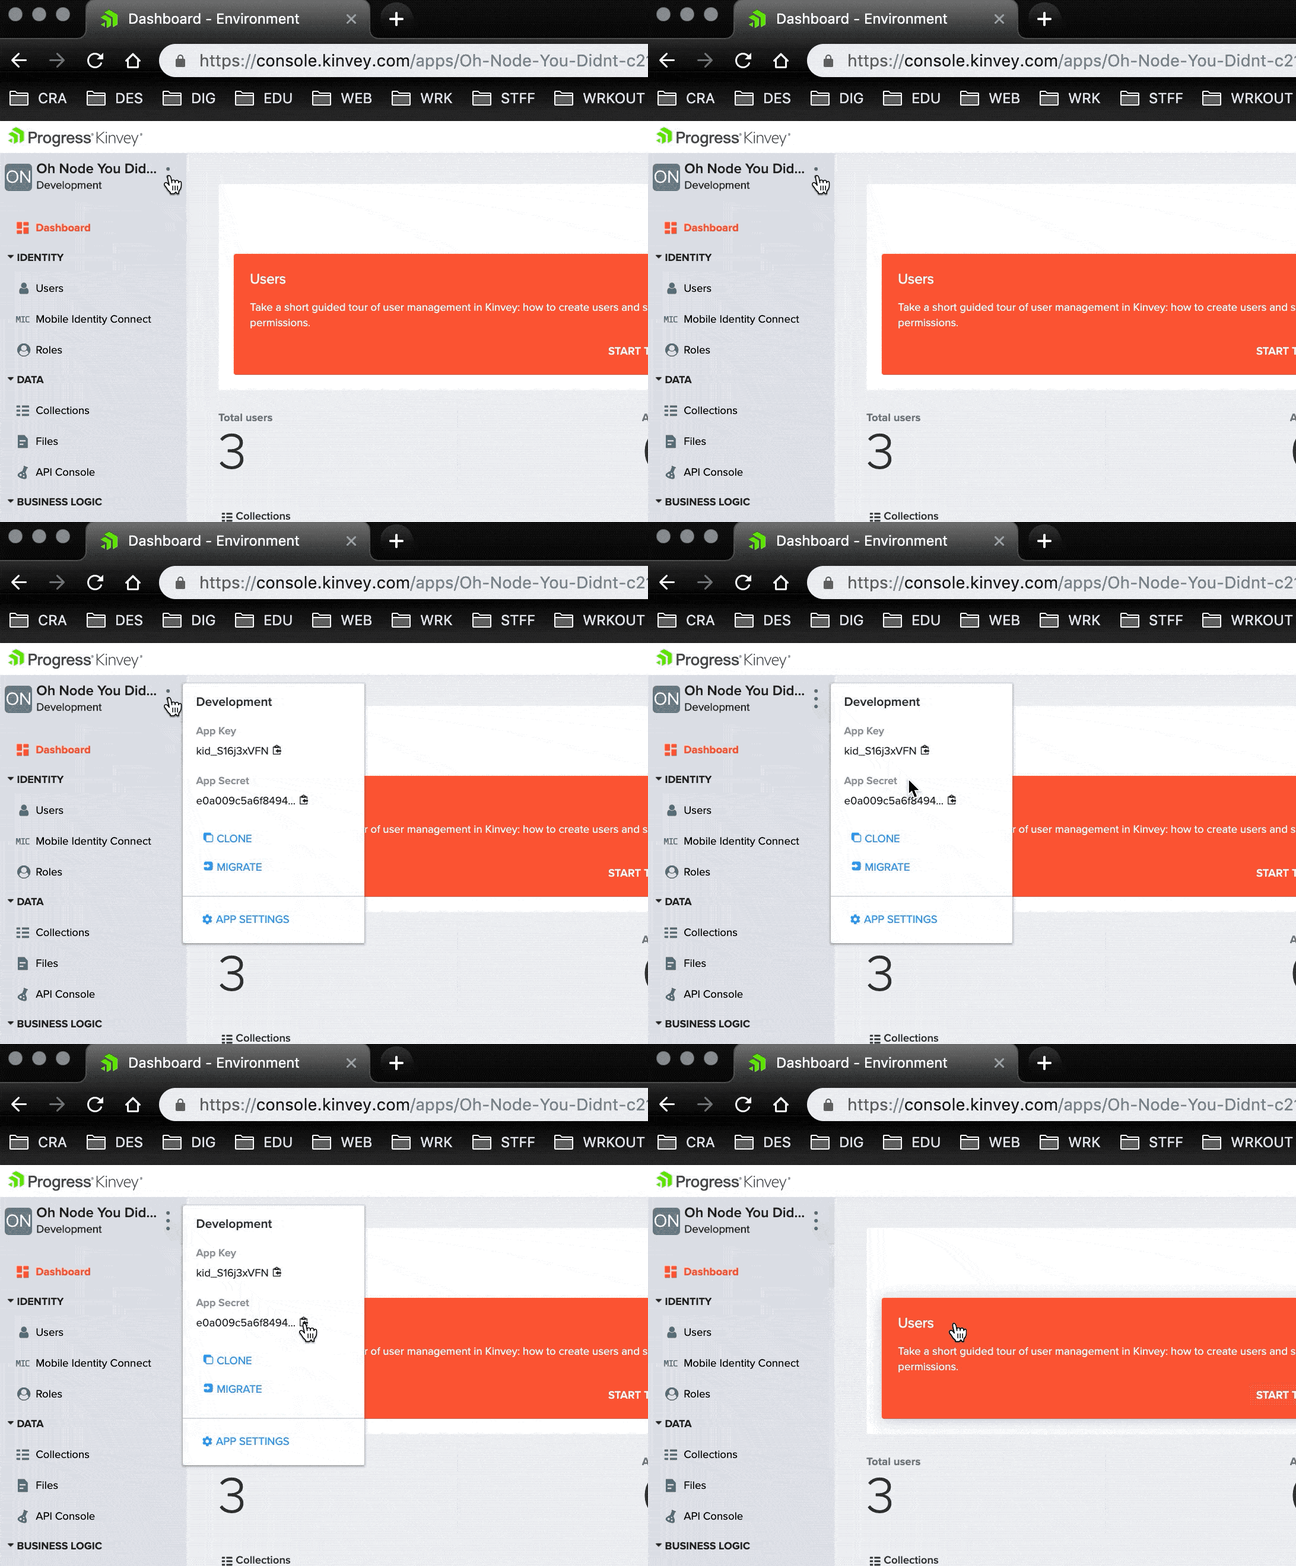
Otherwise, you can always find the project's App Key and App Secret in the top left corner of project's homepage in the console when you click the 3 dots next to the project's name.
We're going to initiate Kinvey and pass in out project info in our project's main file: app.js.
That's the super simple way to connect to Kinvey. You can also add a few lines of code to test out your connection. Just add this under your Kinvey.init:
If you get Kinvey Ping Success! Response: hello <your project name> you're golden. If not, you can check out some documentation here to help you troubleshoot.
🐙 Here's the commit that has all the changes we've made so far.
Optional Fun 🤓
Ideally you don't want any of your keys and secrets online so I always put them in a config file. Then I add that file to my .gitignore list so it never gets pushed up.
With that we only need to pass that config object to the Kinvey.init function in our app.js file.
Such concise! Remember it's important to add the config.js file to your .gitignore if you're using version control. But of course you are 😘.
.gitignore
...
# config stuff
config.js
To make sure your config file is being ignored. Run git status and make sure it's not listed before pushing your code up.
🐙 Here is the commit that shows the changes plus has an example config file.
Next Steps
We're all set up! Pretty easy, right? What will we do next, such possibilities. Here are some great resources to help you on your coding journey:
- The official documentation for starting a project has more configuration settings and information on connecting to Kinvey.
- Our Node.js Users Guide will help you start adding and managing your users.
- Want to know some of the great reasons Kinvey and Node work so well together? Check out my last article: Kinvey for Node Developers.
- Tutorials can help you add business logic and collection hooks to your application.
- Check out this blog post from Brian Rinaldi on getting started with Kinvey FlexServices.
- You can also join one of our Getting Started Webinars to learn more and ask us questions.
Whichever direction you go next, remember you can always reach out to us on Twitter at @Kinvey. Happy coding 👩🏻💻!


