Getting Started With OData

OData, introduced by Microsoft a few years ago, is a standardized REST interface that is quickly gaining ground for its open source approach as well as its exceptional scalability. Here’s how you get started.
Finding Your Tools
When someone starts working with databases, one of the first things they learn to do is to access data in the database. There are tons of tools, commercial and free, closed or open-source, desktop or server, that make it easier to interact with databases.
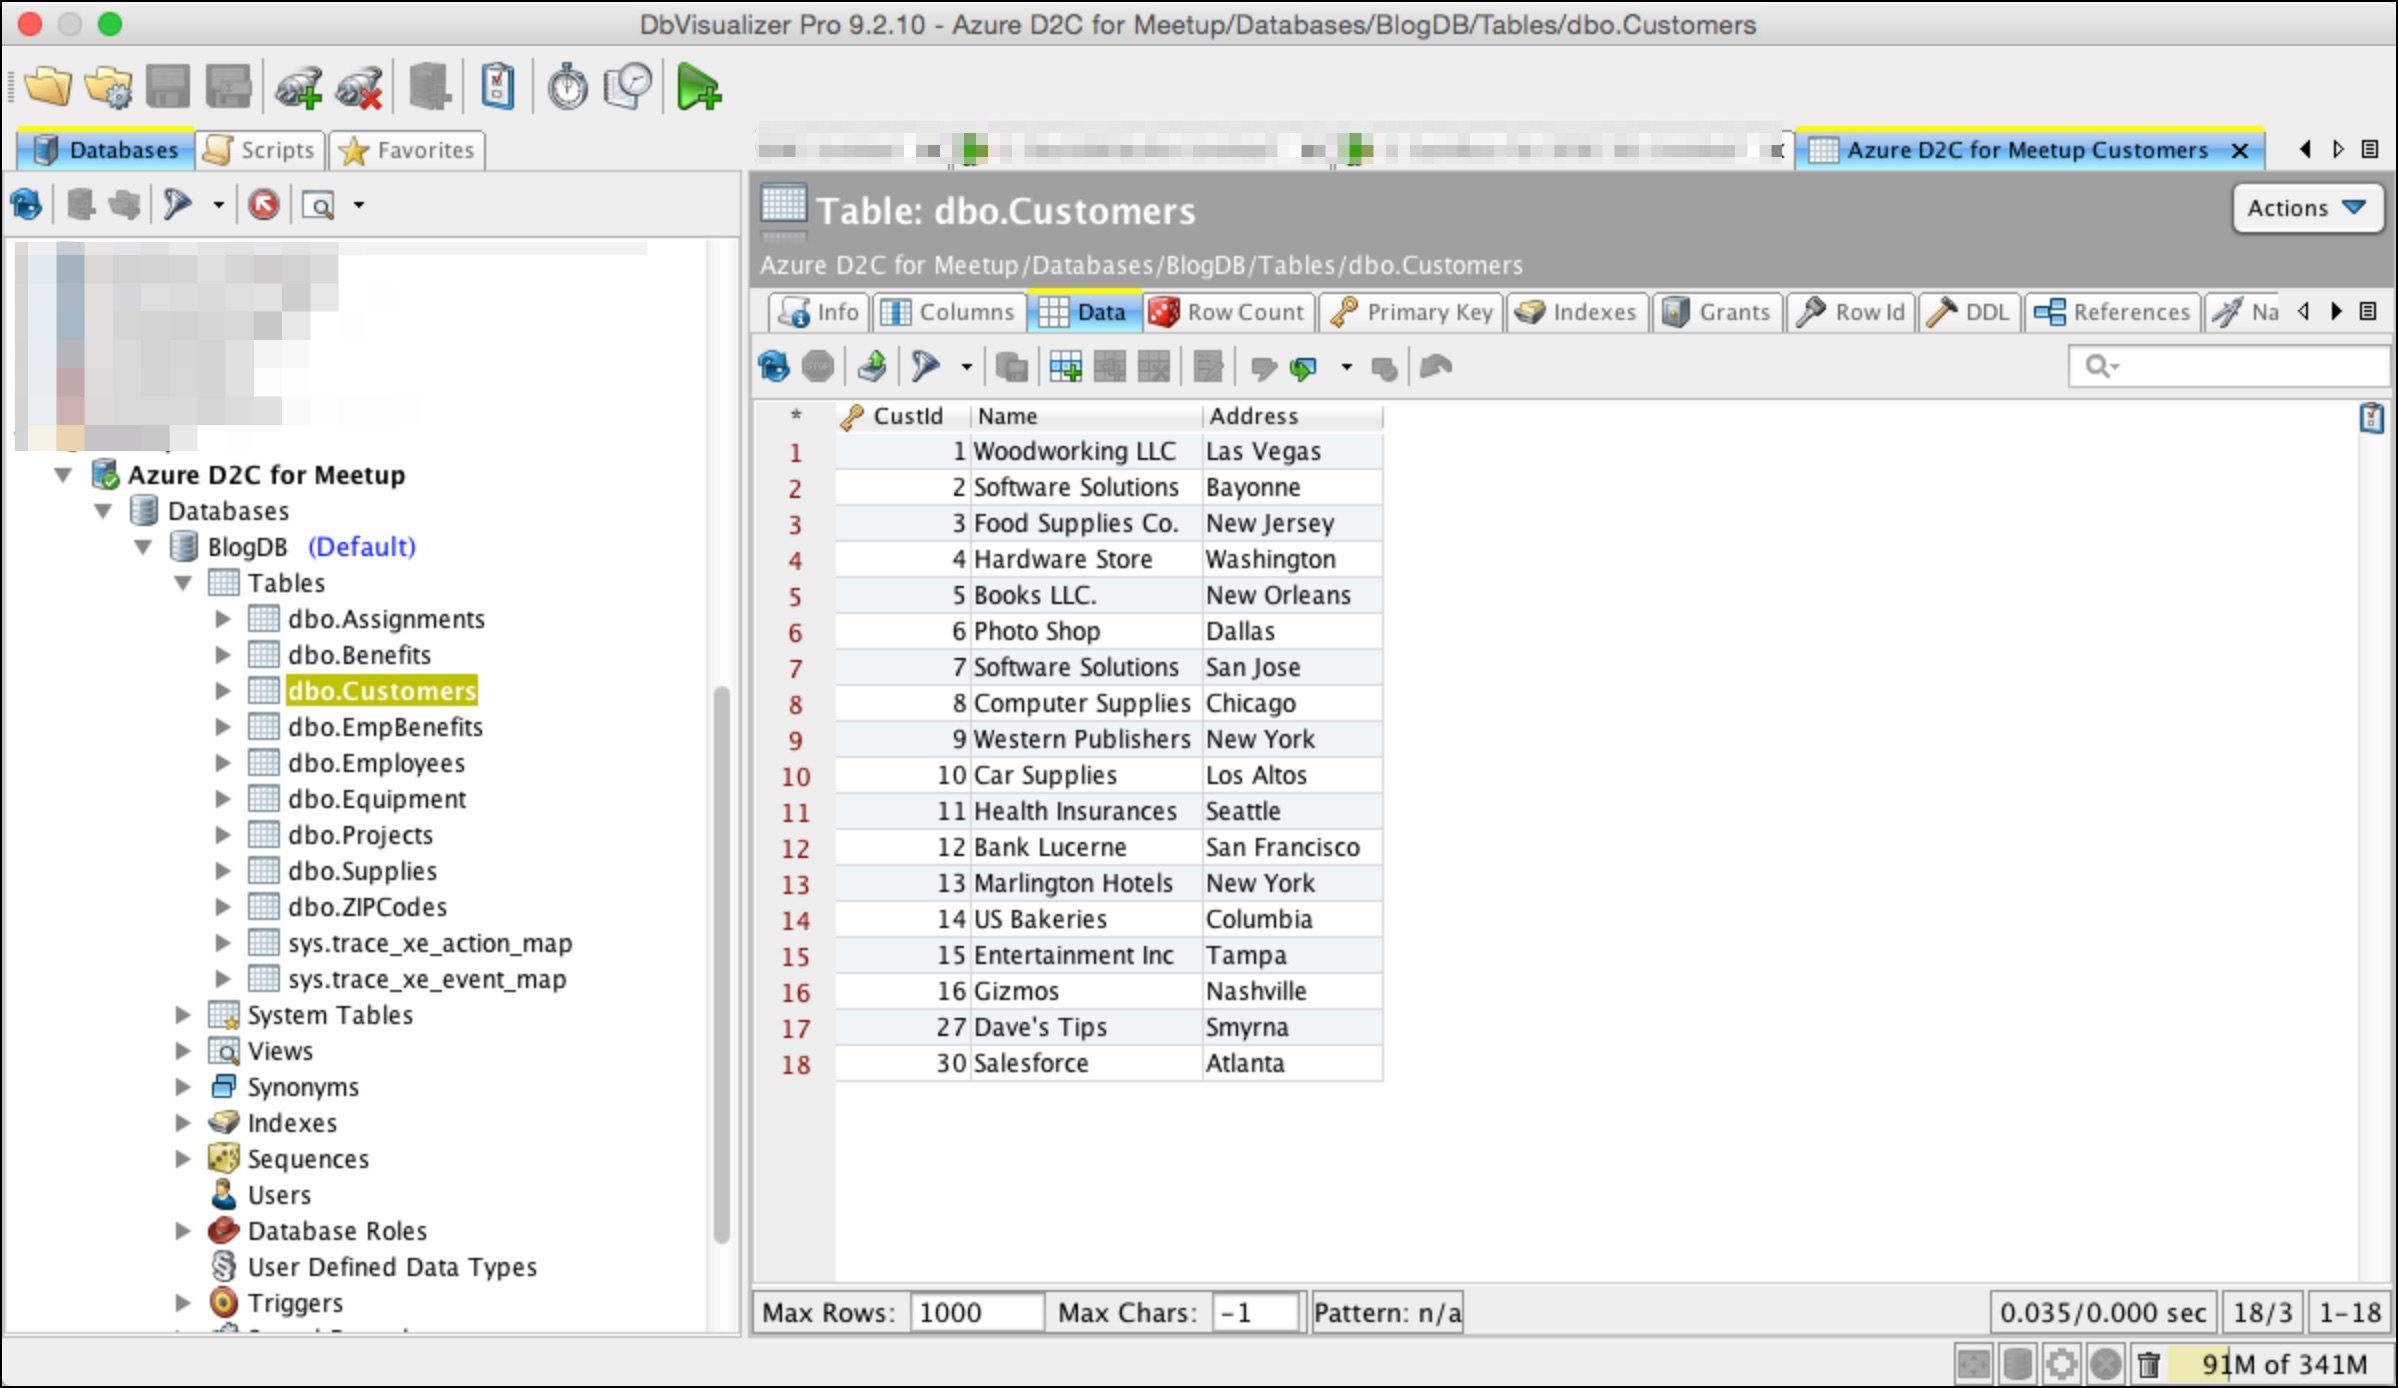
This is a screenshot of DBVisualizer, a tool that is available via a “freemium” model—a free version with a somewhat limited feature set, or a paid version that has a richer feature set. It is showing data that is in a Microsoft Azure database. SQL is used “behind the scenes” to query the database, where SQL stands for “Structured Query Language.”
SQL for the Web
This is a small, simple table that we’re going to use for this post. It has three columns and 18 rows. Not very large, but the concepts apply, regardless of the size of the database.
While SQL is a very powerful and mature query language, it isn’t the best tool for querying data on the internet. There is a new query standard called OData that is considered to be “SQL for the Web”—a query “standard” that is more appropriate for querying across the internet. See OData.org for more information.
While there are many SQL tools that help developers learn about “SELECT * from…” and other SQL constructs, how can they learn about OData?
You need an OData-accessible data source and some tool that can process OData commands or queries. Let’s use the same Azure database as our OData-accessible database, and the Postman Chrome-browser extension as our query tool to learn the basics of OData.
Enabling Your Database
First, while a large number of databases can be accessed via SQL, OData isn’t as widely supported. So to access our Azure database, it needs to be “OData-enabled.” While there are some Microsoft facilities that can be installed and configured, we’re going to look at a simpler alternative. We’re going to use Hybrid Data Pipeline as a gateway to put an OData-frontend on our Azure database. In order to get started, you can use one of the following tutorials to install and configure Hybrid Data Pipeline.
Once you are done with the installation, open your browser and browse to https://ip_address_or_dns_name:8443, which opens the Hybrid Data Pipeline Login screen. Use d2cadmin/d2cadmin as username and password to login into Hybrid Data Pipeline Dashboard.
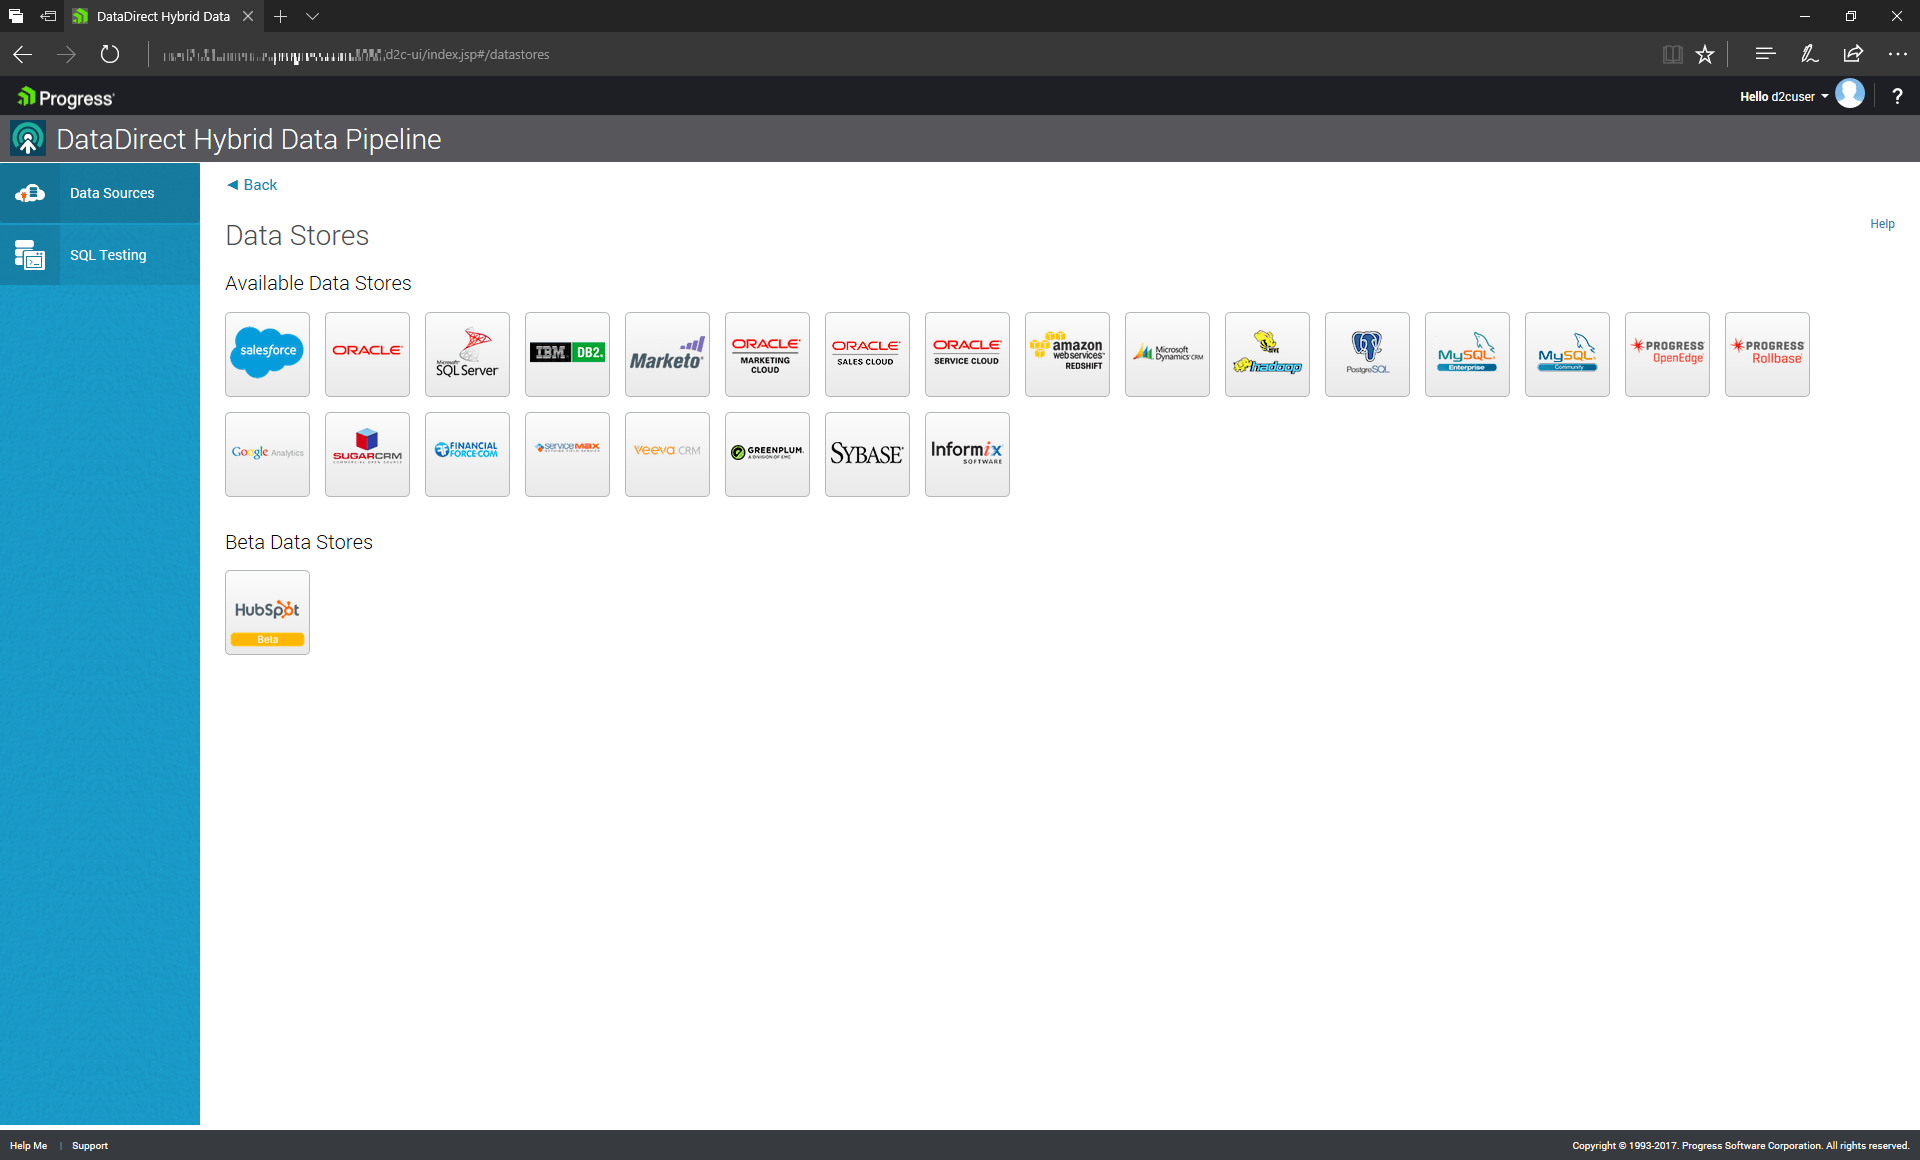
Hybrid Data Pipeline is a service which enables unified access to data in the cloud and on premise. If you click the data sources tab, you can find all the data sources supported by Hybrid Data Pipeline.
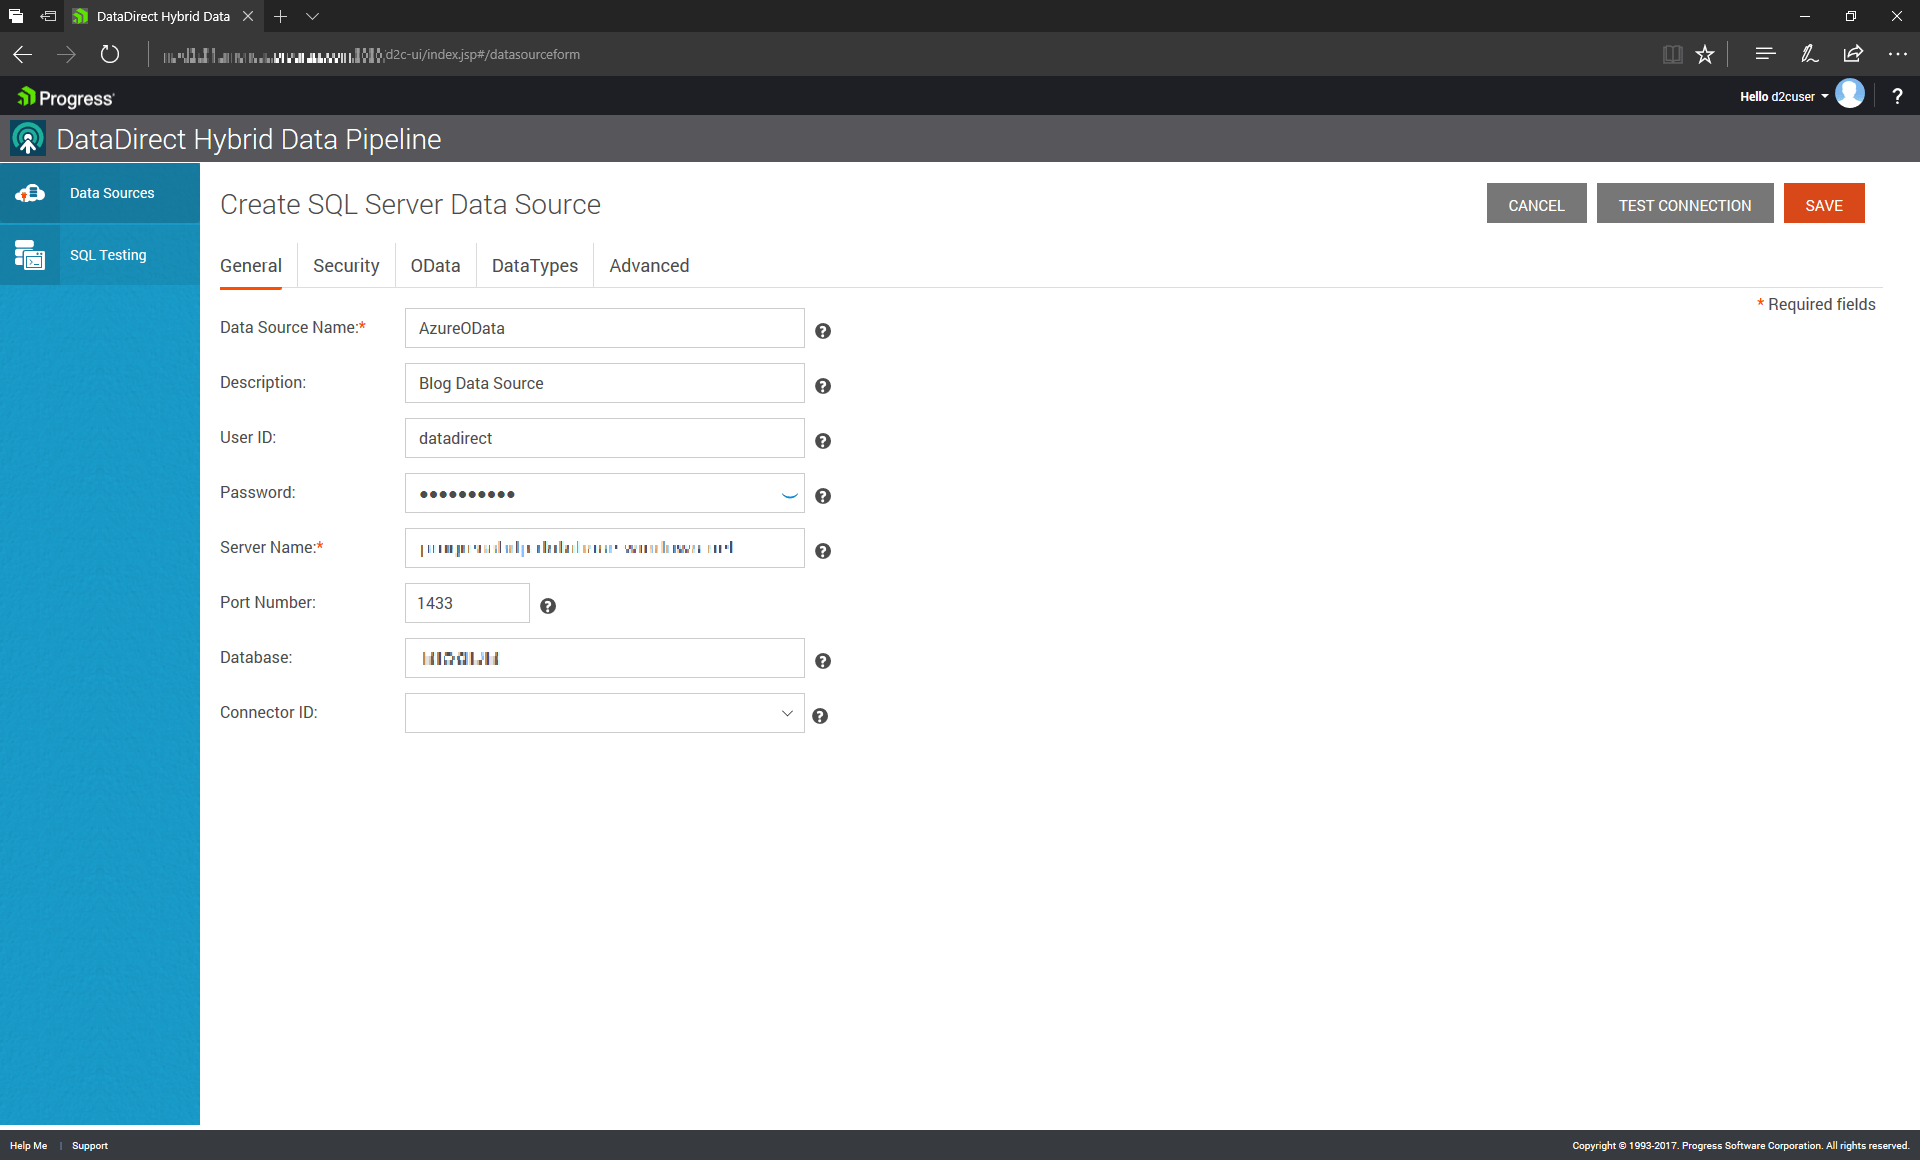
For this demo, we’re going to define a data source that corresponds to the database shown in DBVisualizer, a database that resides on Microsoft Azure.
Our Azure-resident database is fundamentally a SQL Server database—that’s the template we’ll use in Hybrid Data Pipeline.
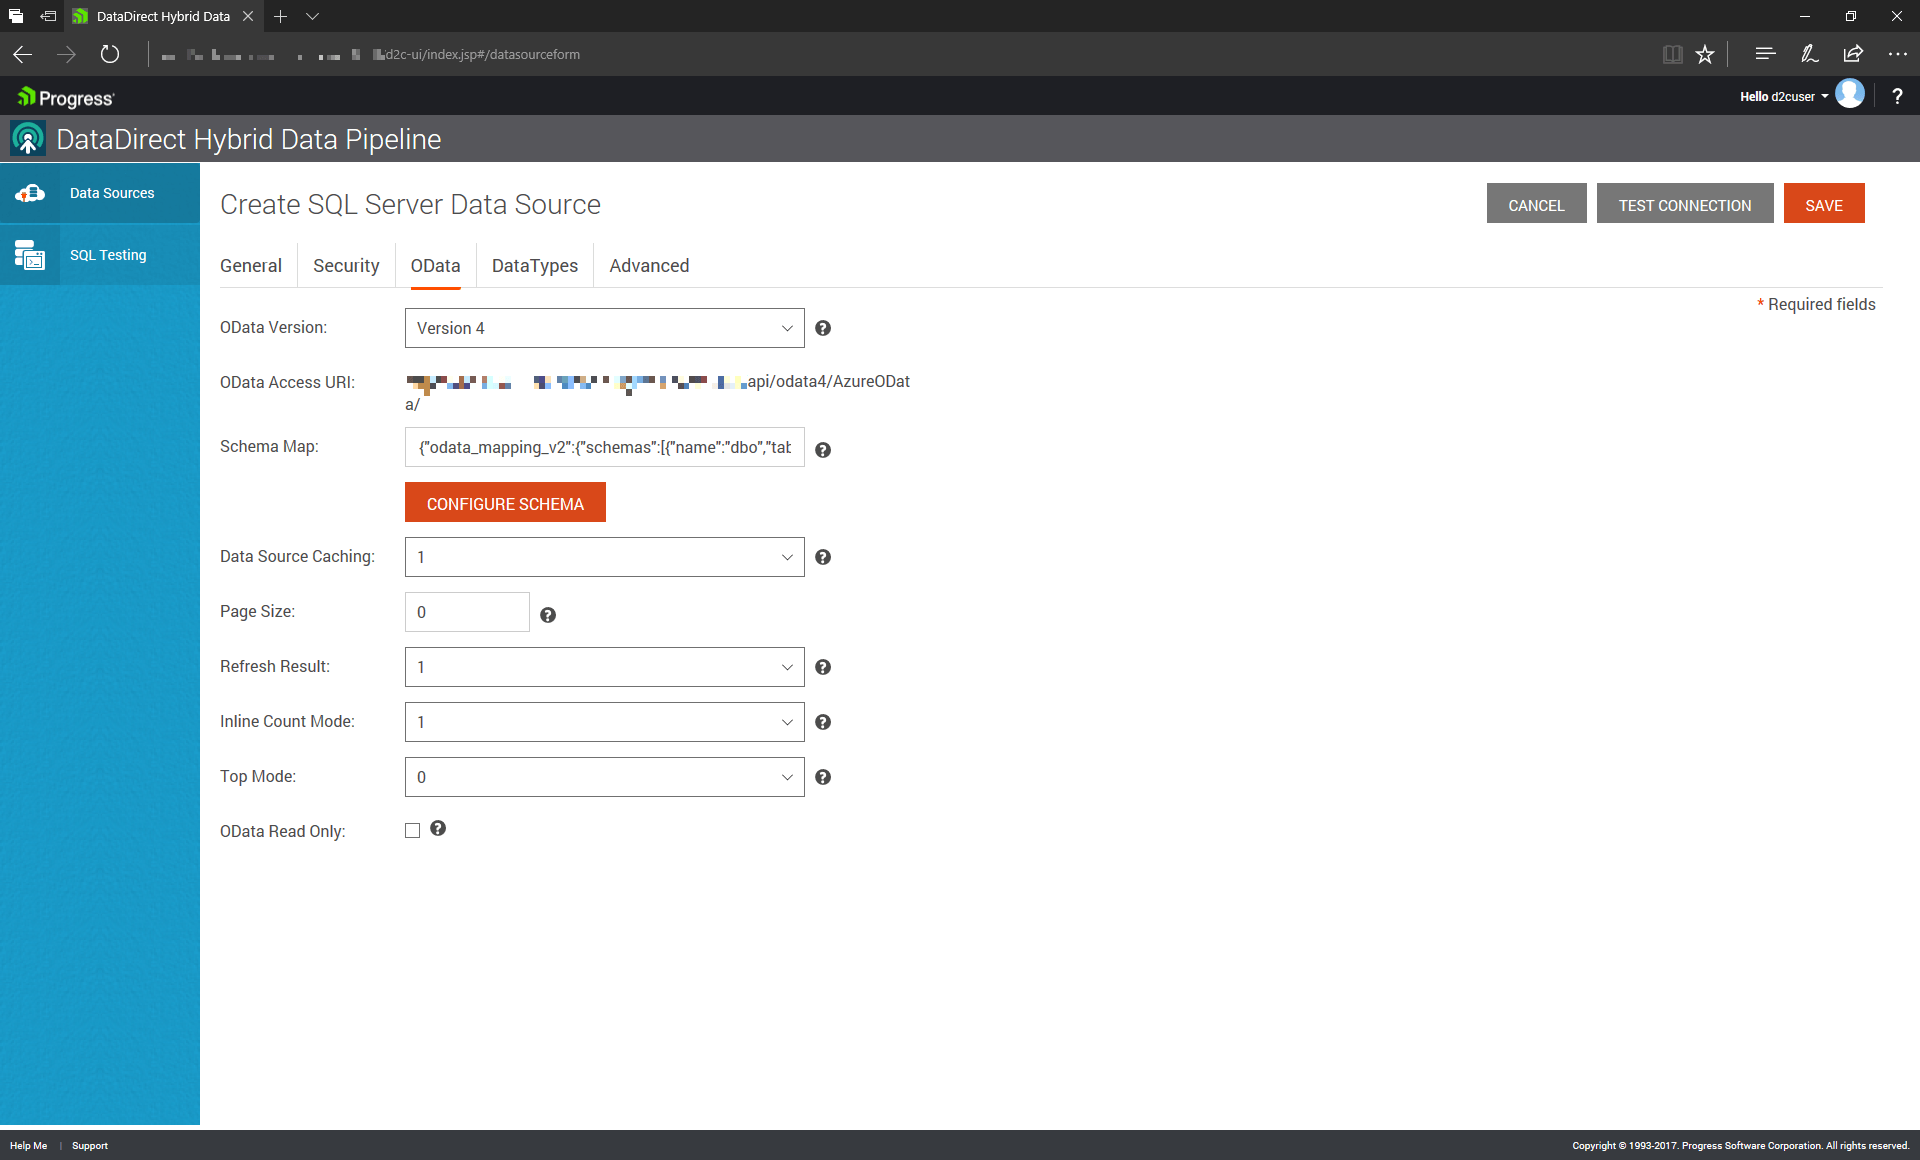
Here, we’ve provided the relevant credentials and address information. To make this database accessible via OData, however, we must specify a few more things. We have to specify which tables are going to be “exposed” via OData.
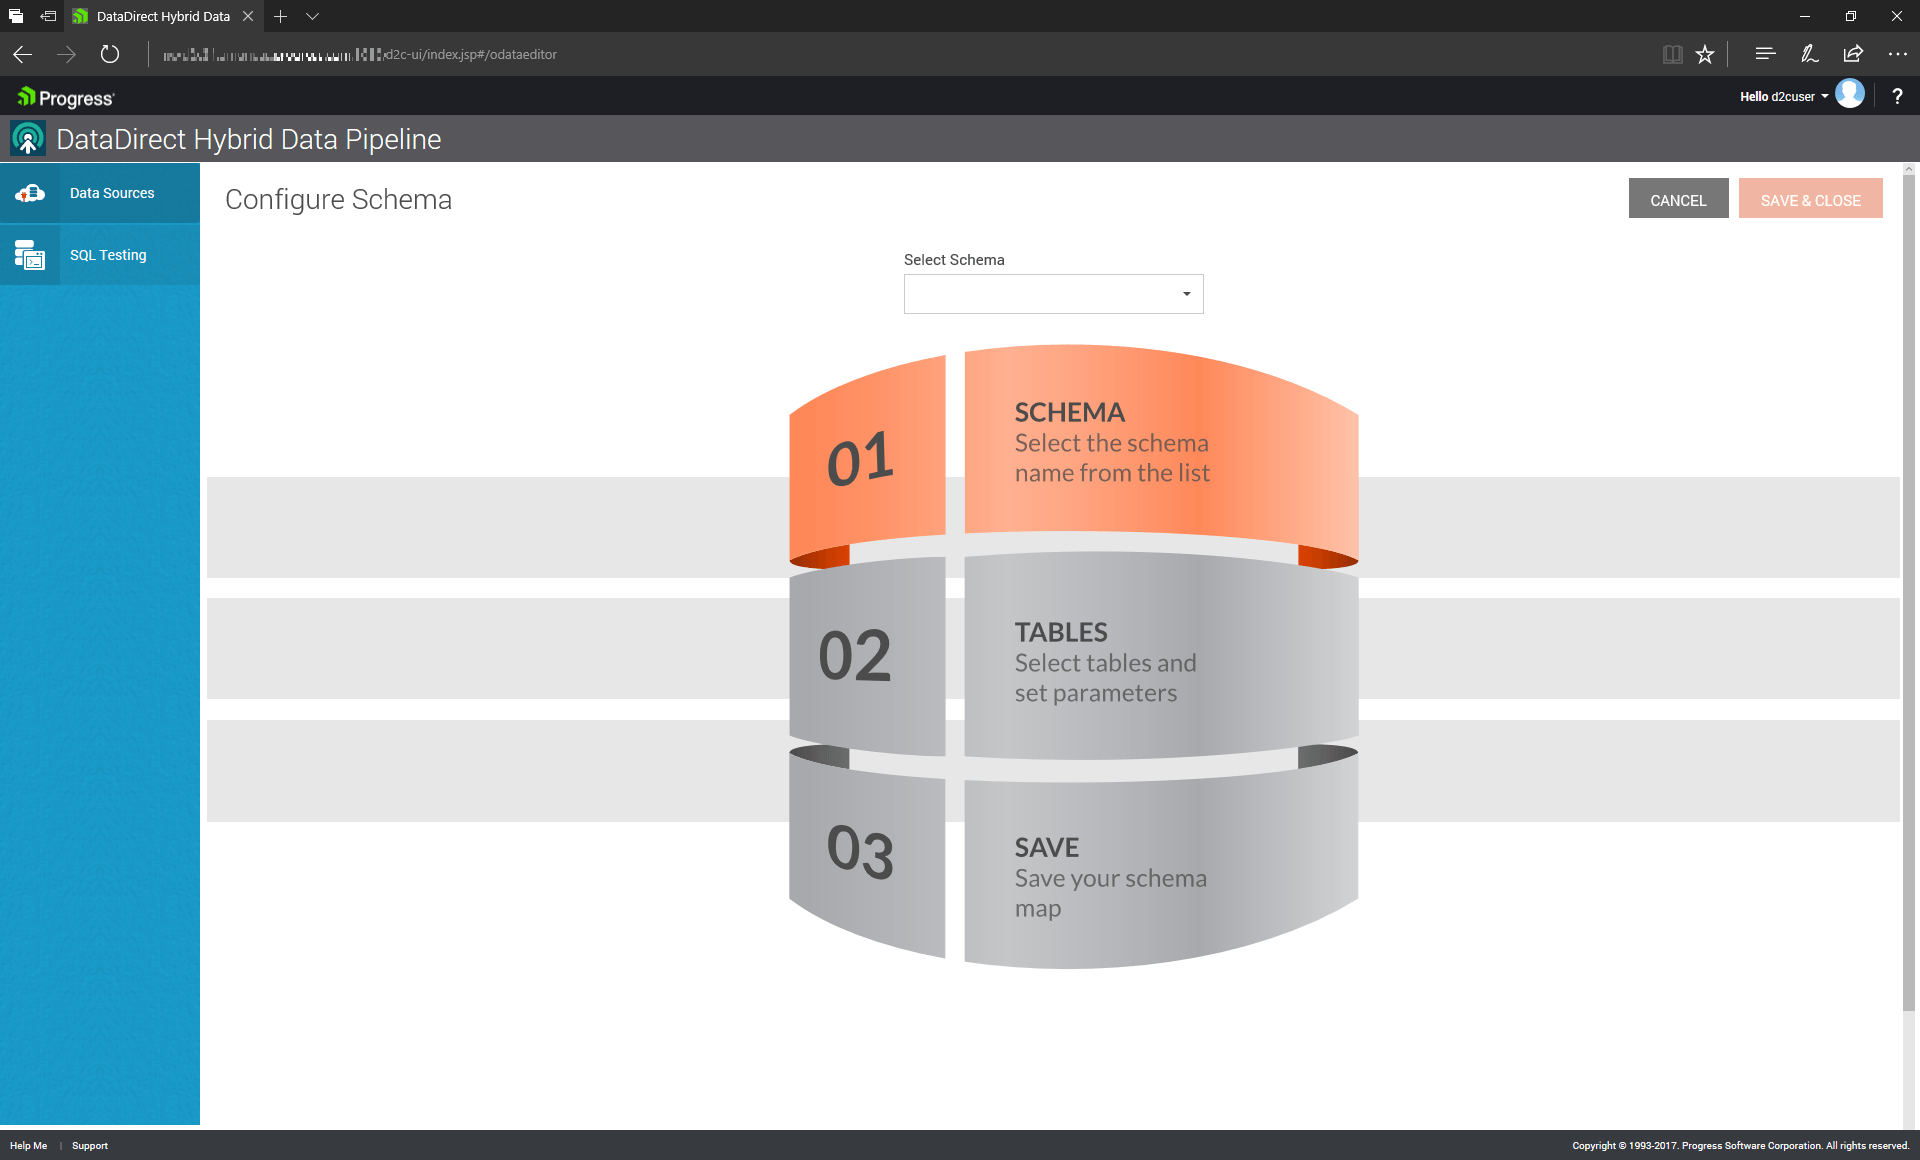
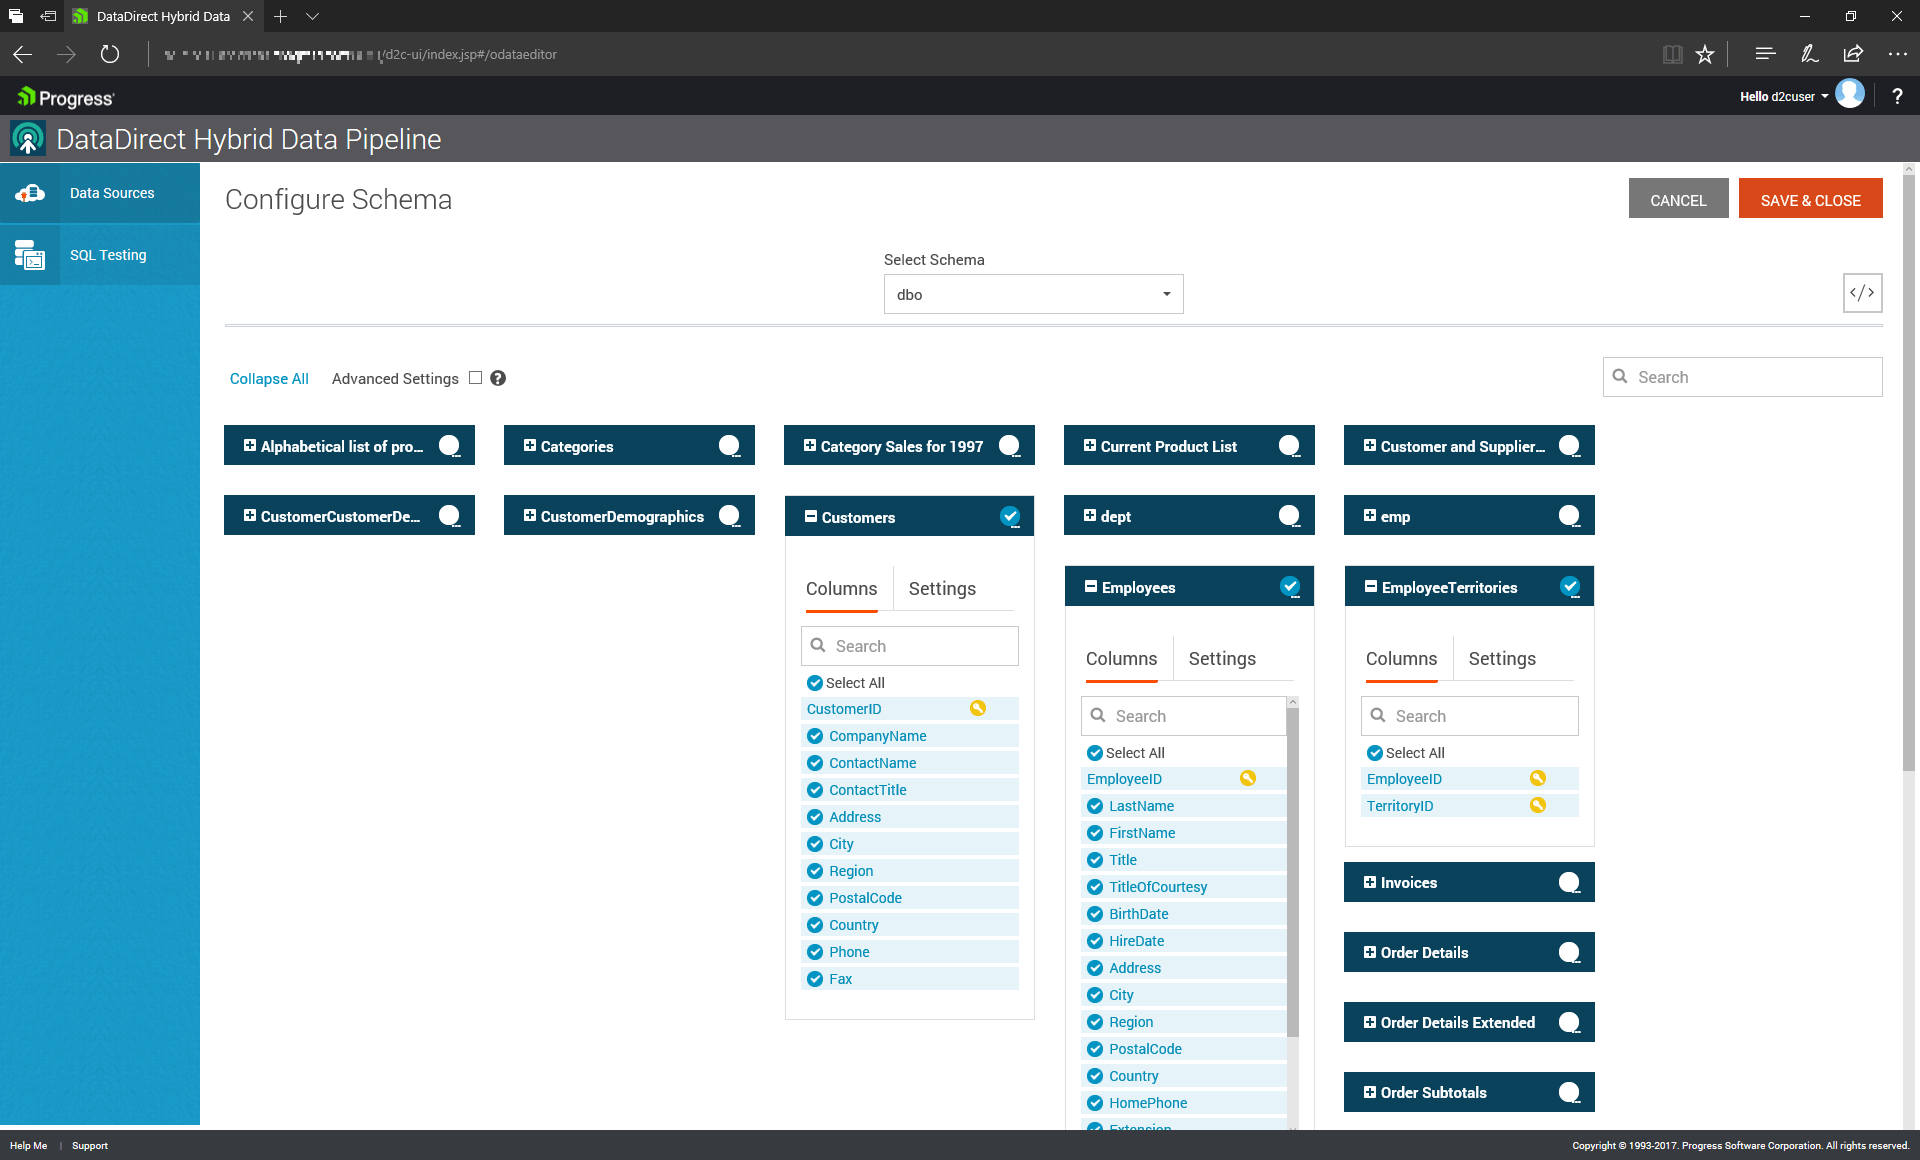
After clicking on the OData tab, you’ll need to specify which schema contains your tables, then choose which table(s) within that schema to include. Note that if your table doesn’t have a Primary Key defined, you must manually specify one.
When you’re done, the system will have created a service URI that corresponds to this particular table or set of tables that are accessible via OData. This URI can be seen as analogous to the address of a traditional network-resident database being queried by a SQL tool.
Now That You Have an OData Data Source, What Can You Do With It?
Just as you can query traditional relational databases via SQL, you can query OData data sources via OData! Using the free Postman Chrome-based application, you can interact with an OData source by specifying the appropriate OData/REST queries and providing the appropriate credentials.
Here’s an example of simply getting the basic info about our datasource—you simply direct your query to our OData-enabled Azure database using the service URI noted above and provide the necessary credentials within Postman.
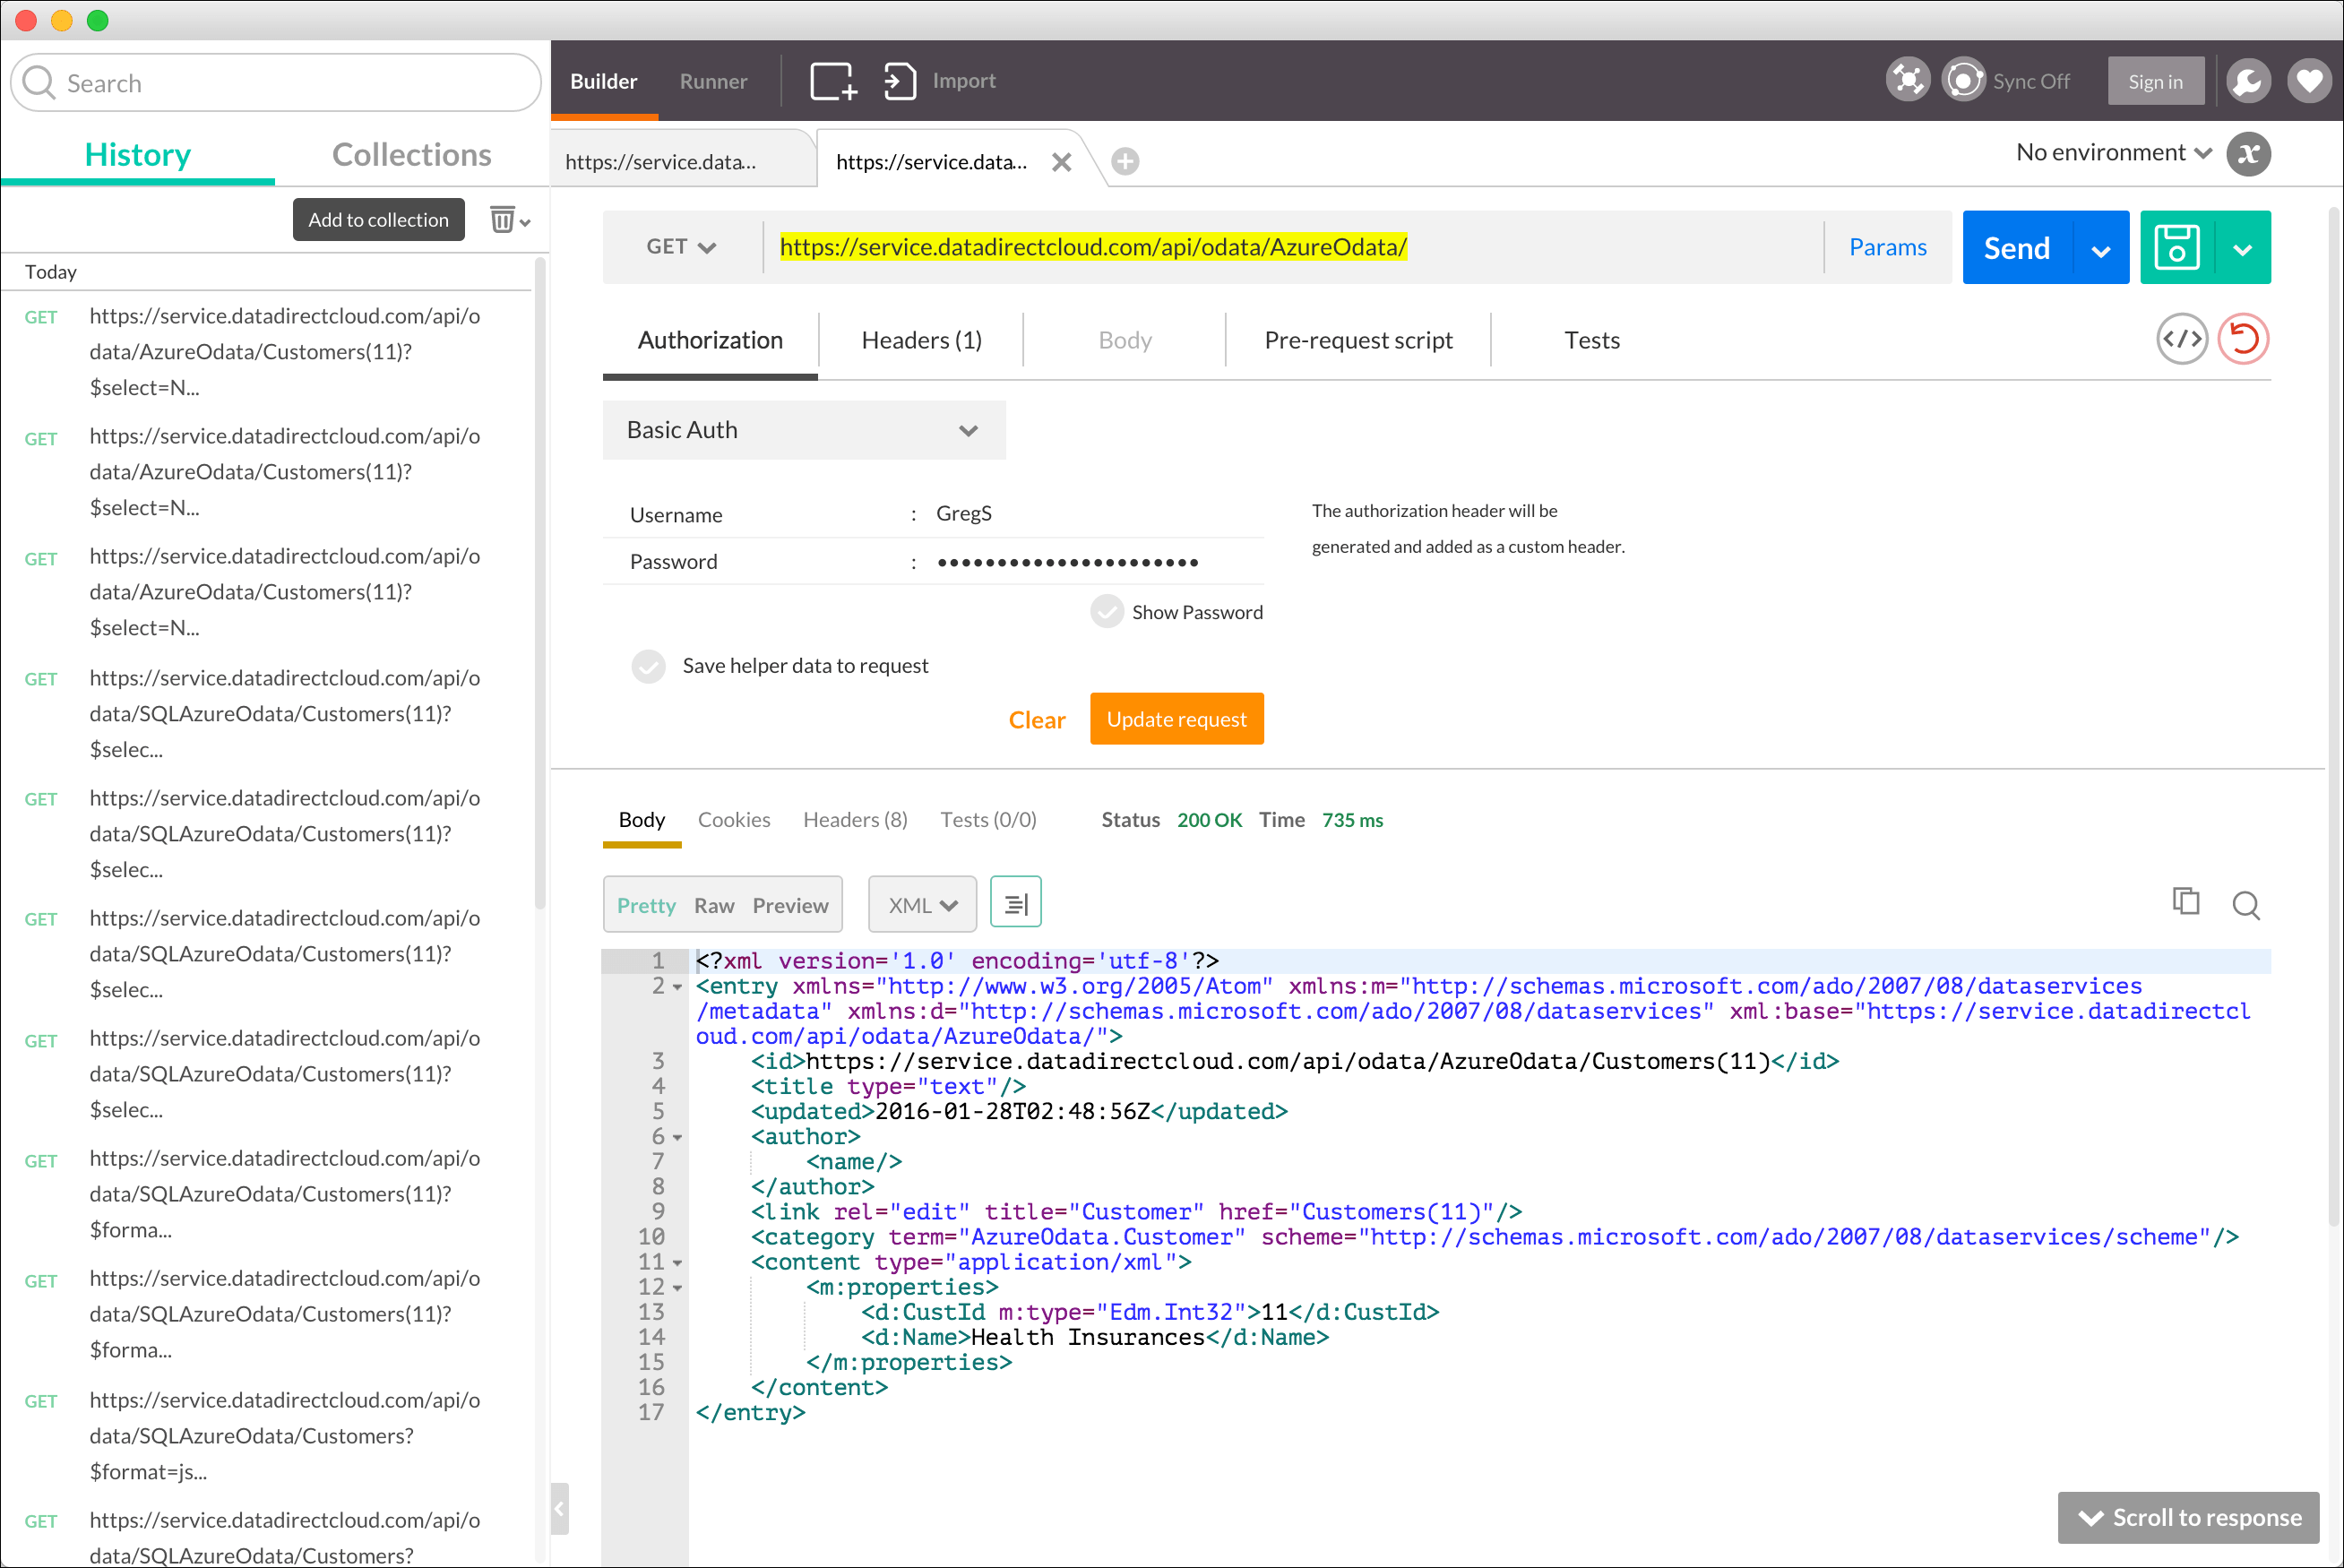
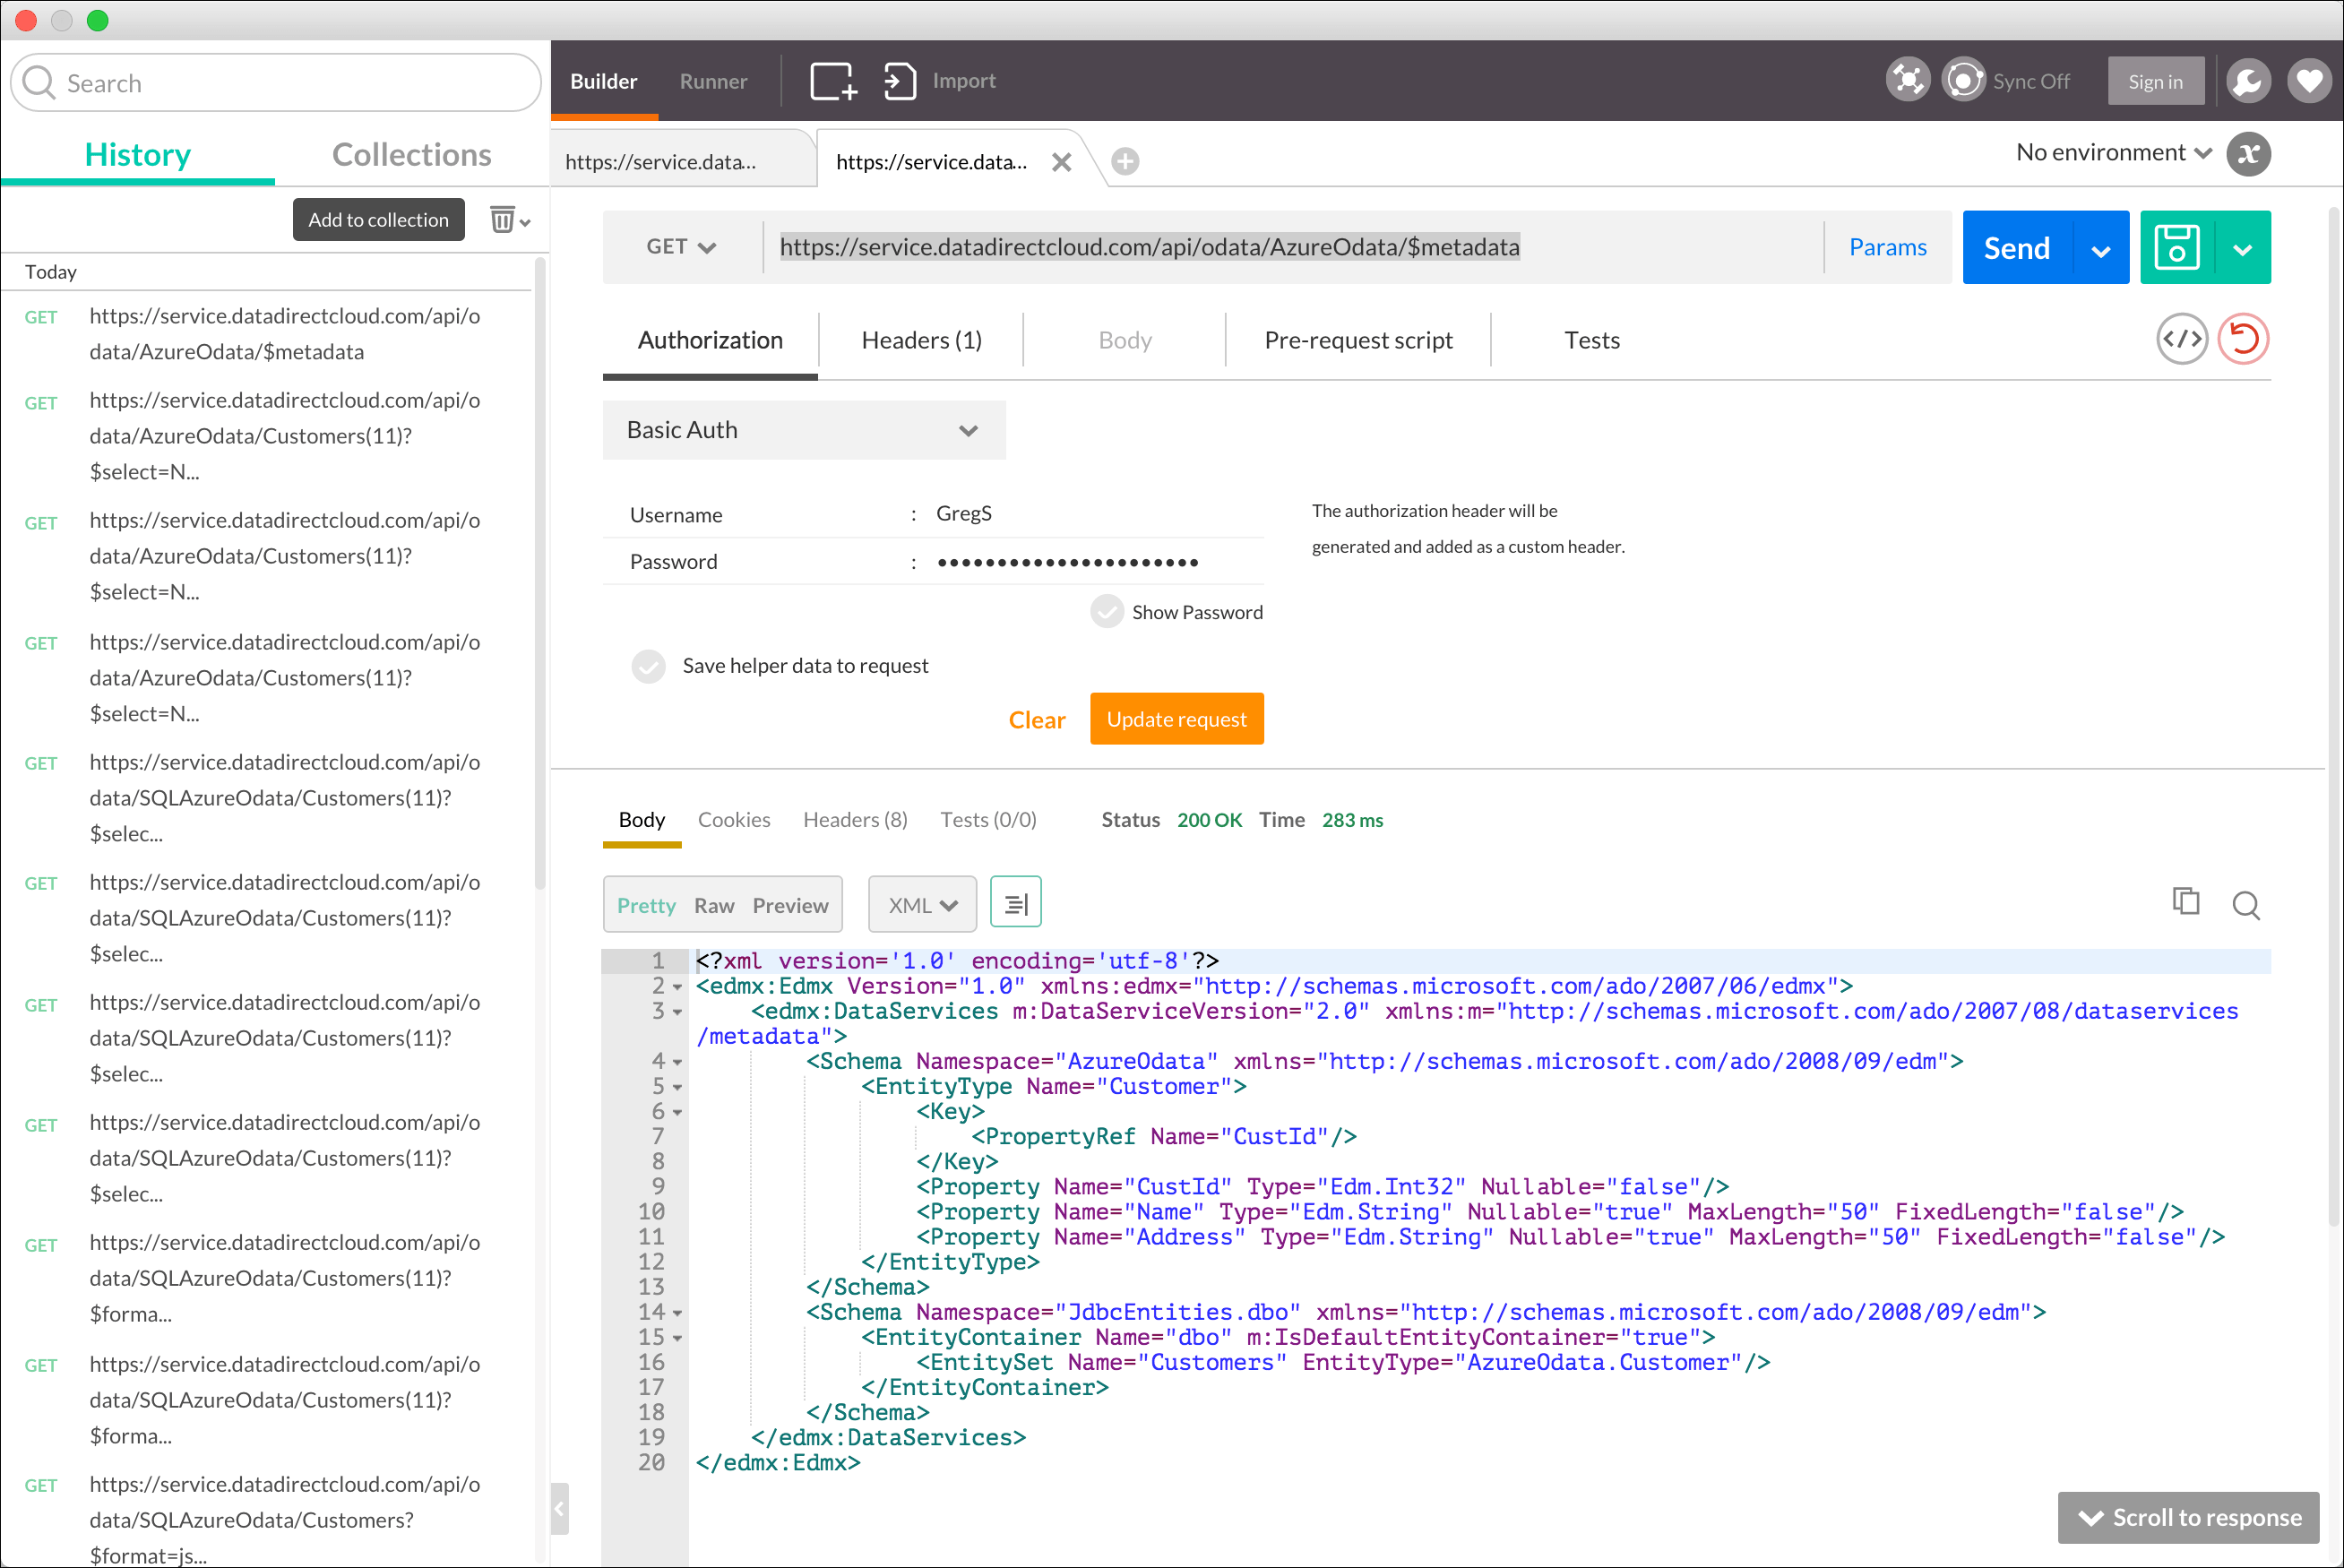
To get the metadata about the exposed table or tables, we simply append $metadata to the end of our service URI.
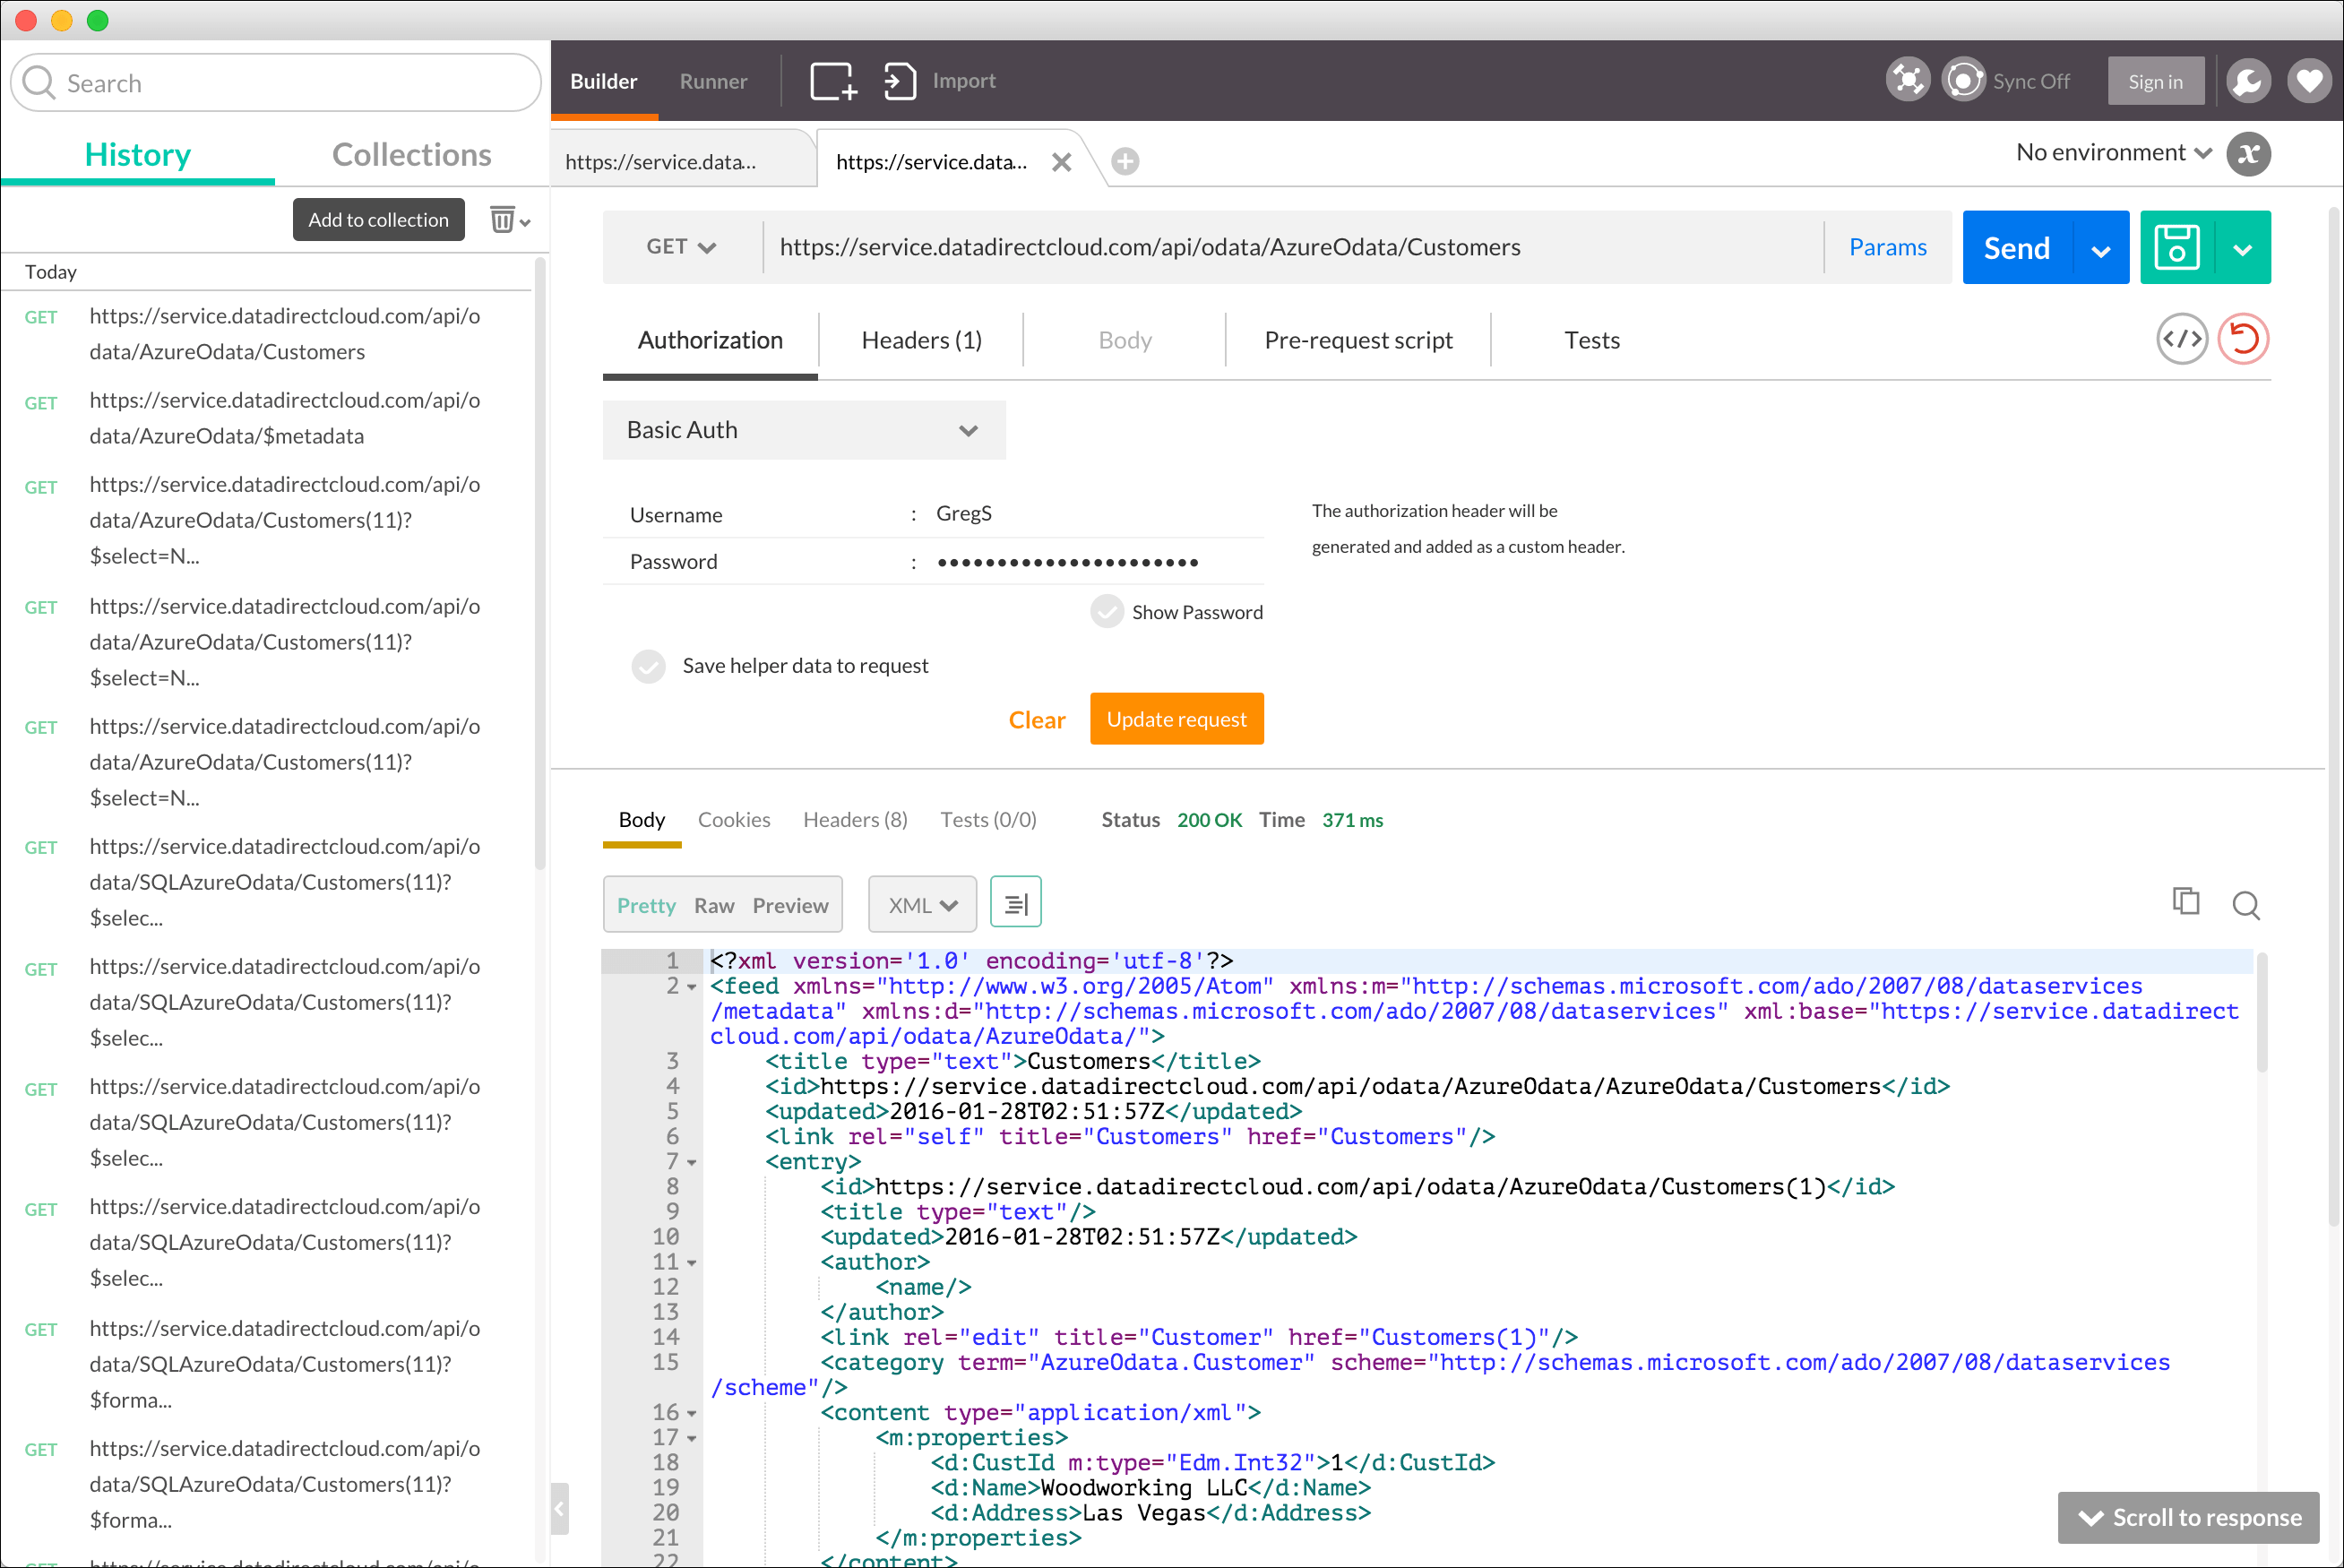
To get the contents of the Customers table, append /Customers to the Service URI. By default, the data is returned in XML.
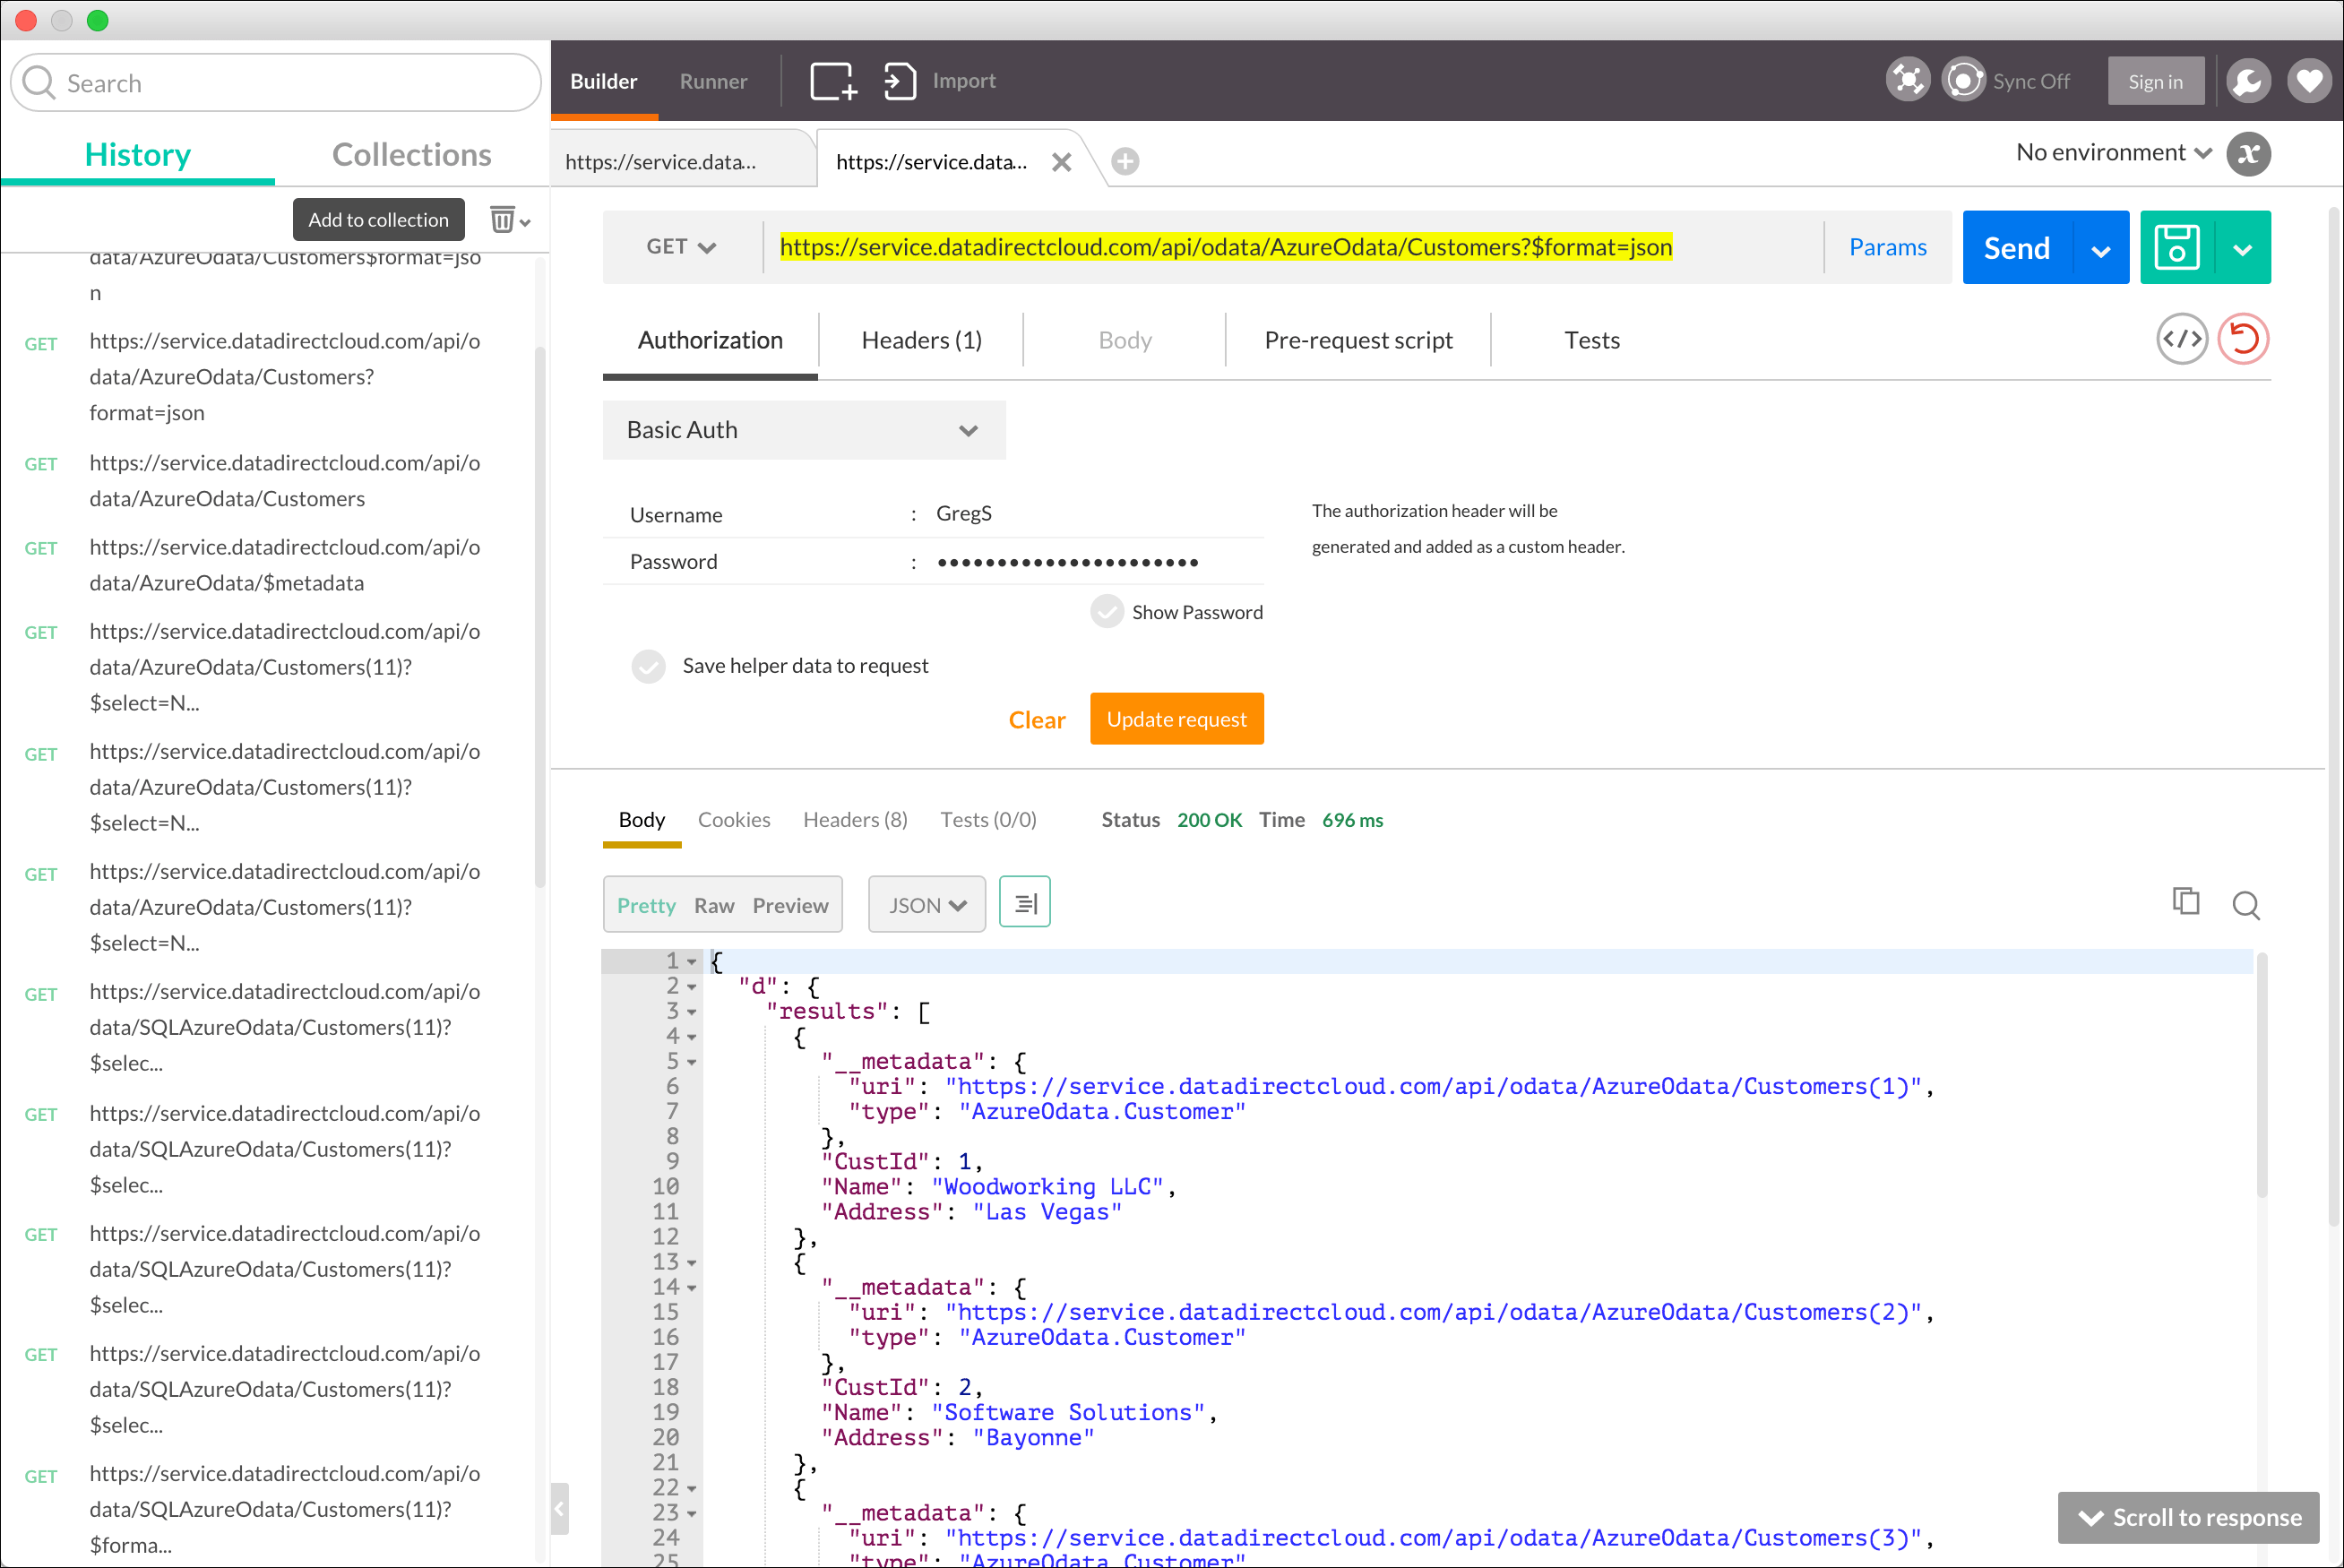
To get the data in JSON format instead, simply append the “format=json” directive to the URI.
To get a specific record, append the appropriate Primary Key value.

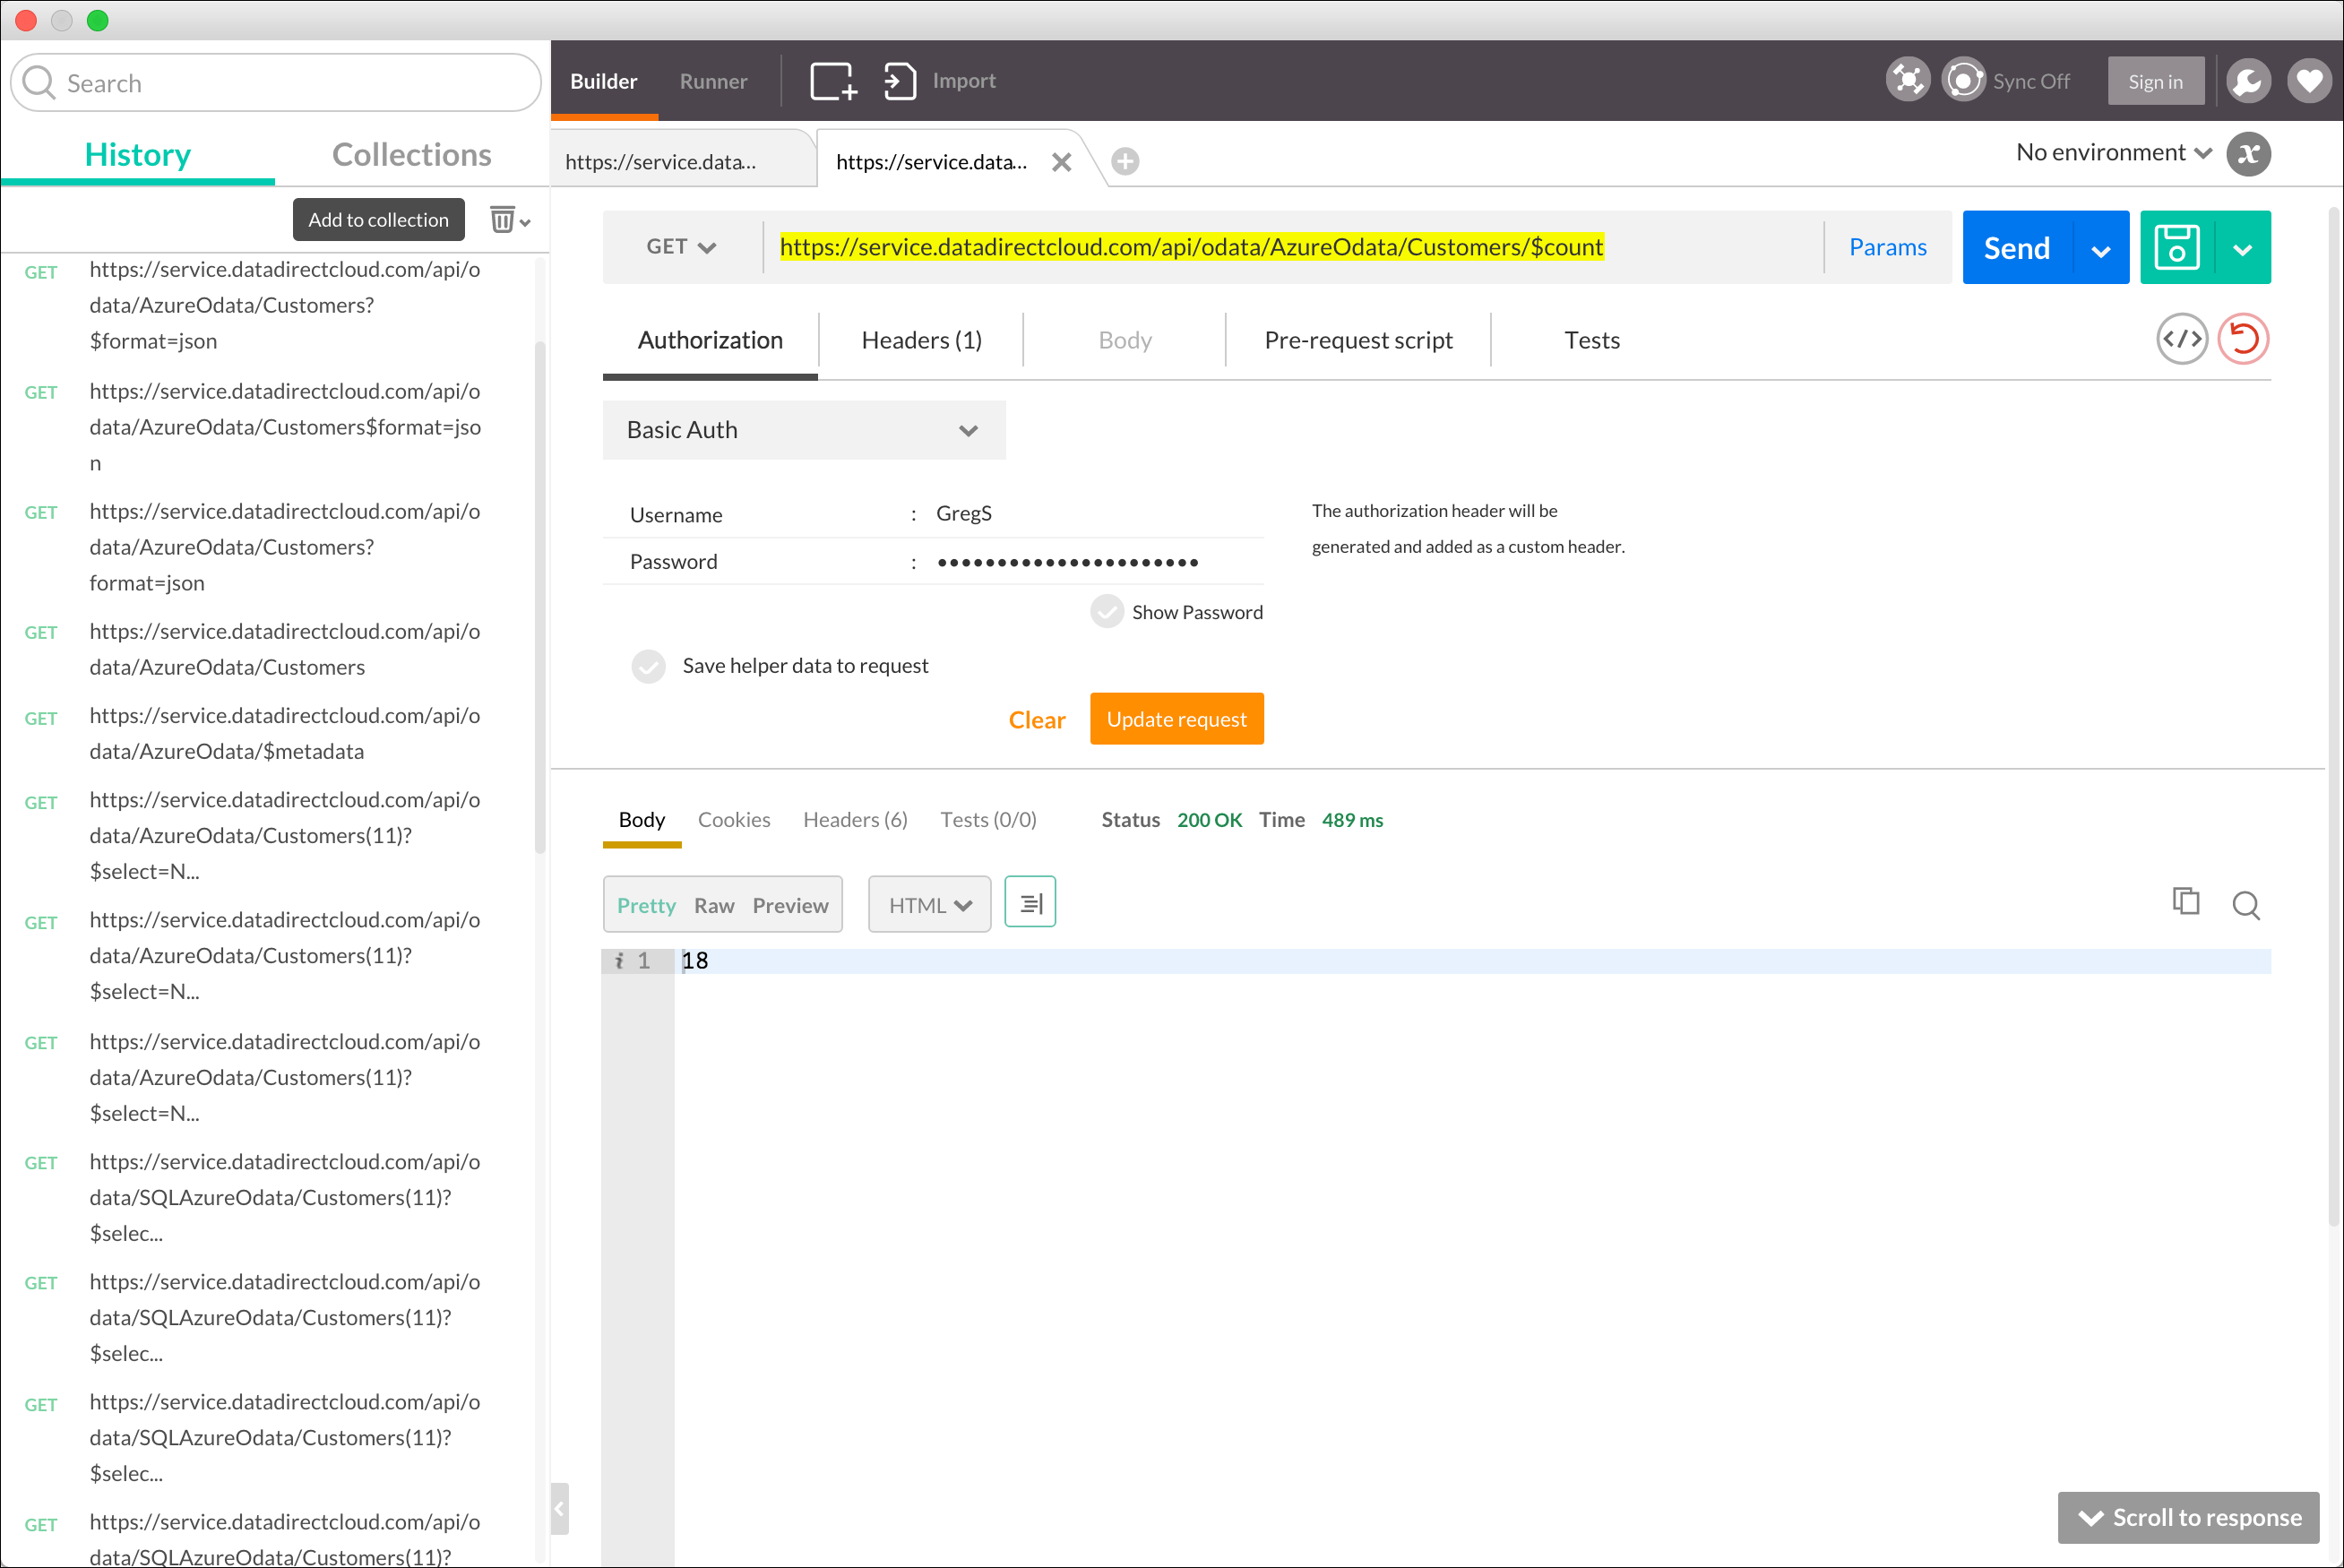
You can even get a count of the number of records in the Customers table. Here you specify the appropriate directive, “$count”, on the Service URI.
This is just a sample of the kinds of interactive querying you can do via Postman against an OData data source. For more technical information about OData syntax, check out OData.org's OData 2.0 URI Conventions page. We also support the OData 4 version. You can read about it in our blog.
Get Started With OData Today
Now that you have an idea of some of the benefits OData has to offer, you may be ready to try it yourself! We offer a simple way to OData-enable the leading enterprise and cloud data sources, allowing them to be accessed by the OData tool or application of your choice. This allows you bi-directional data access to leverage read and write support for OData entry points for any application or data source. Try Hybrid Data Pipeline today and start harnessing the power of OData.

