How to Easily Display Images by URL with Kendo UI Builder
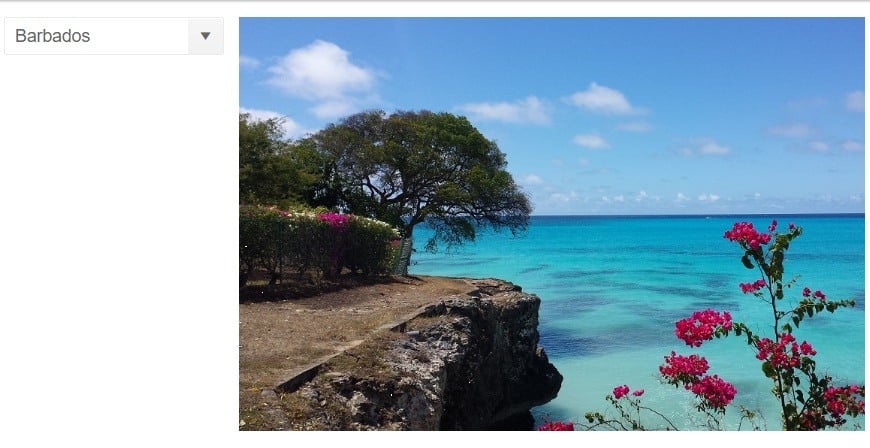
With Kendo UI Builder, it's easy to build custom components to quickly present data in your app. In this post, learn how to display images from a URL stored in data.
When building apps, you may need to render an image from nothing more than a URL stored in data. Imagine this scenario: You need to display a travel destination name and its associated picture, and both are available from JSON data, as a string for the destination name and an image URL for the picture. In this post, we will see how to use Kendo UI Builder to easily create a component to render images from a URL taken from a data source.
Initial Setup
The component is available from github here.
Follow the steps outlined in the first post in this series to install this template in your target application. Note, the sample is specific to the Angular framework (it is not applicable to AngularJS framework).
Getting Started
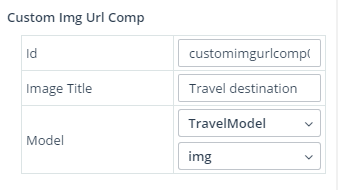
The component has properties that allow you to configure which data model to use and which field from this model contains the URL to the image (this is the field from the JSON data that has the image URL). Optionally, you can configure the image title, which will be used as the title attribute of the img tag.
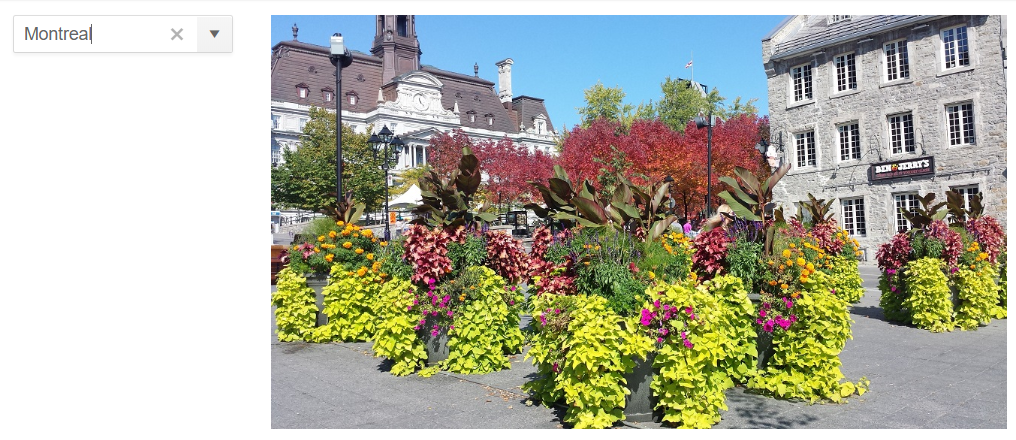
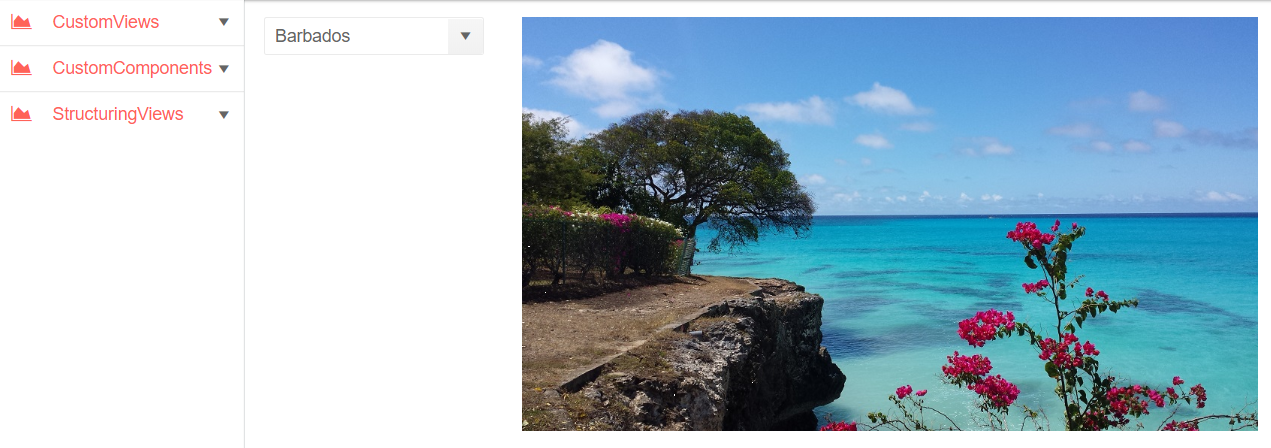
Here's an example view using the component. We have a combo-box on the left from which we can select a destination and the image component on the right.
The component is designed to fit well in the responsive grid system. The image will automatically be resized to fit in the column available space.
Below is an example with the combo-box using 25% of the available view space, while the image takes the remaining 75%. This is how it renders with a 670px wide screen:
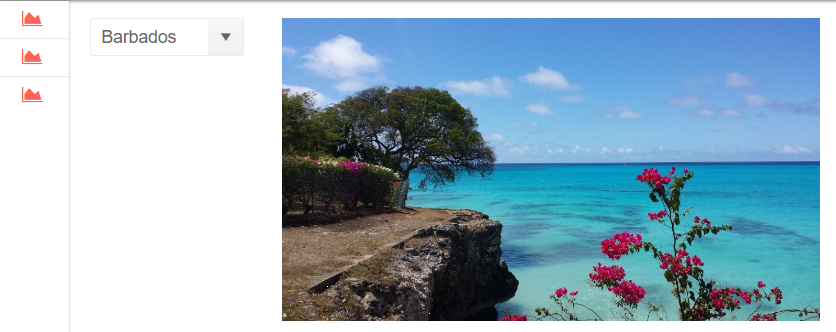
And here is how it renders with a width of 1024px:
The component was implemented using the techniques we learned earlier in this series:
- Introduction to Custom Components for Kendo UI Builder
- Creating Kendo UI Builder Custom Components from Angular Components
- Getting at data from data sources is similar to the post, Displaying Metrics from IoT Devices with Kendo UI Builder
- Also, you may want to take a look at this post on Single Value vs. Multi-Value Kendo UI Builder Custom Components (this component is a single value component)
Hopefully you will find this component useful as-is. However, it is easy to adapt it to your needs. For example, the component is currently implemented for an absolute image URL in the JSON data. In some cases, the URL field might be relative. It would be relatively easy to adapt this component to take a base path property that would be prepended to the URL field.
In my next post, we will see how we can combine this component and a couple more upcoming components to create a travel destination page. Check it out and let me know what you think 😊.
Catch Up on Kendo UI Builder
If you jumped into this series in the middle and want to start from the beginning, you can find the previous blog posts here:
- Introduction to Kendo UI Builder Templates
- Behind the Scenes of Kendo UI Builder Templates
- Event Processing in Kendo UI Builder Templates
- Augmenting Models in Kendo UI Builder Templates
- Introduction to Custom Components for Kendo UI Builder
- Creating Kendo UI Builder Custom Components from Angular Components
- Creating a Custom Rating Component with Kendo UI Builder
- Displaying Metrics from IoT Devices with Kendo UI Builder
- Single Value vs. Multi-Value Kendo UI Builder Custom Components
- How to Build Custom Views from Your Data with Kendo UI Builder

Thierry Ciot
Thierry Ciot is a Software Architect on the Corticon Business Rule Management System. Ciot has gained broad experience in the development of products ranging from development tools to production monitoring systems. He is now focusing on bringing Business Rule Management to Javascript and in particular to the serverless world where Corticon will shine. He holds two patents in the memory management space.
