Configuring On-Premise Connector for Hybrid Data Pipeline on AWS
Introduction
Progress DataDirect Hybrid Data Pipeline is an innovative data access service for enterprises and cloud ISVs that is designed to simplify and streamline data integration between cloud, mobile, and on-premises sources through a secure, firewall-friendly integration. One of the main features that we talk about and that many customers love is how Hybrid Data Pipeline connects your on-premise data sources even though they are behind a firewall.
In order to do that, you will have to install an On-Premise connector behind your firewall that allows secure and real-time access to in-network data sources from anywhere.
As you can deploy Hybrid Data Pipeline, anywhere in the world and if you have deployed it on AWS EC2, this tutorial will help you to configure the On-premise connector to work properly with the Hybrid Data Pipeline installation on AWS EC2.
Before You Begin
- We assume that you have deployed Hybrid Data Pipeline on AWS EC2 by following this tutorial and now you are trying to install and configure On-premise connector in your environment.
- If you don’t have the installer for Hybrid Data Pipeline’s On-premise connector, you can download it by visiting this page and filling out your details.
- Before running the installer, you would have to copy the files in the path /path/to/Progress/DataDirect/Hybrid_Data_Pipeline/Hybrid_Server/redist/ from Hybrid Data Pipeline installation directory to the directory of the On-premise connector installer.
Installing On-Premise Connector
- Double click the installer to start the installation. Click next on the Introduction window.
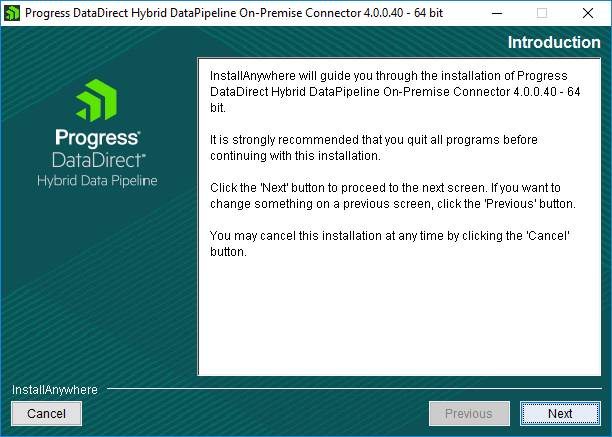
Fig: Hybrid Data Pipeline – On Premise Connector Introduction
- On the next screen you would be asked to choose installation directory. You can either keep it as a default or choose your own location.
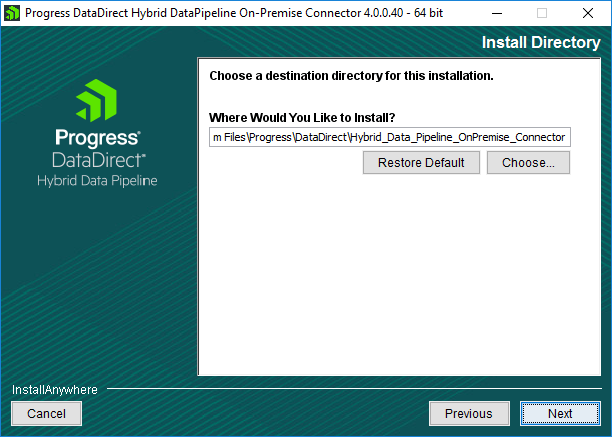
Fig: Hybrid Data Pipeline – On Premise Connector Install Location
- On the next screen, choose standard installation if you don’t need any customization. If you need to enable support for Microsoft Dynamics CRM or you would need a proxy to access public internet, choose advanced installation and click Next.

Fig: Hybrid Data Pipeline – On Premise Connector Installation Type
- On the next screen, you would have to provide the credentials that you use to authenticate with Hybrid Data Pipeline and a unique connector label and click on Next.
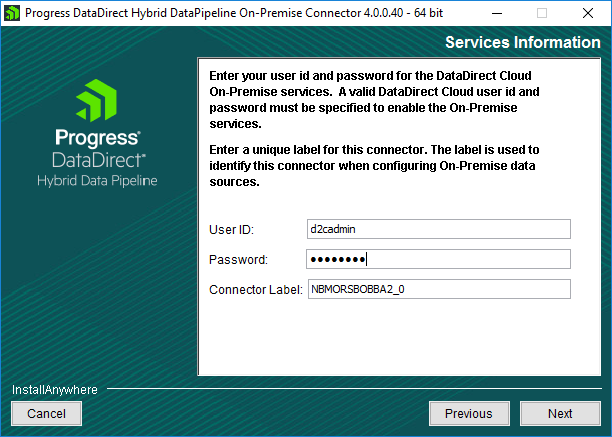
Fig: Hybrid Data Pipeline – On Premise Connector Services Information
- Your credentials will be verified at this point and if it’s success authenticated, you will be shown Pre-installation summary. Click on Install to start the installation.
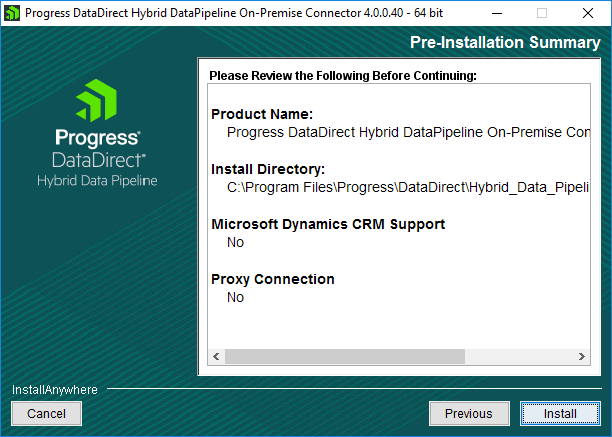
Fig: Hybrid Data Pipeline – On Premise Connector Pre Install Summary
- Click on Done, after the installation is complete to close the installer.
Configuring On-Premise Installer
- Open the Hybrid Data Pipeline On-Premise configuration tool from Start Menu and go to status tab and click on Test connection. You will see that On Premise connector fails to connect to couple of services as shown below.
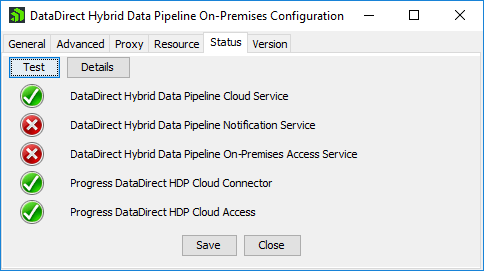
Fig: Hybrid Data Pipeline – Before Status
- This is because we didn’t configure the firewall and this EC2 instance inbound security rules to accept connections on the ports that these services are listening on.
- The default ports for On-Premise Access service is 40501 and Notification service is 11280 and 11443 where one doesn’t use SSL and other uses SSL. If you have configured these ports while installing, you should be able to find the values in the configuration file names Onpremise.properties that you copied from redist folder to install On-premise connector.
- To open the ports on the VM where Hybrid Data pipeline is installed, open the terminal and run the following commands.
sudo iptables -I INPUT -p tcp -m tcp --dport 40501 -j ACCEPT
sudo iptables -I INPUT -p tcp -m tcp --dport 11280 -j ACCEPT
sudo iptables -I INPUT -p tcp -m tcp --dport 11443 -j ACCEPT
sudo service iptables save
- Now go to AWS EC2 dashboard and on the left navigation pane, expand Network & Security and open Security groups. Locate the security group for this instance and click on that row, you should see a bottom pane like below, where you can configure a new rule.

Fig: Hybrid Data Pipeline – EC2 Inbound Security Rules
- Add security rules to accept incoming TCP connections on the above ports. Please find below the screenshot of the settings for your reference.

Fig: Hybrid Data Pipeline – EC2 Inbound Security Rules
- Now open the Hybrid Data Pipeline On-premise configuration tool and test it again. This time connection to all services should be successful as shown below.
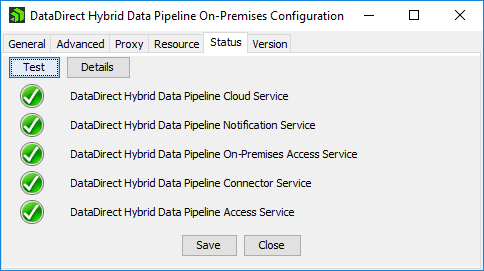
Fig: Hybrid Data Pipeline – After Configuration
Next Steps
Now that you have configured the On-Premise connector to work properly with your Hybrid Data Pipeline installation on AWS EC2 instance, feel free to connect your On-Premise data sources to access them in a fast, secure and easiest way than ever that you have ever accessed your data. If you have any questions or have any trouble with the configuration, feel free to leave comments below or contact support.