Part 2: How to query data from multiple REST endpoints
Query multiple endpoints with the Autonomous REST Connector
In the first tutorial of this series, we demonstrated querying data from a single endpoint using the Autonomous REST Connector; however, REST services are typically comprised of multiple endpoints that return data. To configure the Autonomous REST Connector to connect to multiple endpoints, you must define your endpoints using a Model file. This tutorial will guide you through creating a model file with the included Autonomous REST Composer tool, connecting to your endpoints, and querying your data.
Create a Model File
To generate your Model file:
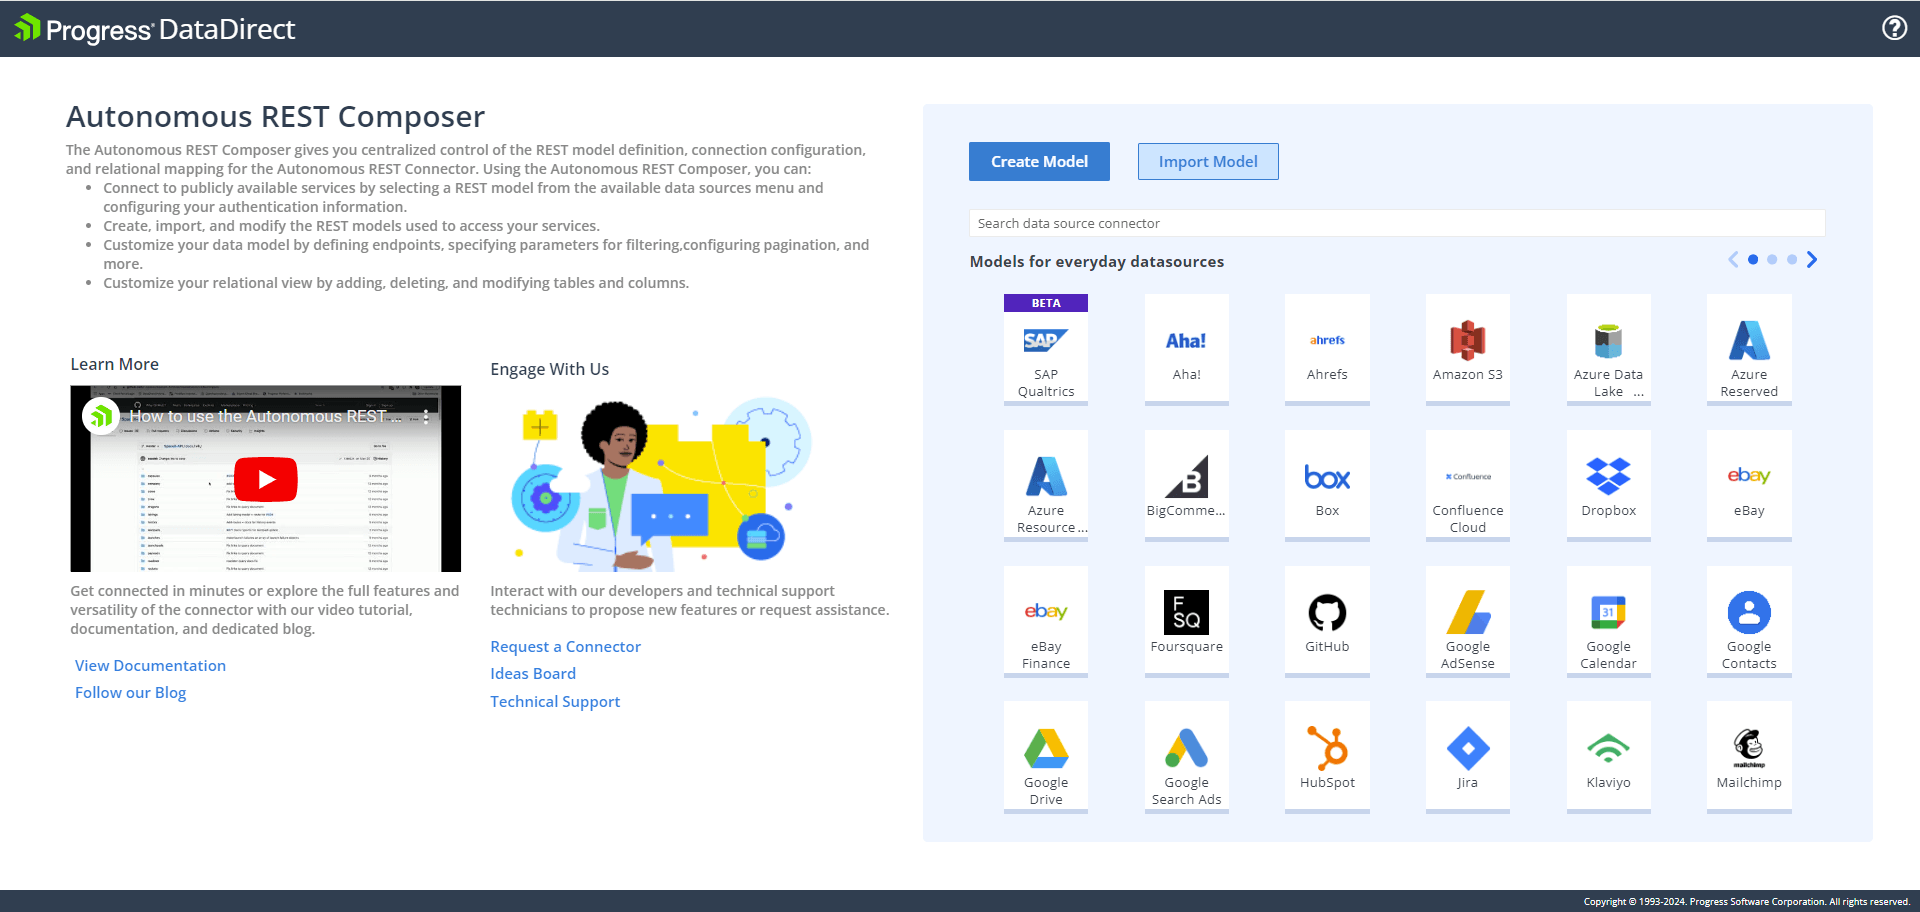
- Open the Autonomous REST Composer by using one of the following methods:
- Select the Autonomous REST Composer (JDBC) icon from your desktop or the Windows Start menu.
- From a command line, navigate to the directory containing the autorest.jar file and execute the following command:
java -jar autorest.jar --designBy default, the
autorest.jarfile is stored in the following directory:C:\Program Files\Progress\DataDirect\JDBC\lib\60.

- Select Create a Model.
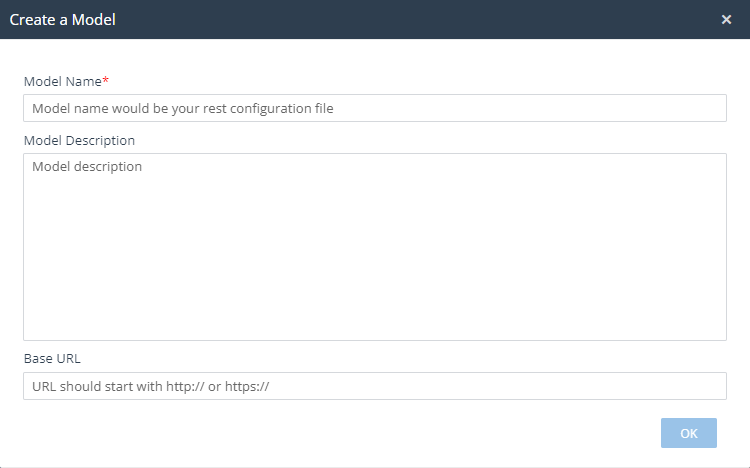
- The Create Model window opens.

Complete the following fields to create a new project; then, click OK:
- Model Name: The name of your project and Model file to be created.
- Model Description: An optional description of your Model. Note that this description will be stored in clear text in the Model file.
- Base URL: The host name portion of your REST endpoints.
Note: The Base URL field is optional. You can also specify the base URL in the Host Name field on the Connection tab. Specifying a value in either location pre-populates the base URL in the Endpoints field(s) of the Configure Endpoints tab.

- Configure authentication for your endpoint. For example, provide values for the following fields:
- Configure Authentication Methods(s): Select BearerToken from the drop-down. This determines which authentication methods are allowed to be configured for your driver.
- Authentication Method: Select BearerToken from the drop-down. This determines which authentication method is being configured for the current connection.
- Security Token: Enter your Yelp API Key.
- Select the Configure Endpoints tab on the side menu.

Provide the minimum required information for an endpoint to which you want to issue requests:
- From the Endpoint drop-down menu, select the type of request to issue against your endpoint. For our example, select GET.
- In the Endpoint field, type the path portion of your endpoint after the base URL. Note that the value must be valid URL-encoded syntax. For our example, enter the categories endpoint:
https://api.yelp.com/v3/categories - In the Table Name field, type the name of the relational table to which you want the endpoint to map. For our example, provide the following table name:
categories
- Click Send. The driver sends the REST request and generates a relational view of the data based on the response. To add additional endpoints, click in the + button from the list of REST requests on the left. For testing purposes, add the following endpoints:Notice that for the Search (
Request Type Endpoint TableName GEThttps://api.yelp.com/v3/eventseventsGEThttps://api.yelp.com/v3/businesses/search?location=27617businessbusinesses/search) endpoint, I provided a default zip code value of27617for the location. This is because the endpoint requires query parameter in the form of a location to make sure that the connector can sample it and create a table with the correct metadata. - Optionally, click Test Connect or select the SQL Editor tab to test your model by executing SQL queries.
- Click Download to generate and download your Model file.
- Move your Model file to a location to be used by the driver. When configuring your connection string or data source, you will also need to specify this location using the Config connection property.
After creating your Model file, you are ready to configure and connect. You can edit your Model file later by selecting Import a Model on the welcome screen of the Autonomous REST Composer.
Connect and query
In an earlier section, we sampled a single endpoint by setting the Sample property to a single Yelp endpoint. The Sample property allows you to only sample one endpoint at a time, but, if you want to sample multiple endpoints, you need to set the Config property to specify the file path to the Model file that you have just created.
- From Dbeaver, go to Database > New Database Connection.
- Select the Autonomous REST Connector. Then, click Next.

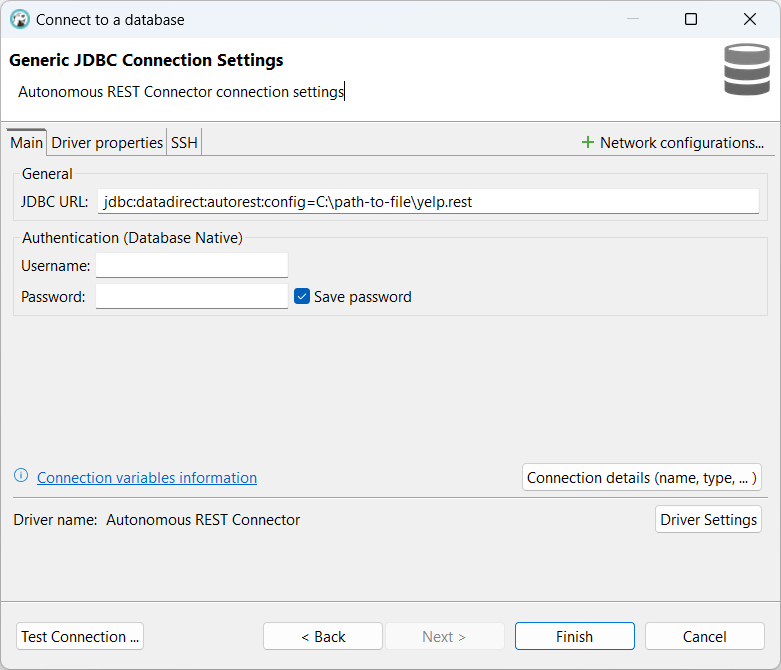
- Enter the JDBC URL. The Config connection property is used to specify the path to the REST model you created above.
jdbc:datadirect:autorest:config=C:\\yelp.rest - Select the Driver properties tab, and enter the required authentication information. For this example, the following must be provided:
- Authentication Method:
BearerToken - SecurityToken: Enter your Yelp API Key.
- Authentication Method:
- Click Test Connection to sample and regenerate the relational view to include your new endpoints. Then click OK. Open a new SQL editor in Dbeaver by going to SQL Editor > New SQL Script. Then select the connection we just created.
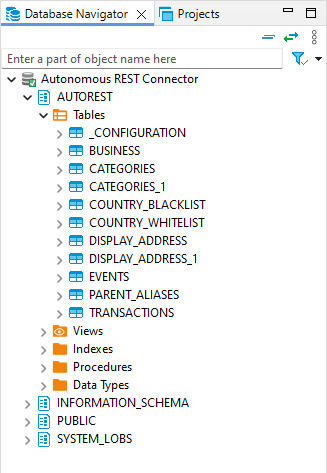
- To view the sampled data from your new endpoints, expand the window in the Database Navigator. The connector has the normalized the JSON data it obtained from each of the Yelp endpoints.

- In the SQL editor pane, execute queries against the tables derived from the Yelp endpoints you defined in the REST model file. Here are some sample queries you can try:
SELECT * FROM CATEGORIES WHERE alias LIKE '%food%'SELECT C.ALIAS, C.TITLE, PA.PARENT_ALIASE, PA.POSITION FROM CATEGORIES C INNER JOIN PARENT_ALIASES PA ON PA.CATEGORIES_ALIAS = C.ALIASSELECT C.ALIAS, C.TITLE, CB.COUNTRY_BLACKLIST, CB."POSITION" FROM CATEGORIES C INNER JOIN COUNTRY_BLACKLIST CB ON CB.CATEGORIES_ALIAS = C.ALIASSELECT C.ALIAS, C.TITLE, CW.COUNTRY_WHITELIST, CW."POSITION" FROM CATEGORIES C INNER JOIN COUNTRY_WHITELIST CW ON CW.CATEGORIES_ALIAS = C.ALIASSELECT * FROM EVENTSSELECT * FROM BUSINESS WHERE LOCATION='10001'SELECT * FROM BUSINESS WHERE LOCATION='94016'SELECT * FROM BUSINESSES B INNER JOIN CATEGORIES_1 C ON B."POSITION" = C.BUSINESSES_POSITION WHERE B.LOCATION='10001' AND C.LOCATION='10001'SELECT * FROM BUSINESSES B INNER JOIN CATEGORIES_1 C ON B."POSITION" = C.BUSINESSES_POSITION WHERE B.LOCATION='10001' AND C.LOCATION='10001' AND c.ALIAS LIKE '%brunch%'
You have successfully connected to and queried multiple endpoints. Optionally, you can add additional endpoints to your Model file by repeating this process. Note that the tables mapped from new endpoints can only be queried after you reconnect using an updated model file.
What's next
In the next section, we will guide you through editing the auto-generated schema to change table names, primary keys, and more. If you have any questions or issues, feel free to contact us.
More information
The Autonomous REST Connector provides JDBC and ODBC connectivity to Yelp, GitHub, JIra, and many other REST APIs.