Building Your First Pages with Sitefinity

Getting started with Sitefinity is easy—within minutes, you'll be building your first pages. Read on to learn how to get going quickly.
There’s a famous Chinese proverb that says “a journey of a thousand miles starts with a single step.” While it’s a bit cliché, it’s true nonetheless and I think it’s always a great way to look every project. It might look daunting from the outset, but sometimes the best way to get going is by simply taking the first step and letting inertia take over.
Of course, a little forward momentum never hurts either, which is why we recently revamped and relaunched our Getting Started with Sitefinity tutorial series. In this blog, we’ll take a look at how to create your very first website pages after you install Sitefinity.
Taking Your First Steps
Whether you created your project using NuGet or Project Manager, the first time you try to access a newly created Sitefinity site, you’ll be greeted by a screen that prompts you to configure the database.

You may have a few different options here, but for the purpose of this blog, I’ll simply use my SQL Express instance and continue. Sitefinity will then set up the database (which should only take a few minutes) and after that, we’ll be routed directly to the admin area. At any time, you can navigate to the admin section by simply adding /sitefinity to your project’s URL.
Note that when no pages have been created, Sitefinity will try to take you directly to the homepage of your site—even thought it doesn’t exist. Instead, the system will show you a screen that prompts you to start creating pages.
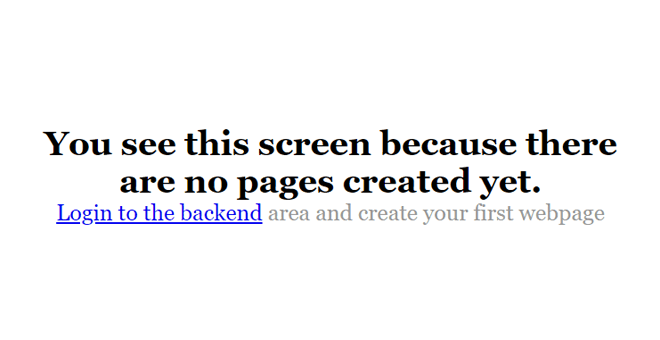
Notice how in the first minutes that we’ve started working with Sitefinity, we’ve learned a couple of core technical specifics about the system. First, it’s a database-driven application that can work with different databases (although SQL Server tends to be the most popular choice). Second, we can also see that it’s entirely a web-based application. An ASP.NET 4 application, to be more precise. And content management can be entirely done from a web browser.
The Very Dashing Sitefinity Dashboard
The Dashboard area is where we can see the Sitefinity navigation, system status messages and links to a few additional “getting started” resources and videos. Additionally, the Dashboard is the entry point for your website Recycle Bin.
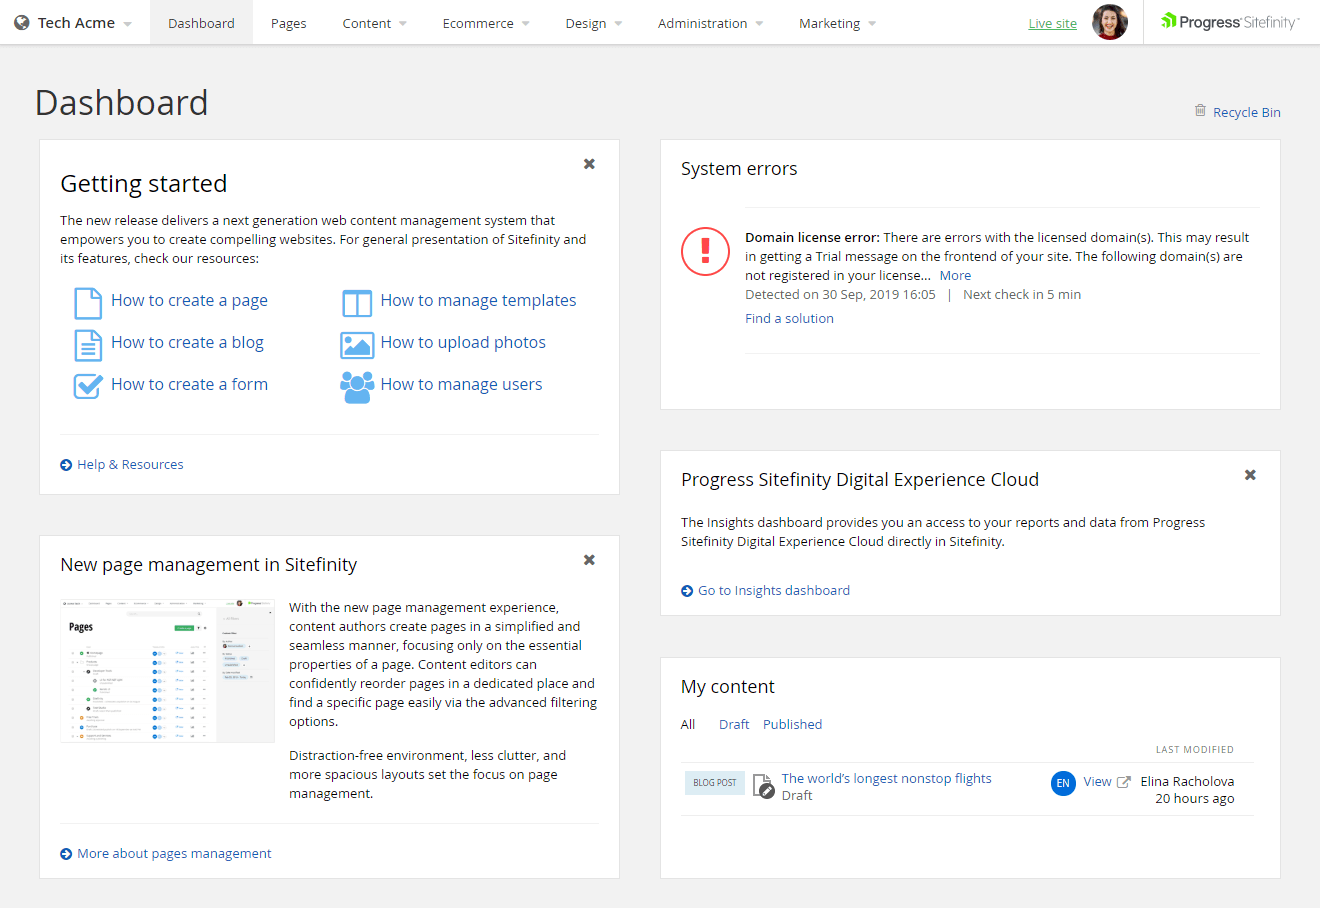
The essential work areas are accessed through the top-level navigation. The first two sections that you see, Pages and Content, are the areas where CMS users are likely to spend most of their time. The navigation also guides you to other sections that you can explore later, like the Ecommerce module along with the Design, Administration and Marketing sections. The last thing that you see at the very top is only there if you are working in a Multisite edition—it’s a selector that allows you to change the context of all your sites and manage them through a single Sitefinity installation.
Right now, we’re logged in as an Administrator, but all the options that you see here depend on the permissions that you have. For example, content Authors and Editors are by default unable to access the Administrative section. Also, if you are running an edition that doesn’t support one of the modules that you see here, for example Ecommerce, you simply won’t see it in the navigation.
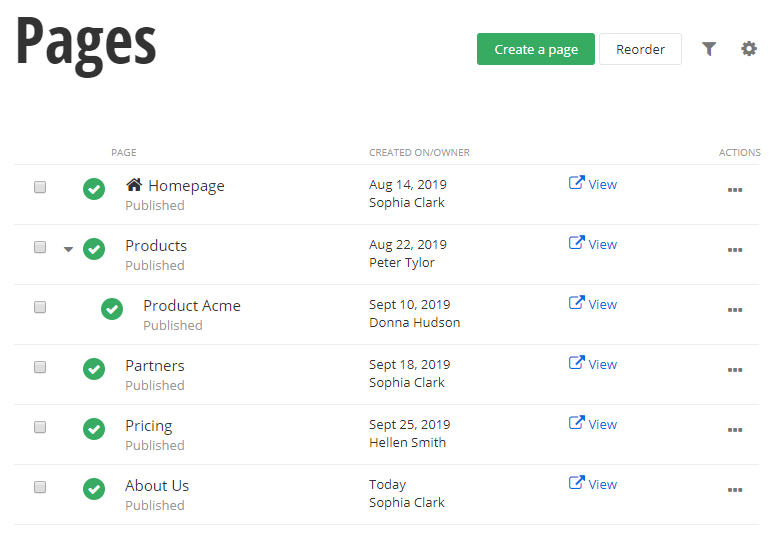
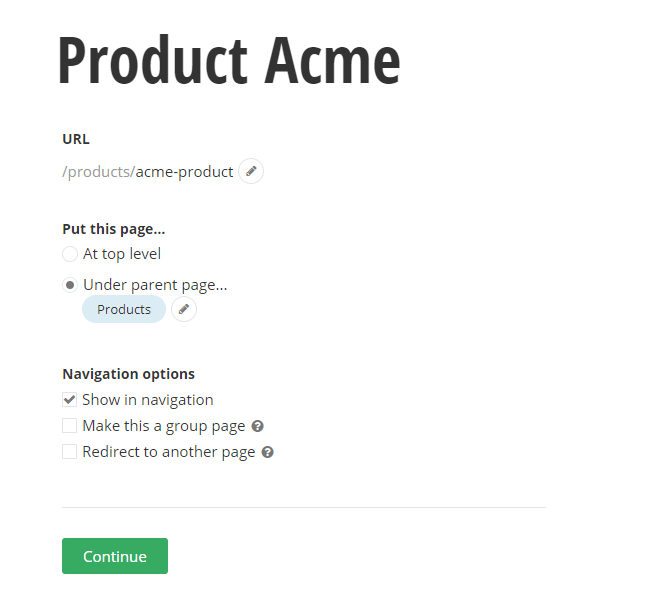
If you’re just getting started with the system, it’s best to go first to the Pages section. Here is where we’re setting the entire foundation of the website – our page structure. Since there are no pages created, you can go ahead and create your first Hello World page. Once you click “Create page,” you’re taken to a section where you can set your page properties. In future tutorials, we’ll explore the flexibility around page creation in greater depth and go through more technical details around this process. However, for the moment, all you need to do is enter a meaningful page name of some sort, like “Home” or “About Us,” and you’ll be good to go.
Now we are ready to start dragging and dropping content in our pages and organizing them. Here I’m just going to create a Hello World page by dragging and dropping a Content widget and typing in the text Hello world in a heading. If I hit preview I can see that I’ve created a very simple page with Sitefinity, and at this point I’m ready to publish this page.
Putting It All Together
Now that you’ve created your first page, you should probably create a few more blank or basic pages to get a better sense of your website structure. It doesn’t have to be a major project—maybe something like an “About Us” page or a “Pricing” page. You can even duplicate pages if you’re just messing around with the CMS. Note that even if you’re whizzing through this process, Sitefinity subtly makes sure to take care of the SEO groundwork, such as friendly URLs and titles.
Let’s add one final touch to our website—a navigation bar so that we can easily browse through our pages and start adding content and widgets to them. You can do this by going to the Design section and looking at the templates—even if you don’t remember which ones you were using, it’s easy to determine which one it is if you look at the page statistics.
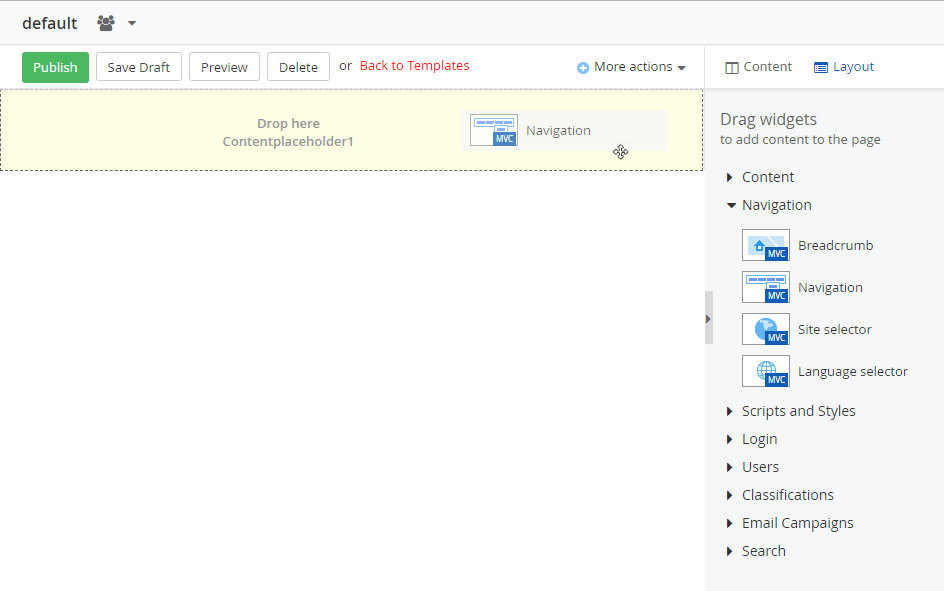
You can go ahead and modify any layouts that you have defined on a template level. Layouts are an extremely powerful notion in Sitefinity that we’ll explore more in our templating tutorials.
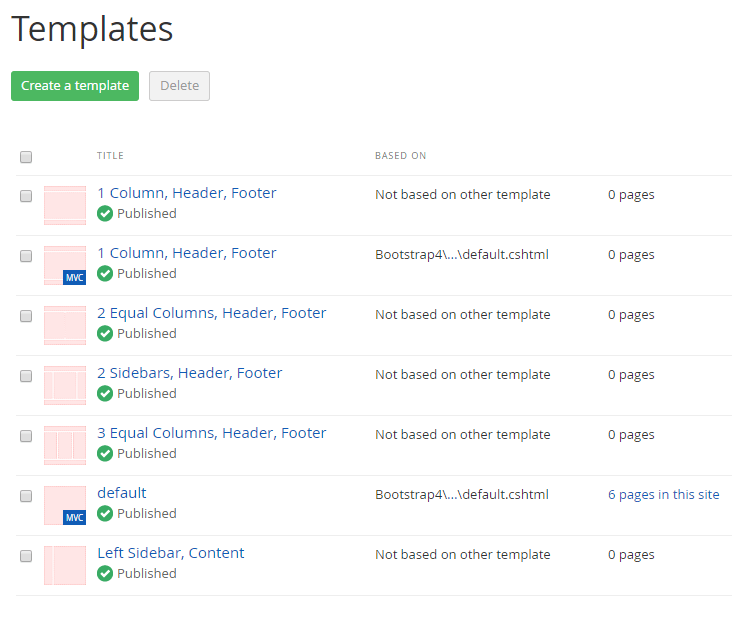
For this project, you should just add a menu that will allow you to navigate through your site so you can admire your handiwork! Just go ahead and publish this template, then click “Live Site” and you’ll find yourself at the homepage that you just created.
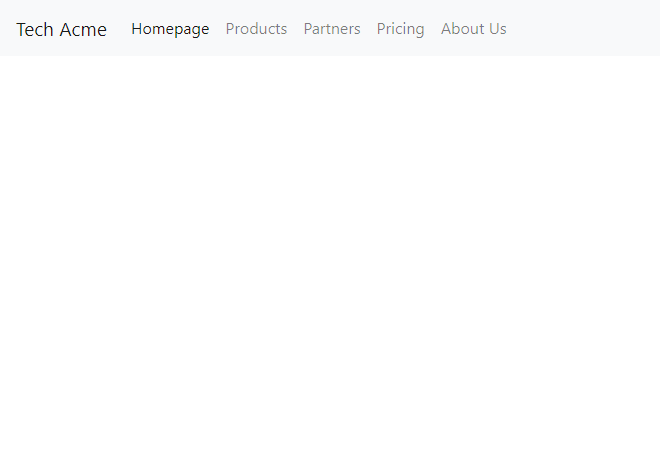
Now you have some basic knowledge of setting up your initial workspace! But as we mentioned in the beginning, these are just your first steps in the journey of a thousand miles. Keep trekking forward and building better, bolder and brighter digital experiences—we’ll be with you every step of the way on this crazy adventure!
Want to become a digital experience ninja? We have designed a free course to help developers who have little to no experience in developing against Sitefinity to get up to speed. Sign up here or head over to our getting started video section for more guides..
You can also download or try a fully functional instance of the latest Sitefinity CMS.

