Single-Sign-One (SSO) in Sitefinity with External Identity Providers


We spend so much time writing down dozens of passwords for each website we use. It can feel like every awesome website requires another registration and a new password to remember. Luckily, a modern WCM can solve that part of the customers’ journey with the help of Single-Sign-On (SSO), both on the frontend and for users of the administrative panel.
The New Improved Authentication in Sitefinity
Progress Sitefinity supports SSO and is always working to make it easier and more secure. The engineering team has just improved the authentication mechanism to rely on the latest security and authentication concepts. Here are the three major aspects of it.
OpenID Connect
When building a stable security solution for a web application, developers often need to deal with multiple problems - authentication, SSO, federation, web API access and delegated authorization. OpenID Connect is the “tool” that does it all.
OpenID Connect, which is an authentication layer on top of OAuth2, allows end-users to verify their identity based on authentication performed by an authorization server and obtain basic profile information that will be used by the web application.
IdentityServer
Sitefinity provides this protocol with the help of IdentityServer3, which is an open-source .NET/Katana-based framework and has large community of contributors keeping it up to date. By building upon it, Sitefinity users benefit from its high security standards.
SSO (Single Sign-On)
SSO is actually the solution and it provides a mechanism to authenticate once and avoid further prompts of credentials each time you switch applications during the same browsing session. Additionally, end-users gain greater control of their identity and decide what information they want to share. A simple example is when you use your Google account to log into a 3rd party application like Pinterest.
Enabling the SSO for Sitefinity
However, now comes the question: how do you implement this feature? How can we facilitate our content editors and frontend users to seamlessly login to our website?
Writing this from scratch requires a deep understanding of authentication protocol schemes and a long tiresome selection of technologies.
To make this easier, Sitefinity provides a straightforward way to configure this out of the box. We can now facilitate our login process, and additionally relieve ourselves of the burden of having to store our users’ passwords, while still keeping security at a high level.
How does it work behind the scenes? Sitefinity first requests an JWT authentication token from the respective identity provider. Upon receiving a successful token, Sitefinity associates this token with a user which can utilize the full CMS capabilities, without keeping any login credentials stored in the database.
Let's jump in the specifics in how to setup SSO in Sitefinity with providers like Google, Facebook, Microsoft, GitHub, or any other custom provider your organization uses. The samples below show what the log-in for the backend users looks like, but the same configurations are valid for the frontend user, too.
Setup with Microsoft:

- Setup in Microsoft
- Go to https://apps.dev.microsoft.com
- Create a new app and set the application name
- Generate a new application secret
- Add a new platform and set the following fields:
Redirect URLs: https://www.<yourwebsite>.com/Sitefinity/Authenticate/OpenID/signin-microsoft
Logout: https://www.<yourwebsite>.com/Sitefinity/Logout
- Copy the Application ID and Application Secret
- Save changes
- Setup in Sitefinity
- Go to Sitefinity Backend
- Go to Administration > Settings > Advanced > Authentication > SecurityTokenService > AuthenticationProviders
- Open Microsoft and set the following fields:
Application Id: <Application Id generated from Microsoft >
Application Secret: <Application Secret generated from Microsoft >
Enabled: checked
- Save changes
- Restart Sitefinity
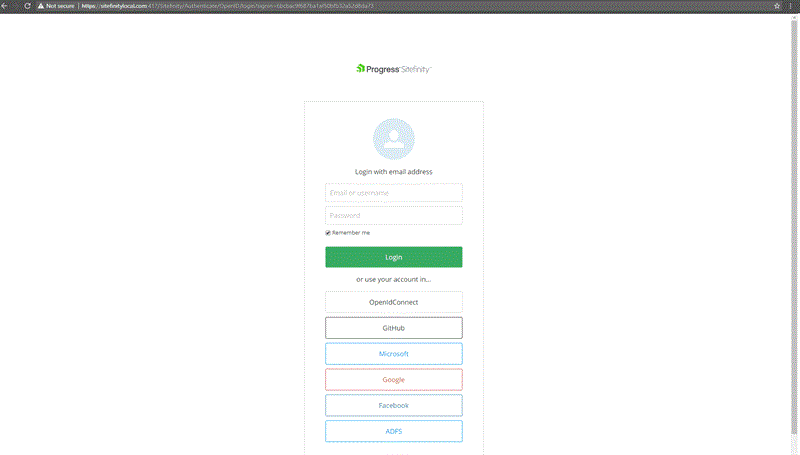
End result:
Setup with Facebook:

- Setup in Facebook
- Go to https://developers.facebook.com
- Select My Apps and add a new app
- Set Display Name and Contact Email and select Create App Id
- From the Add a Product list, select Facebook Login and select Web as a platform
- Set the Site URL to https://www.<yourwebsite>.com
- Go to Settings > Basic and set the App Domains to <yourwebsite>.com
- Go to Facebook Login > Settings and set the following field:
- Copy the Application ID and Application Secret
- Save changes
Valid OAuth redirect URIs: https://www.<yourwebsite>.com/Sitefinity/Authenticate/OpenID/signin-facebook
- Setup in Sitefinity
- Go to Sitefinity Backend
- Go to Administration > Settings > Advanced > Authentication > SecurityTokenService > AuthenticationProviders
- Open Facebook and set the following fields:
Application Id: <Application Id generated from Facebook>
Application Secret: <Application Secret generated from Facebook >
Enabled: checked
- Save changes
- Restart Sitefinity
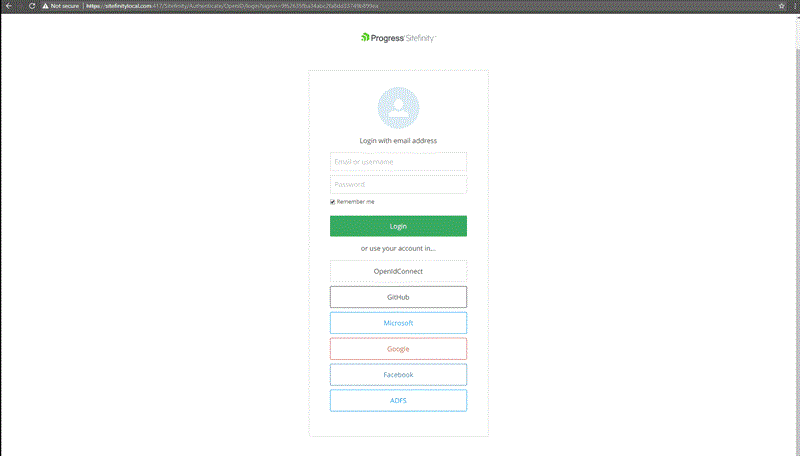
End result:
Setup with Google

- Setup in Google:
- Go to https://console.developers.google.com
- Create a new app or choose an existing one
- Navigate to Credentials > Create Credentials > OAuth Client ID
- Create a consent screen
- Select a Web application for Application Type
- Enter https://<yourwebsite>/Sitefinity/Athenticate/OpenID/signin-google
- Copy the generated Client ID and Client secret
- Save changes
- Setup in Sitefinity
- Go to Sitefinity Backend
- Go to Administration > Settings > Advanced > Authentication > SecurityTokenService > AuthenticationProviders
- Open Google and set the following fields:
Application Id: <Application Id generated from Google>
Application Secret: <Application Secret generated from Google>
Enabled: checked
- Save changes
- Restart Sitefinity
Note: The Authenticating user who is using the app must have the Google+ API enabled in their account, otherwise they will get an access_denied error. This can also be enabled in https://console.developers.google.com
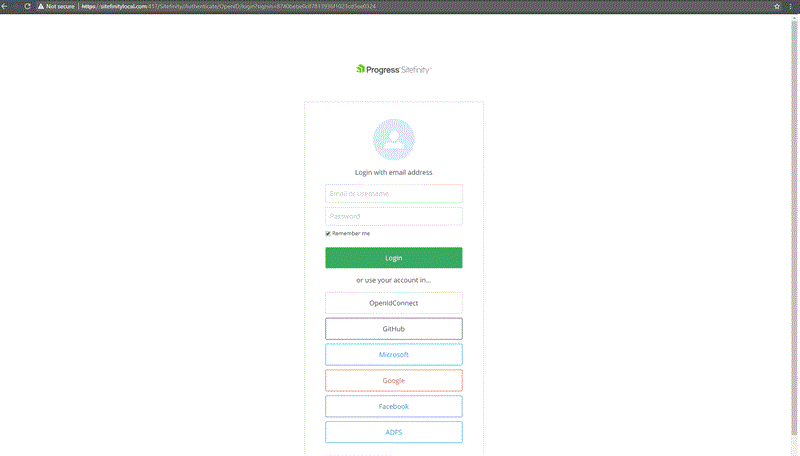
End result:
Setup with Github

- Setup in Github:
- Go to https://github.com/settings/developers
- Create a new app and set the following fields:
Name: <Application Name>
Url: https://www.<yourwebsite>.com
Authorization callback URL : https://www.<yourwebsite>.com/Sitefinity/Authenticate/OpenID/signin-github
- Copy the Application ID and Application Secret
- Save changes
- Setup in Sitefinity:
- Go to Sitefinity Backend
- Go to Administration > Settings > Advanced > Authentication > SecurityTokenService > AuthenticationProviders
- Open Github and set the following fields:
Application Id: <Application Id generated from Github >
Application Secret: <Application Secret generated from Github >
Enabled: checked
- Save changes
- Restart Sitefinity
Note: The authenticating user must have a public Email as Sitefinity requires it. If the email is missing, an "External provider email is missing" error will be thrown. The email can be added in the basic profile.
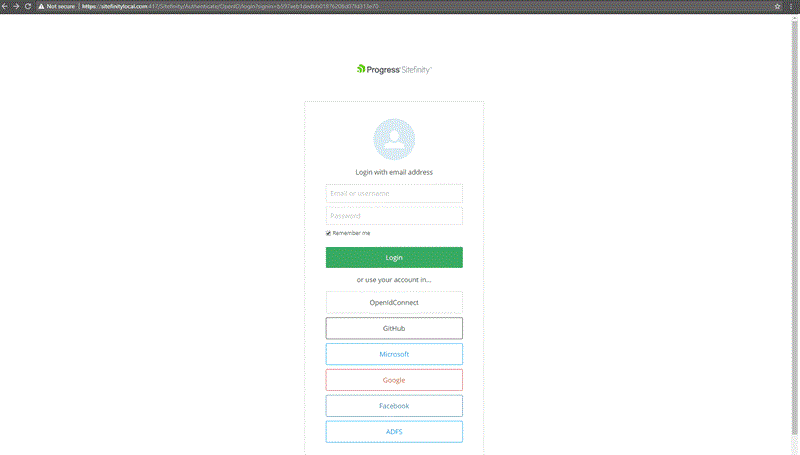
End result:
Setup with ADFS

- Setup in ADFS:
- The settings are specific per ADFS, so we recommend you work with your IT administrator to configure it properly.
- Navigate to Administrative tools > ADFS Management > ADFS > Trust Relationships > Relying Party Trusts
- Add a new relying party trust, based on your needs with the correct WtRealm, and add the endpoint https://<your-sitefinity-website.com>/sitefinity/authenticate/openid
- After you have successfully added the Relying Party, configure the claims as per demonstrated in the screenshot. (Make sure the claims rules are specific for this relying party and not global)
- Setup in Sitefinity:
- Go to Sitefinity Backend
- Go to Administration > Settings > Advanced > Authentication > SecurityTokenService > AuthenticationProviders > ADFS
- Input Metadata Address and WtRealm
- Check Enabled
- Save changes
- Restart Sitefinity
End result:
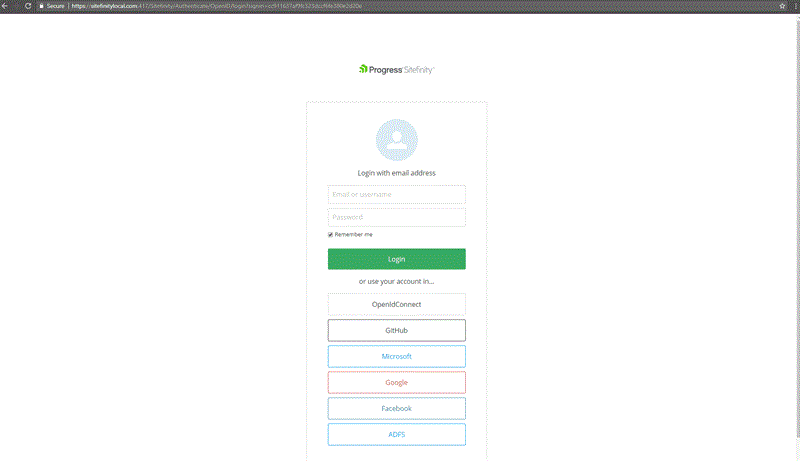
Setup with Custom Identity Provider Based on OpenID Connect (Introduced in 10.2)

Have you implemented a custom application that contains users that want to authenticate? You can use the application as an identity provider (just make sure the app provides OpenID connect endpoint and provides email as a scope!).
- Setup in the provider:
- Create a new client to authenticate against the user.
- Create a unique ClientID
- Setup a redirect URI
- Provide the email scope in the token
- Make sure that the Provider has the following endpoint: https://<Yourcustomapp>/.well-known/openid-configuration, so Sitefinity can request the token
https://<yourwebsite>/Sitefinity/Authenticate/OpenID/signin-custom
- Setup in Sitefinity:
- Go to Sitefinity Backend
- Go to Administration > Settings > Advanced > Authentication > SecurityTokenService > AuthenticationProviders
- Open OpenID connect and set the following fields:
Client ID : unique ID from the app
Authority: http://<yourwebsite>/
Redirect URI: https:///<yourwebsite>//Sitefinity/Authenticate/OpenID/signin-custom
Enabled: checked
- Save changes
- Restart Sitefinity
End result:
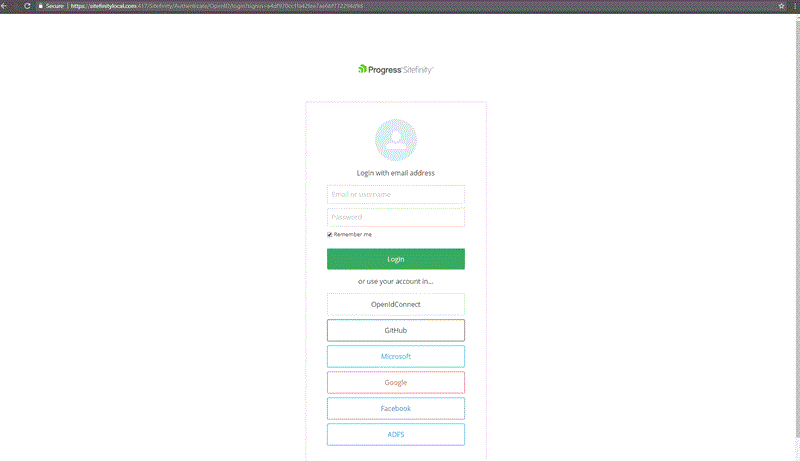
Note: The provider can be implemented for versions 10.0 and 10.1 however, it requires a custom class extension and is not provided out of the box.
Enable SSO for Frontend Users
All the external providers can be used on the frontend of the website as well as the backend.
Just place a login widget on your page and open its designer screen as shown below:
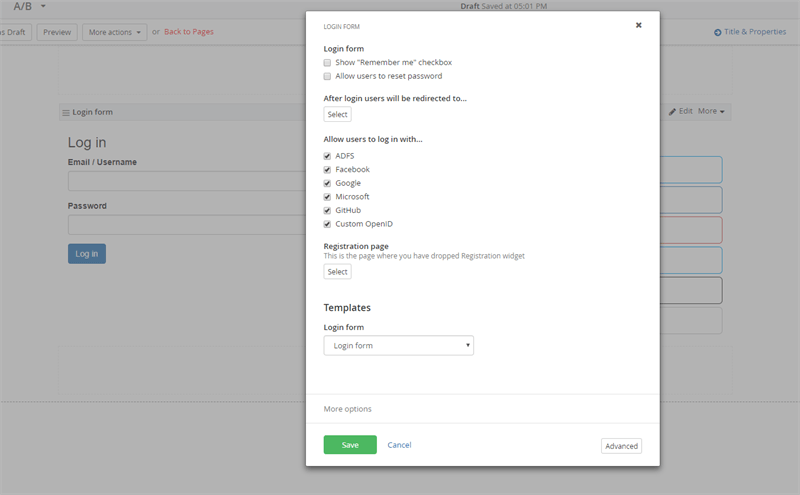
The buttons will appear next to the widget.
Authentication is one of the most important features of a modern web application. Sitefinity provides a straightforward way to implement SSO with popular external identity providers, so make sure to try them out to make your application accessible and secure.
New to Sitefinity and want to learn more about what it can do for you? Start a free trial today or contact us to schedule a demo.

