Sitefinity Basics: Exploring Forms

Forms allow us to create interactive pages and to collect user information. Let’s see how to build and manage forms in Sitefinity CMS.
Progress Sitefinity is a versatile content management system (CMS) designed to simplify web development while enabling sophisticated digital experiences. In previous articles, we’ve covered foundational features such as page templates and creating/managing pages. In this article, we’ll explore the basics of creating and managing forms in Sitefinity—an essential feature for collecting user information and building interactive webpages.
For more details about what Progress Sitefinity is and how it works, check out our previous article—What is Progress Sitefinity and How Does It Work?
Forms
Forms in Sitefinity allow content editors to collect various types of information from website visitors. Whether for capturing contact details, conducting surveys or gathering feedback, forms provide an easy-to-use interface for setting up structured data collection. Sitefinity’s Forms module allows even users without coding experience to create interactive forms and customize their layout to suit different requirements.
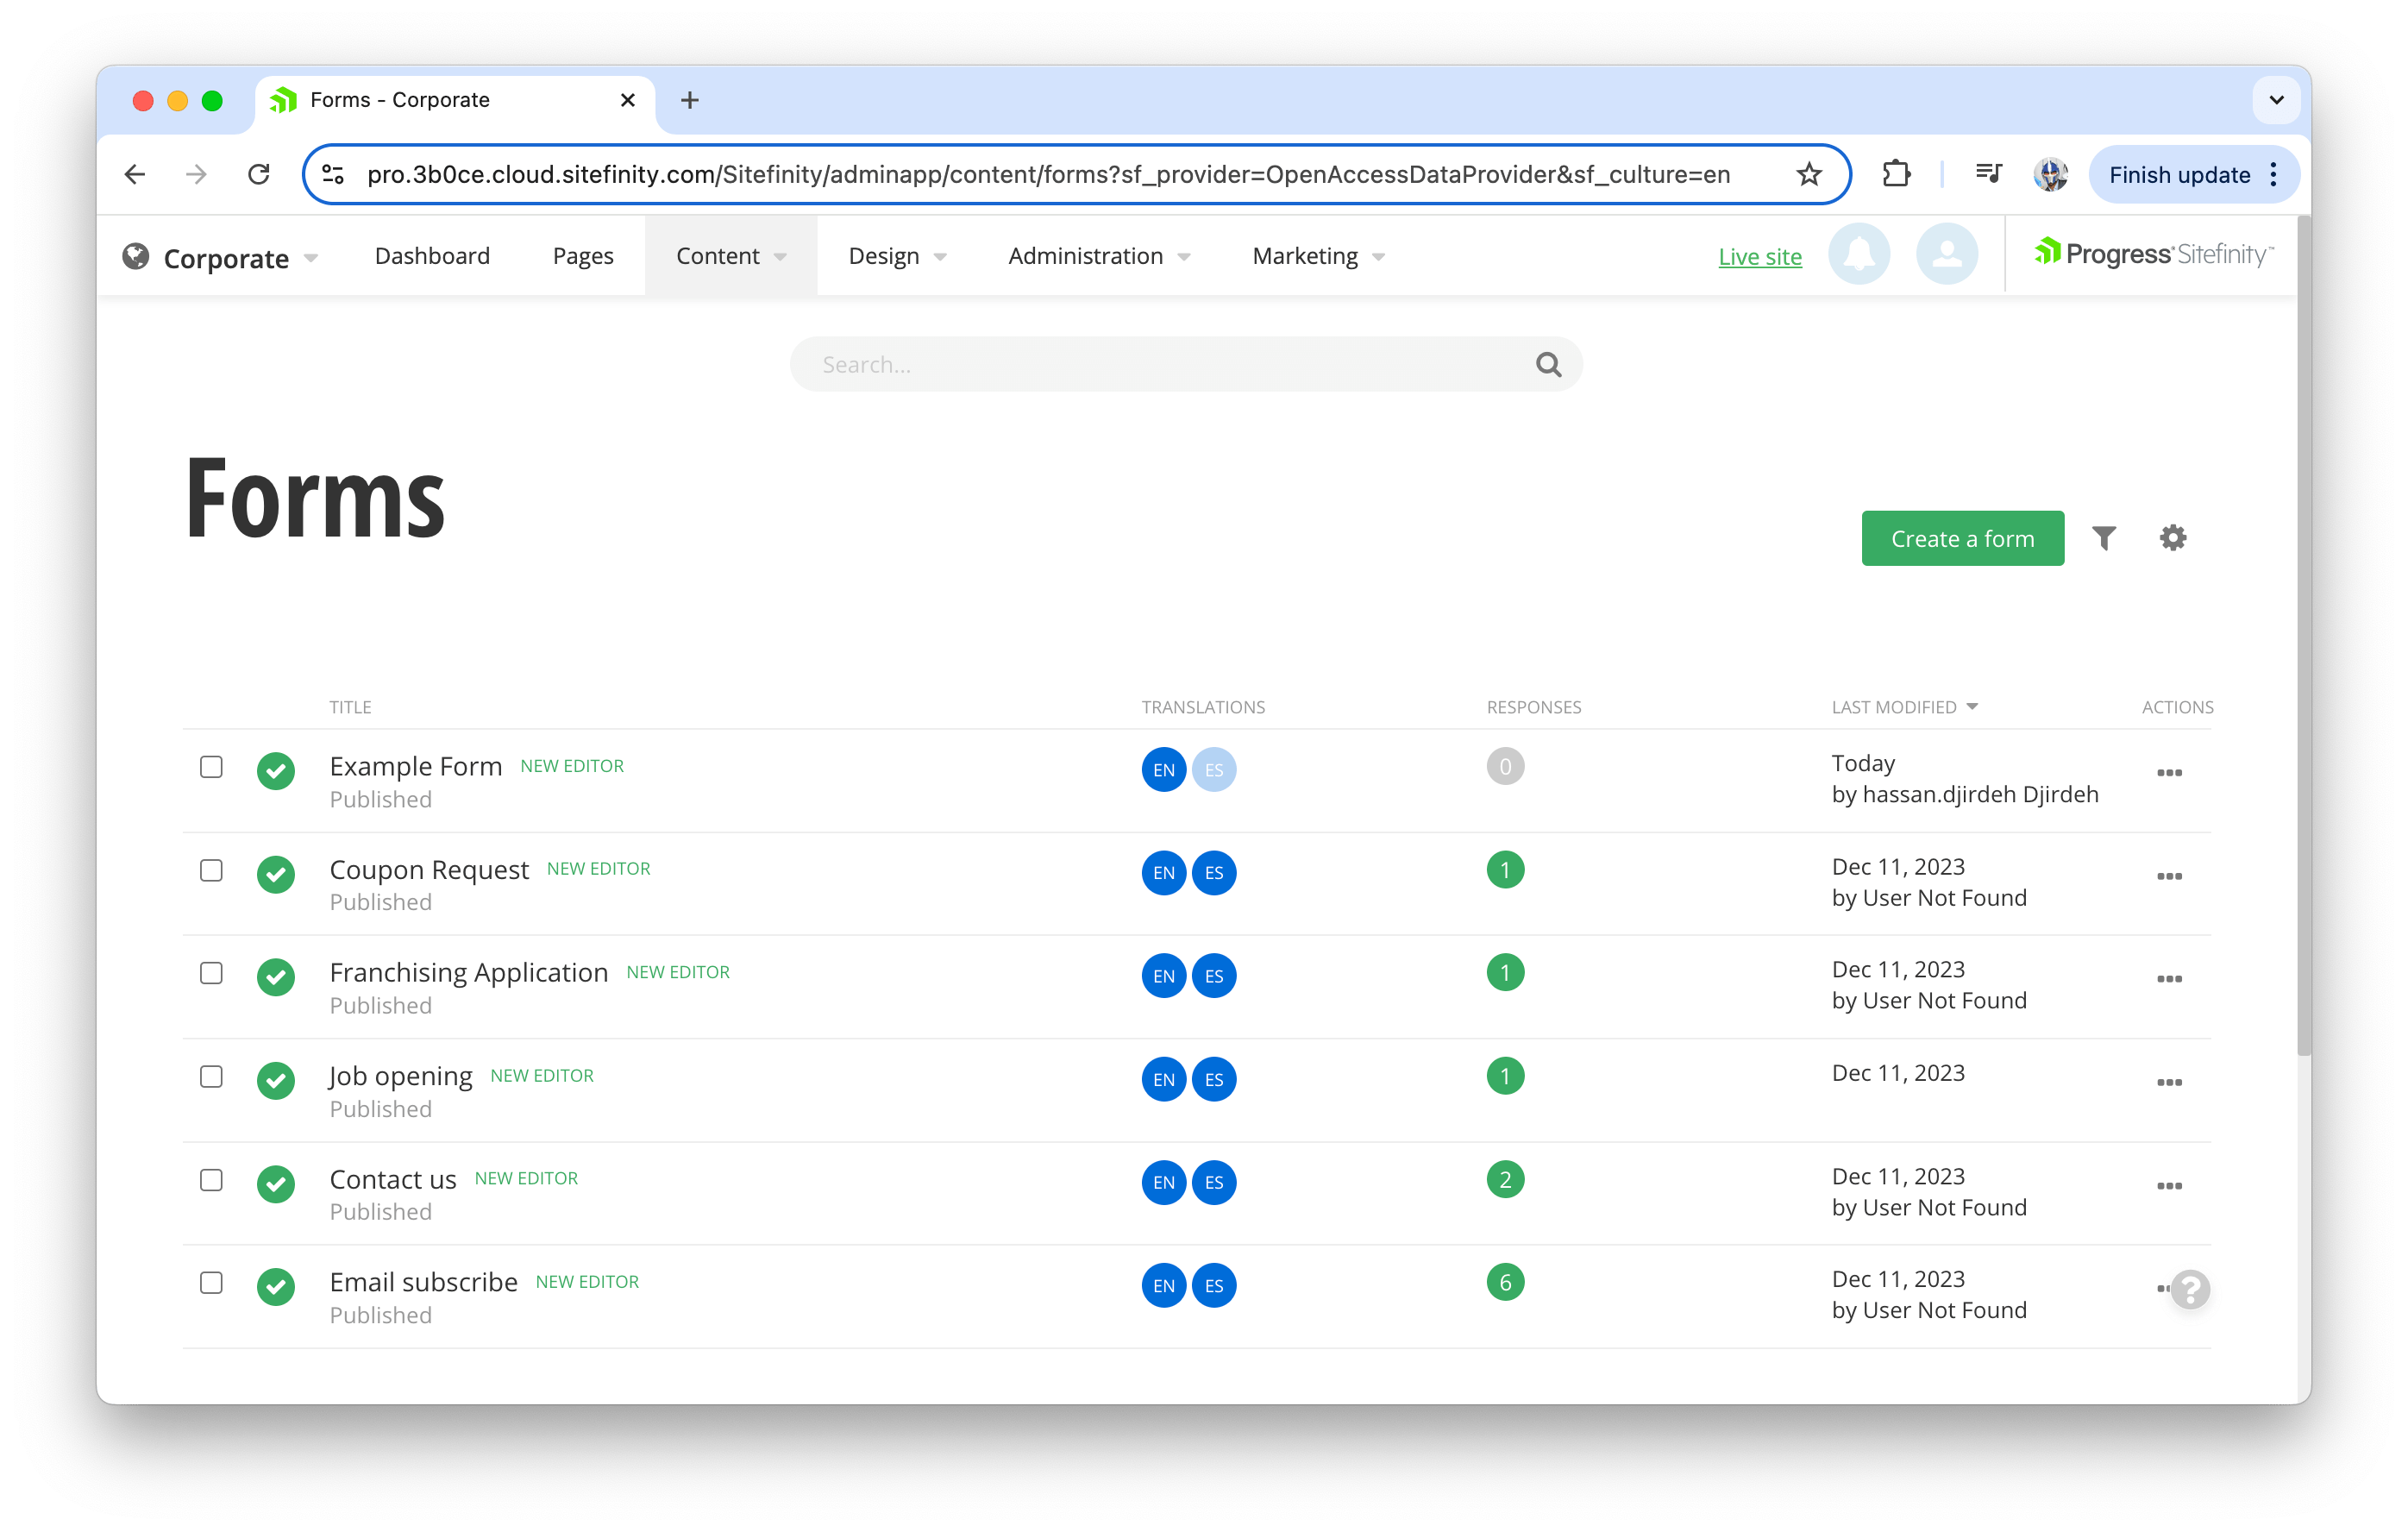
To create a new form in Sitefinity CMS, we can start by navigating to the Content section and selecting Forms. This displays a list of existing forms along with the option to create a new one.

Creating a New Form
Clicking the “Create a form” button initiates the process, prompting us to provide a title for the form, which will appear throughout the Sitefinity interface. Additionally, a code-friendly name is automatically generated for developers to reference the form programmatically. We can customize this name if needed.

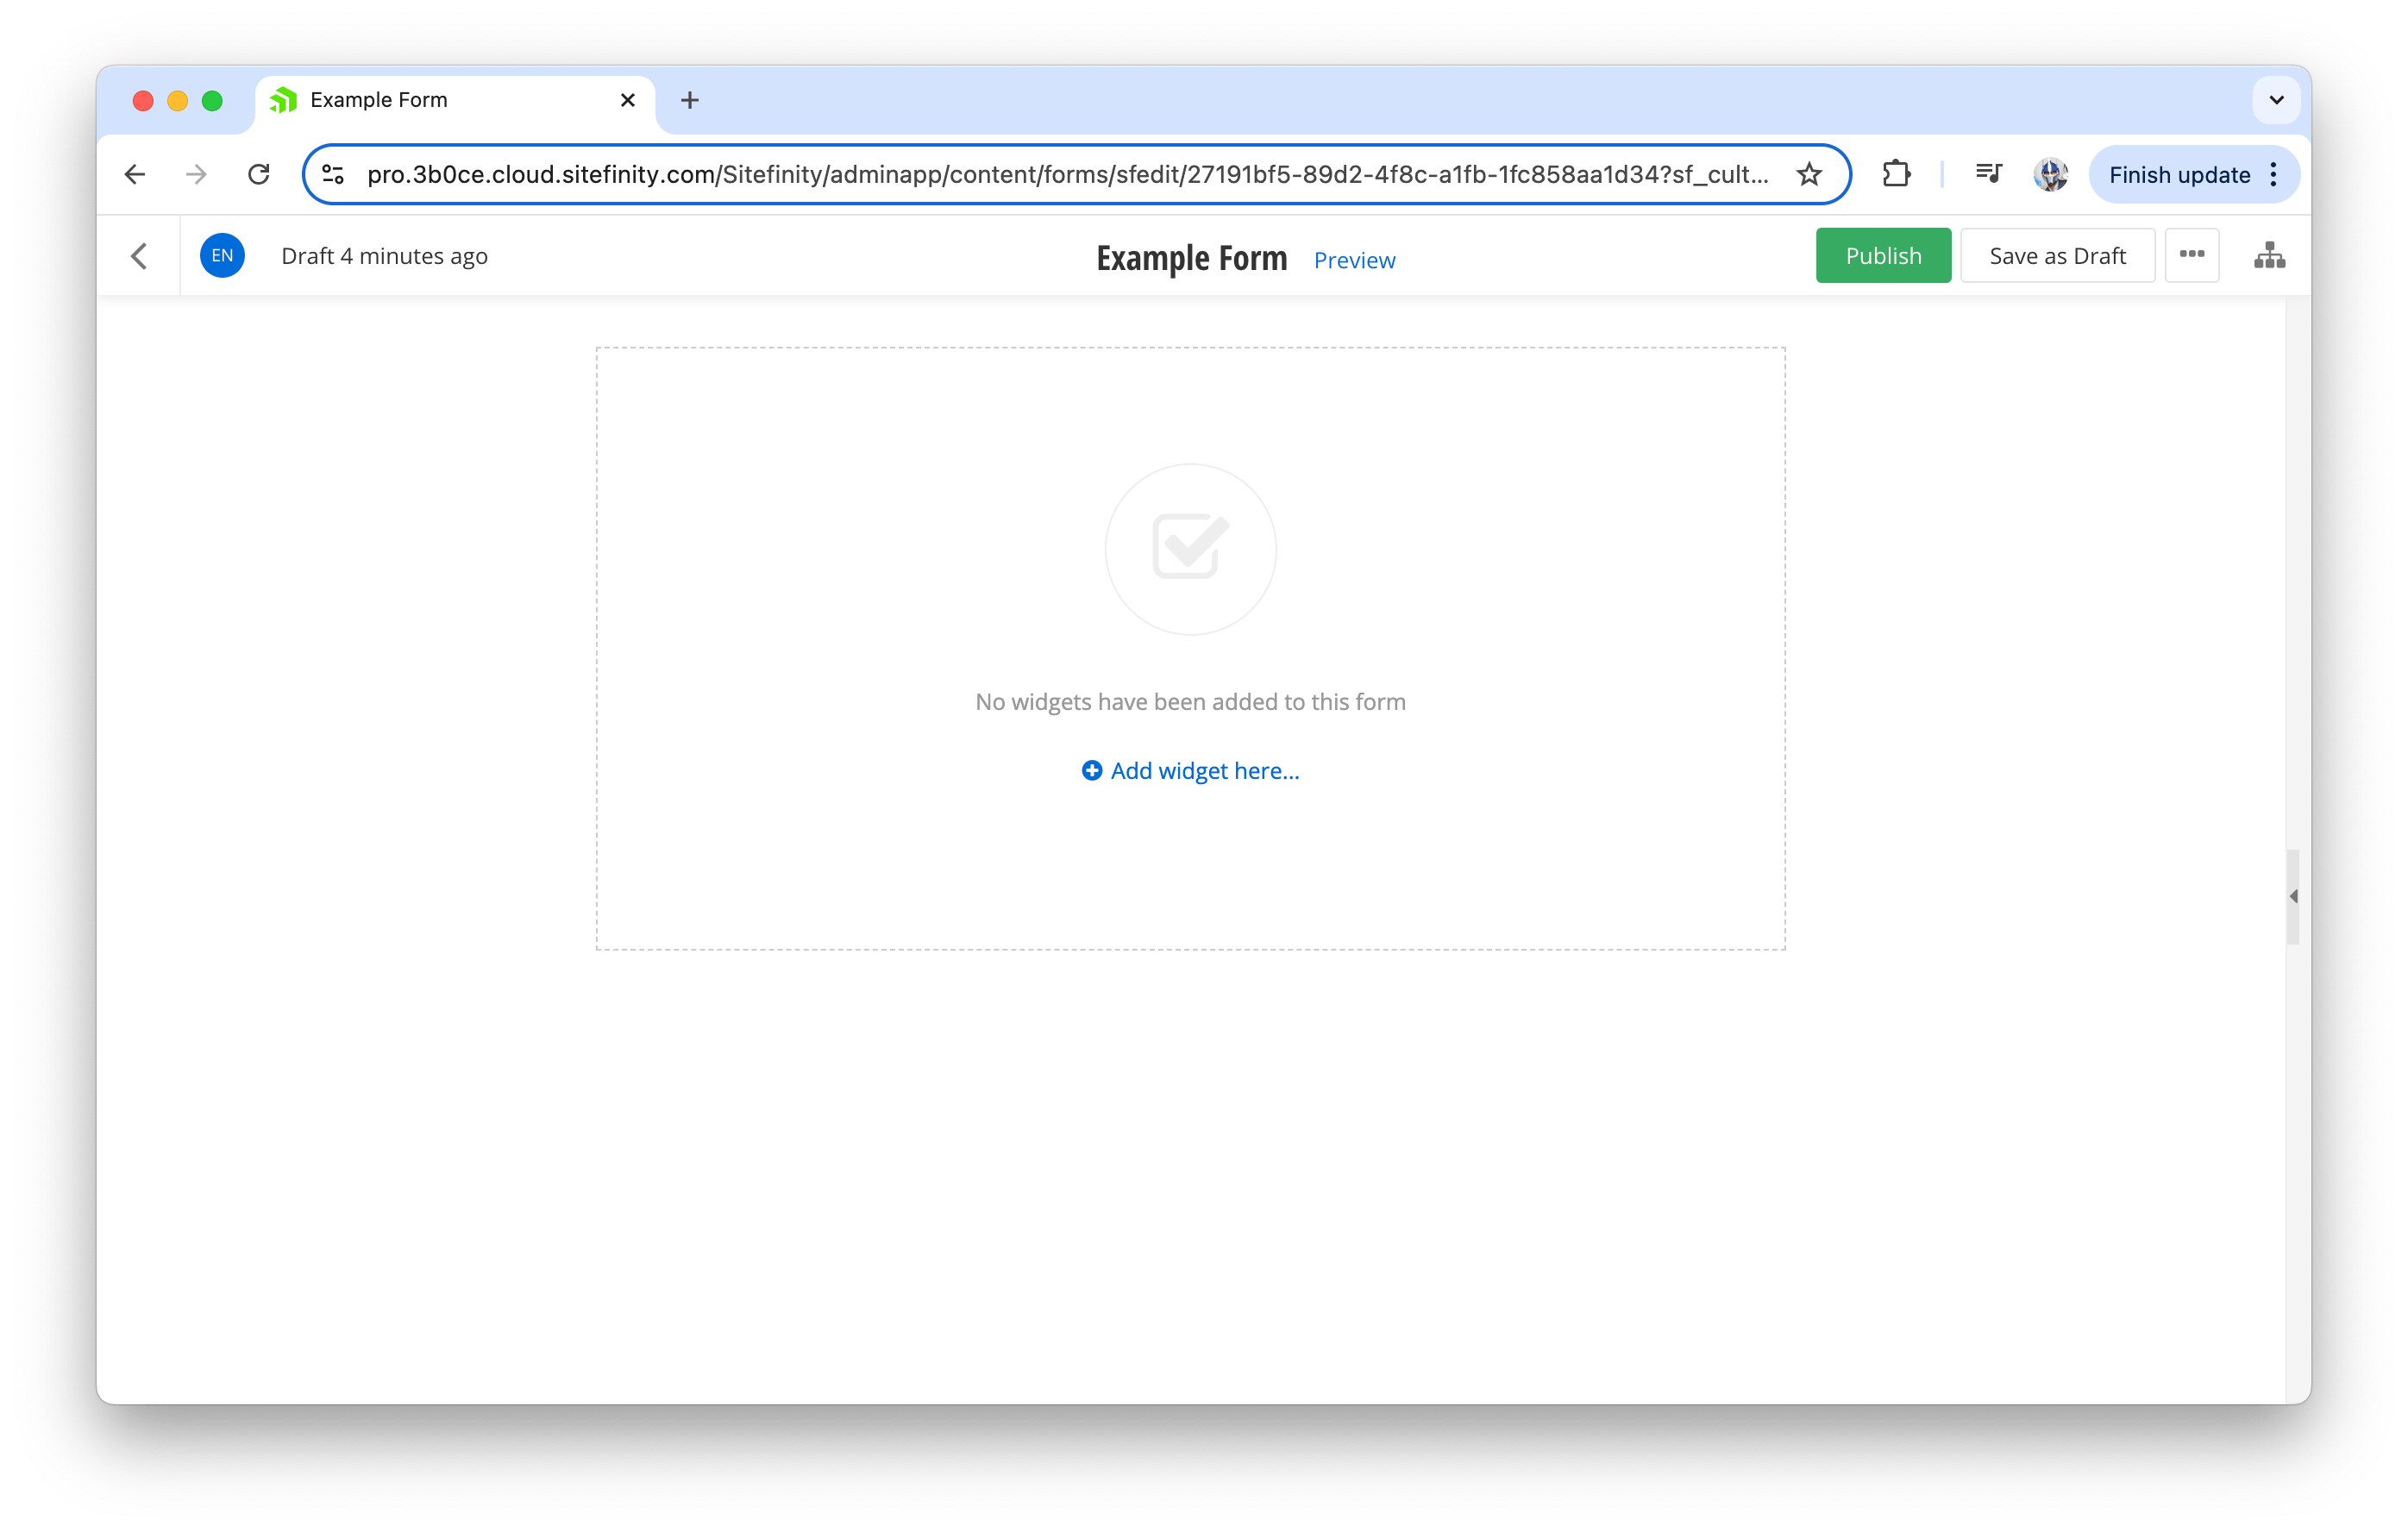
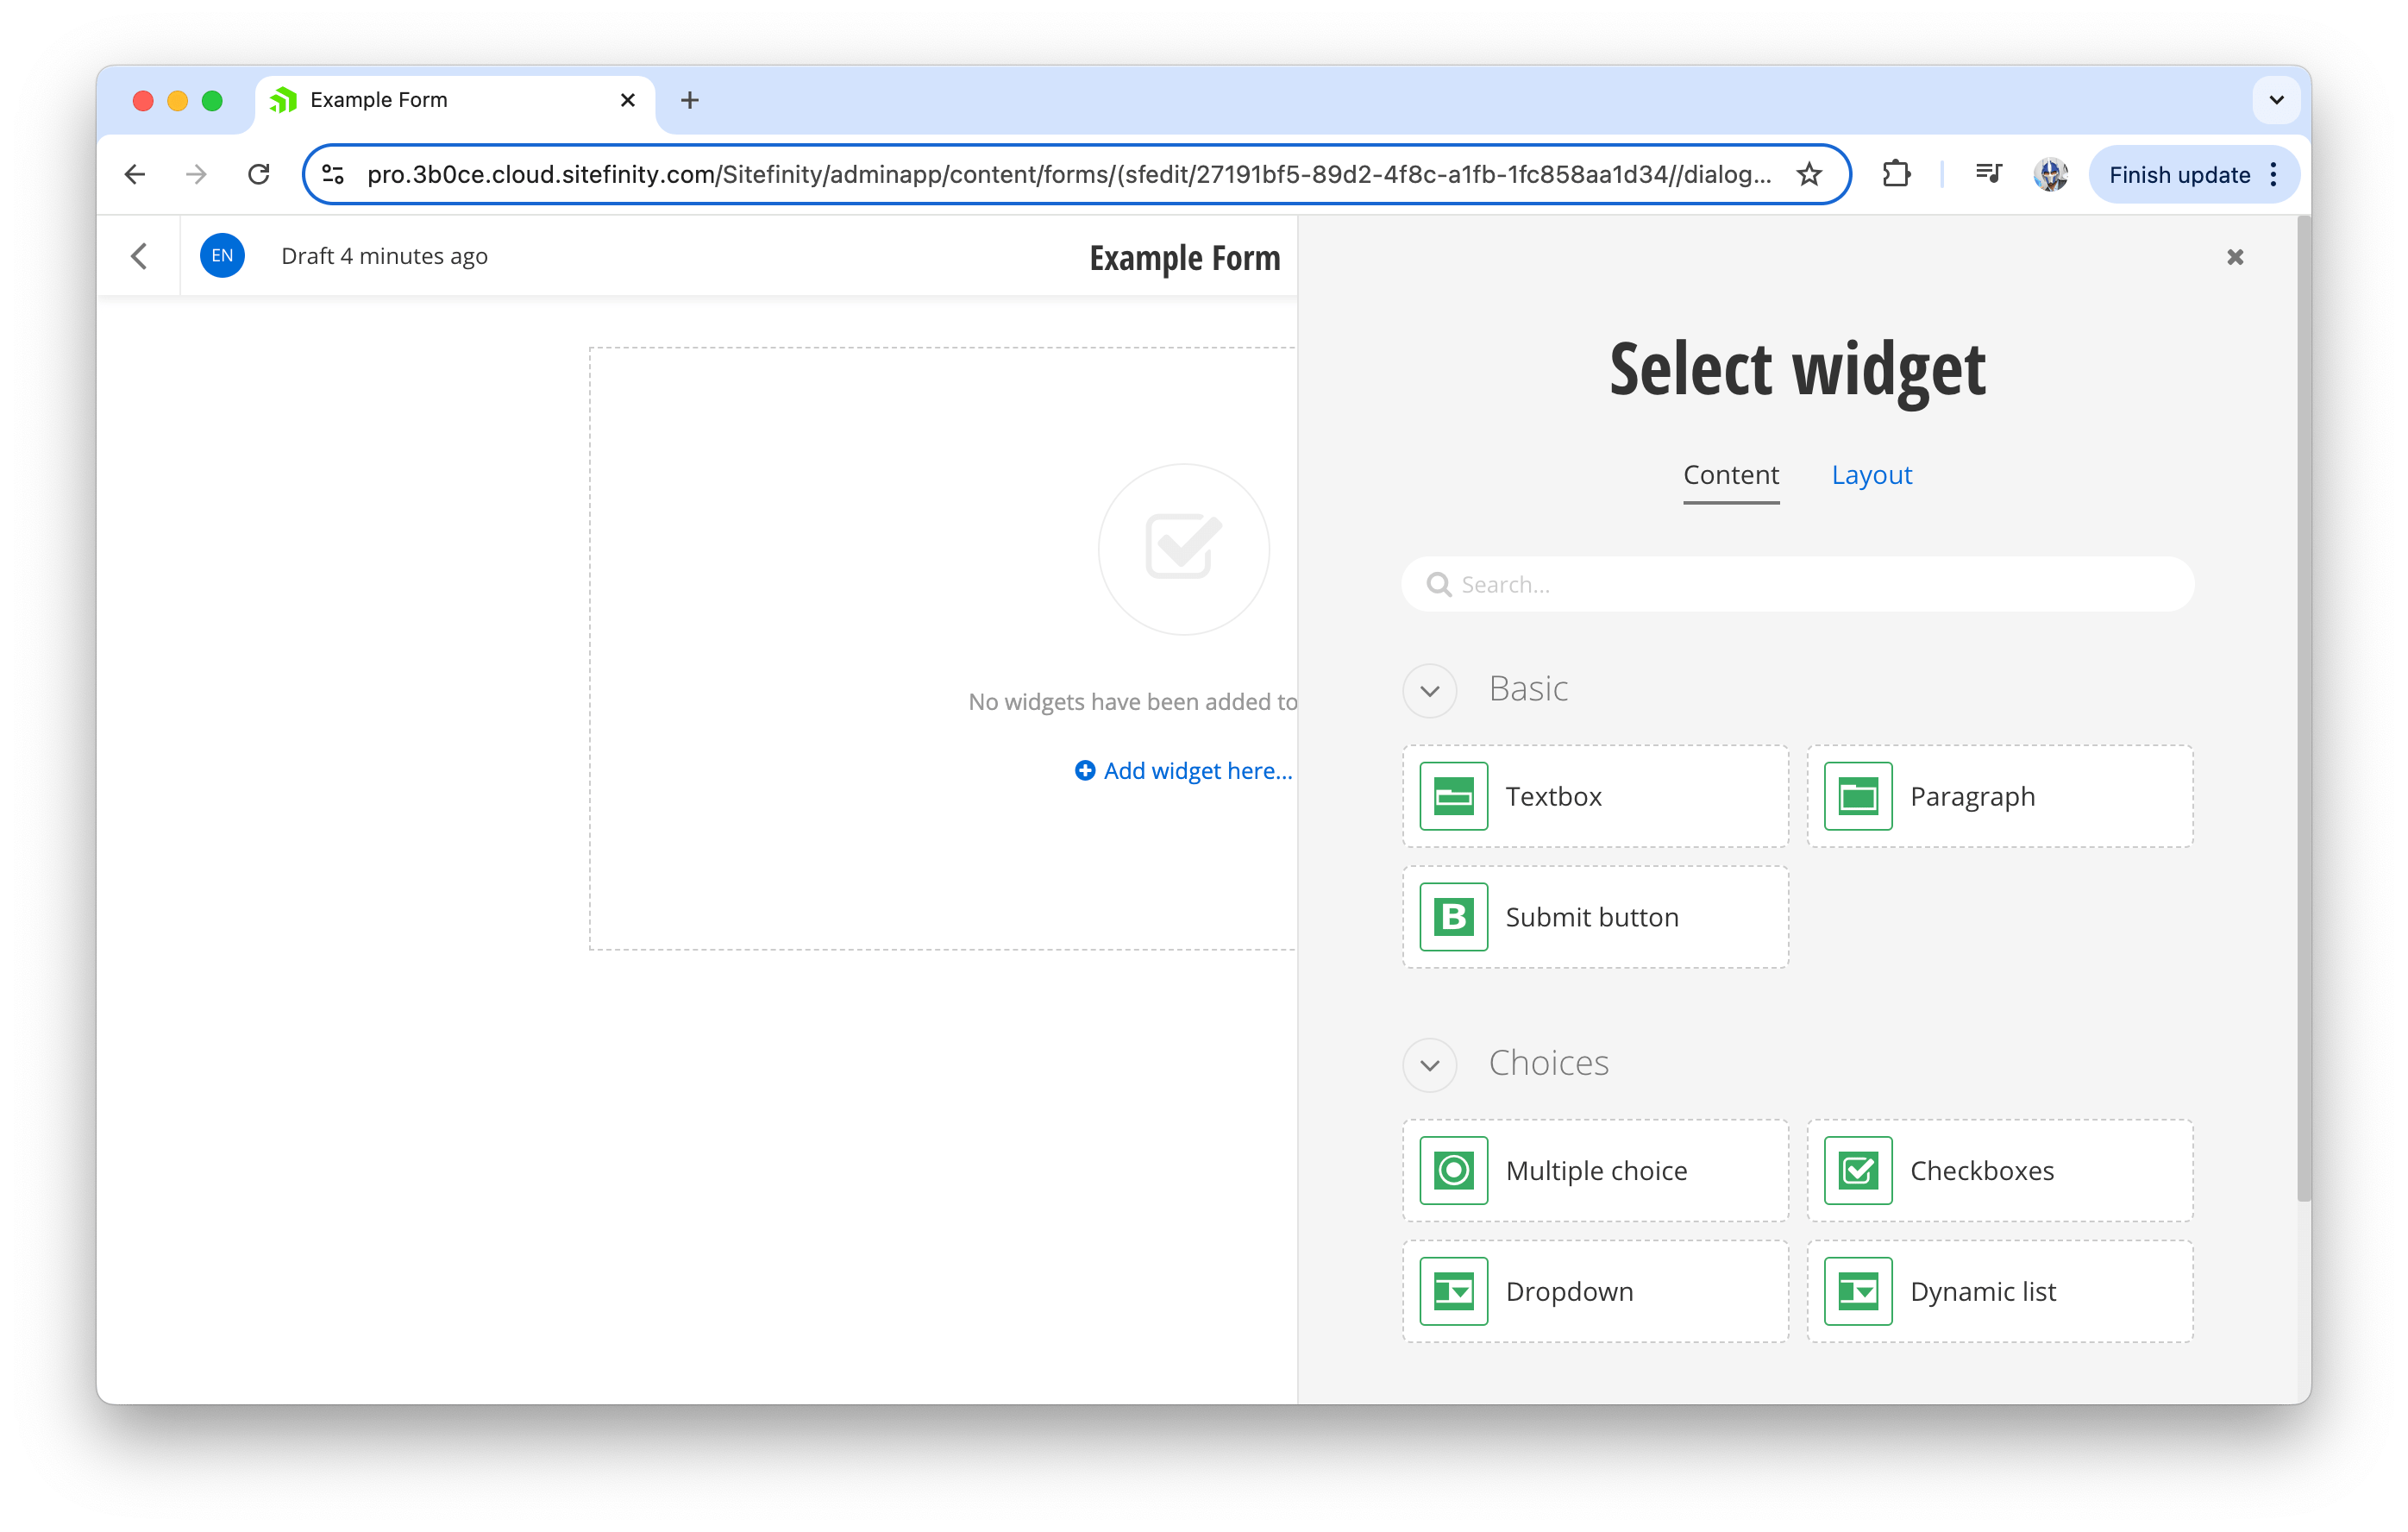
With the form created, the next step is to design its layout by adding various fields and widgets. Sitefinity provides a variety of built-in options, such as text boxes, paragraph fields, multiple-choice questions and dropdown menus, allowing for a highly customizable form experience. To add a field, we can click “Add widget here” and choose the appropriate widget for the form.
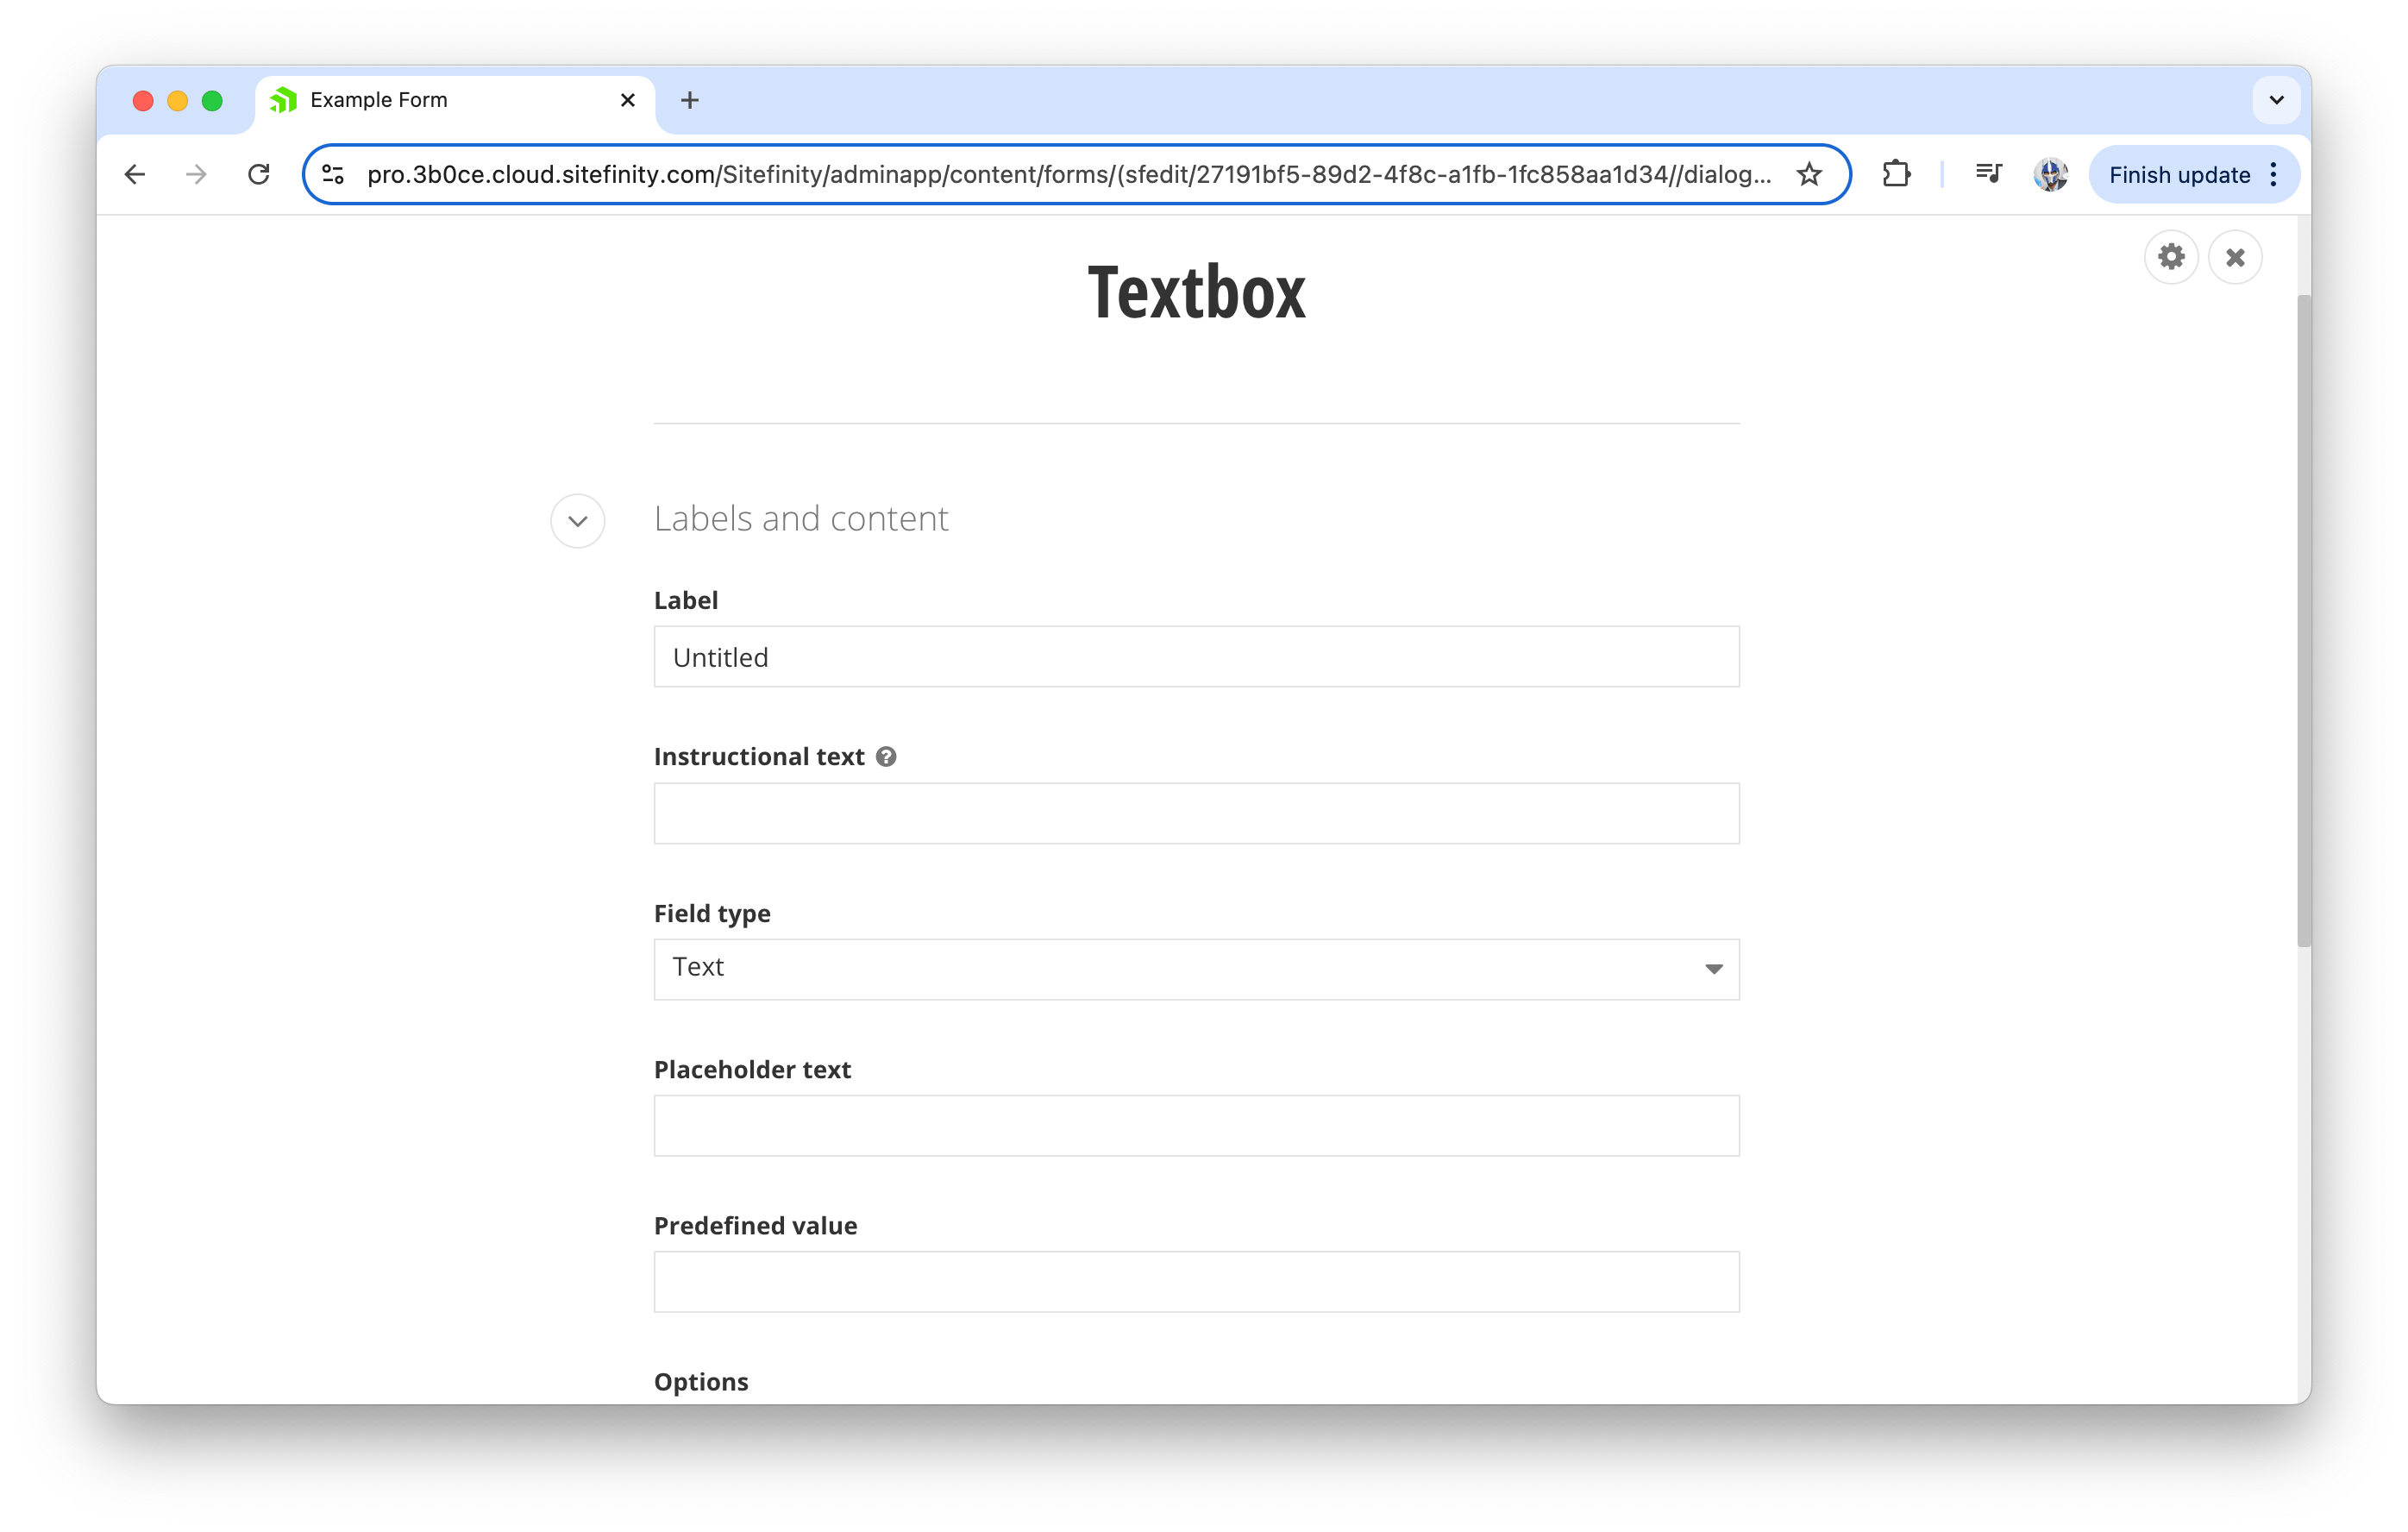
Each widget comes with its own configuration options. For example, we can customize the label, add instructional text, set placeholder values or define preset options for multiple-choice fields. These settings help to guide the user experience for more consistent data collection.
When a widget is selected, we can customize its settings to meet the form’s requirements, such as adjusting validation rules, setting character limits or marking fields as required.
For this example, we’ll create a simple form that includes a Name field, an Email field and a Feedback text area to effectively collect user input. Once we’ve configured the widgets, we can publish the form to make it immediately available.
Embedding the Form on a Page
After publishing, the form can be embedded on any page in Sitefinity using the Form widget. To do this, we can navigate to the desired page and select Add widget > Form from the available options.
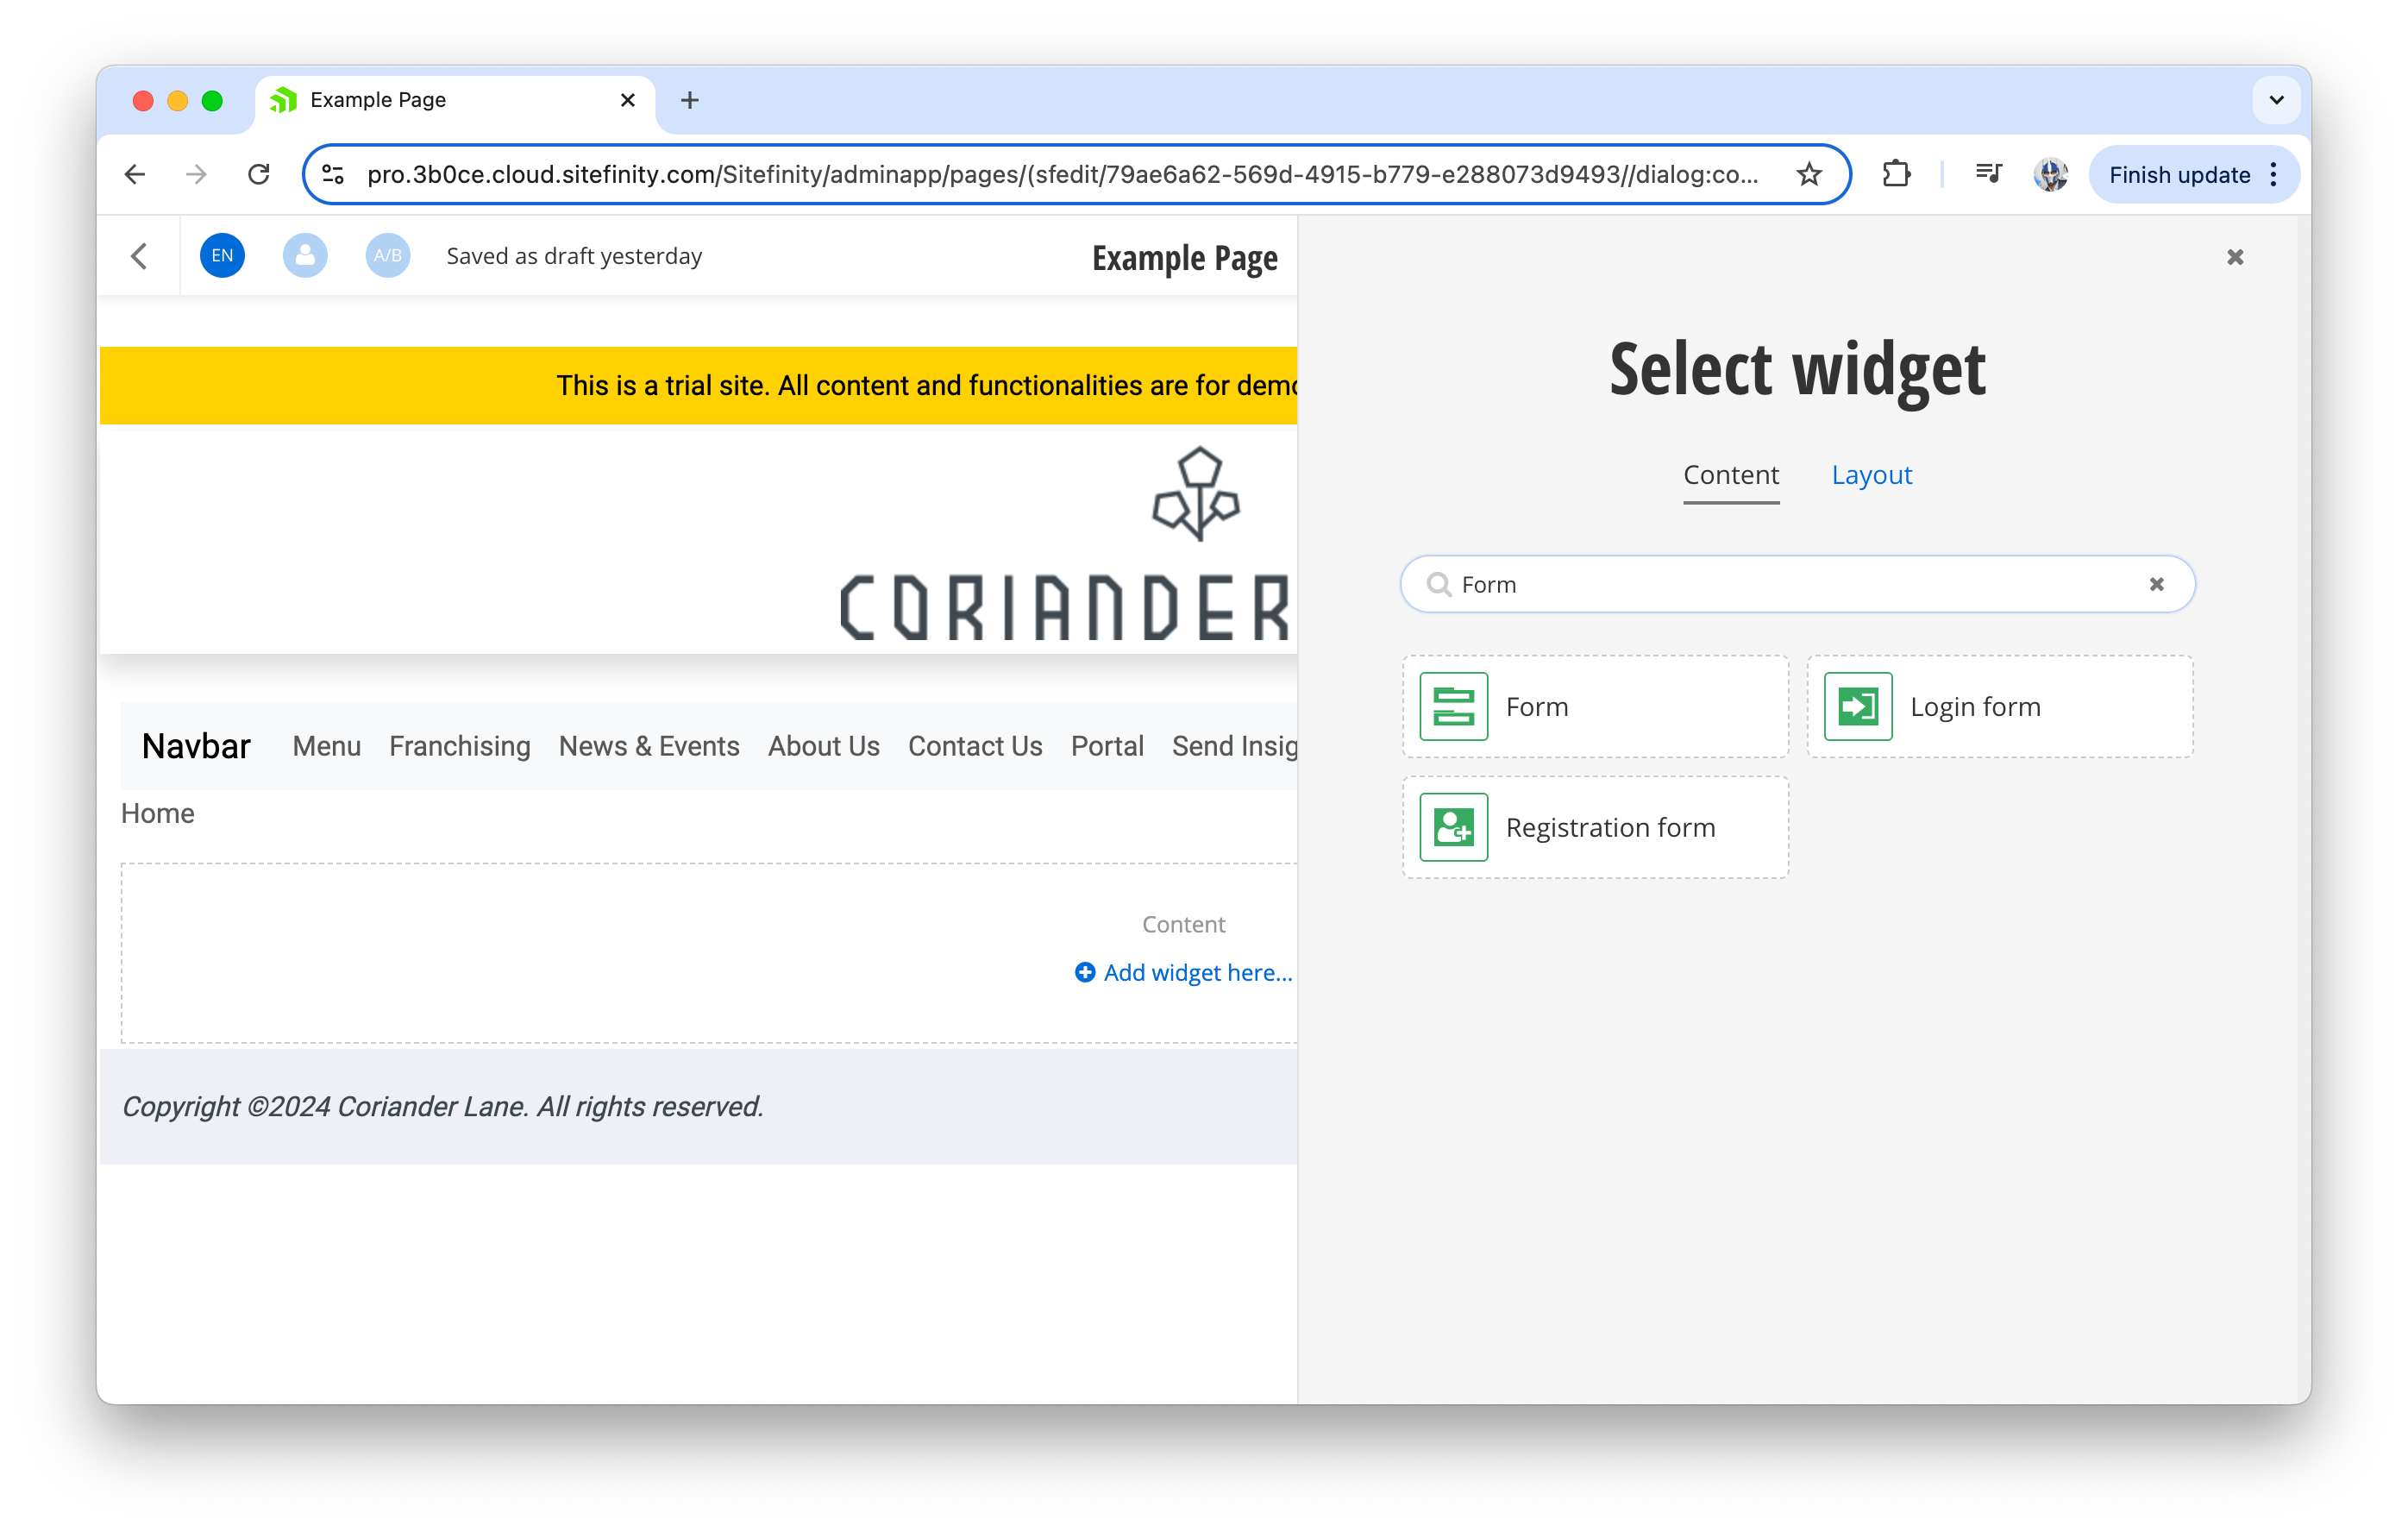
A dialog box will open, allowing us to choose the form you just created.
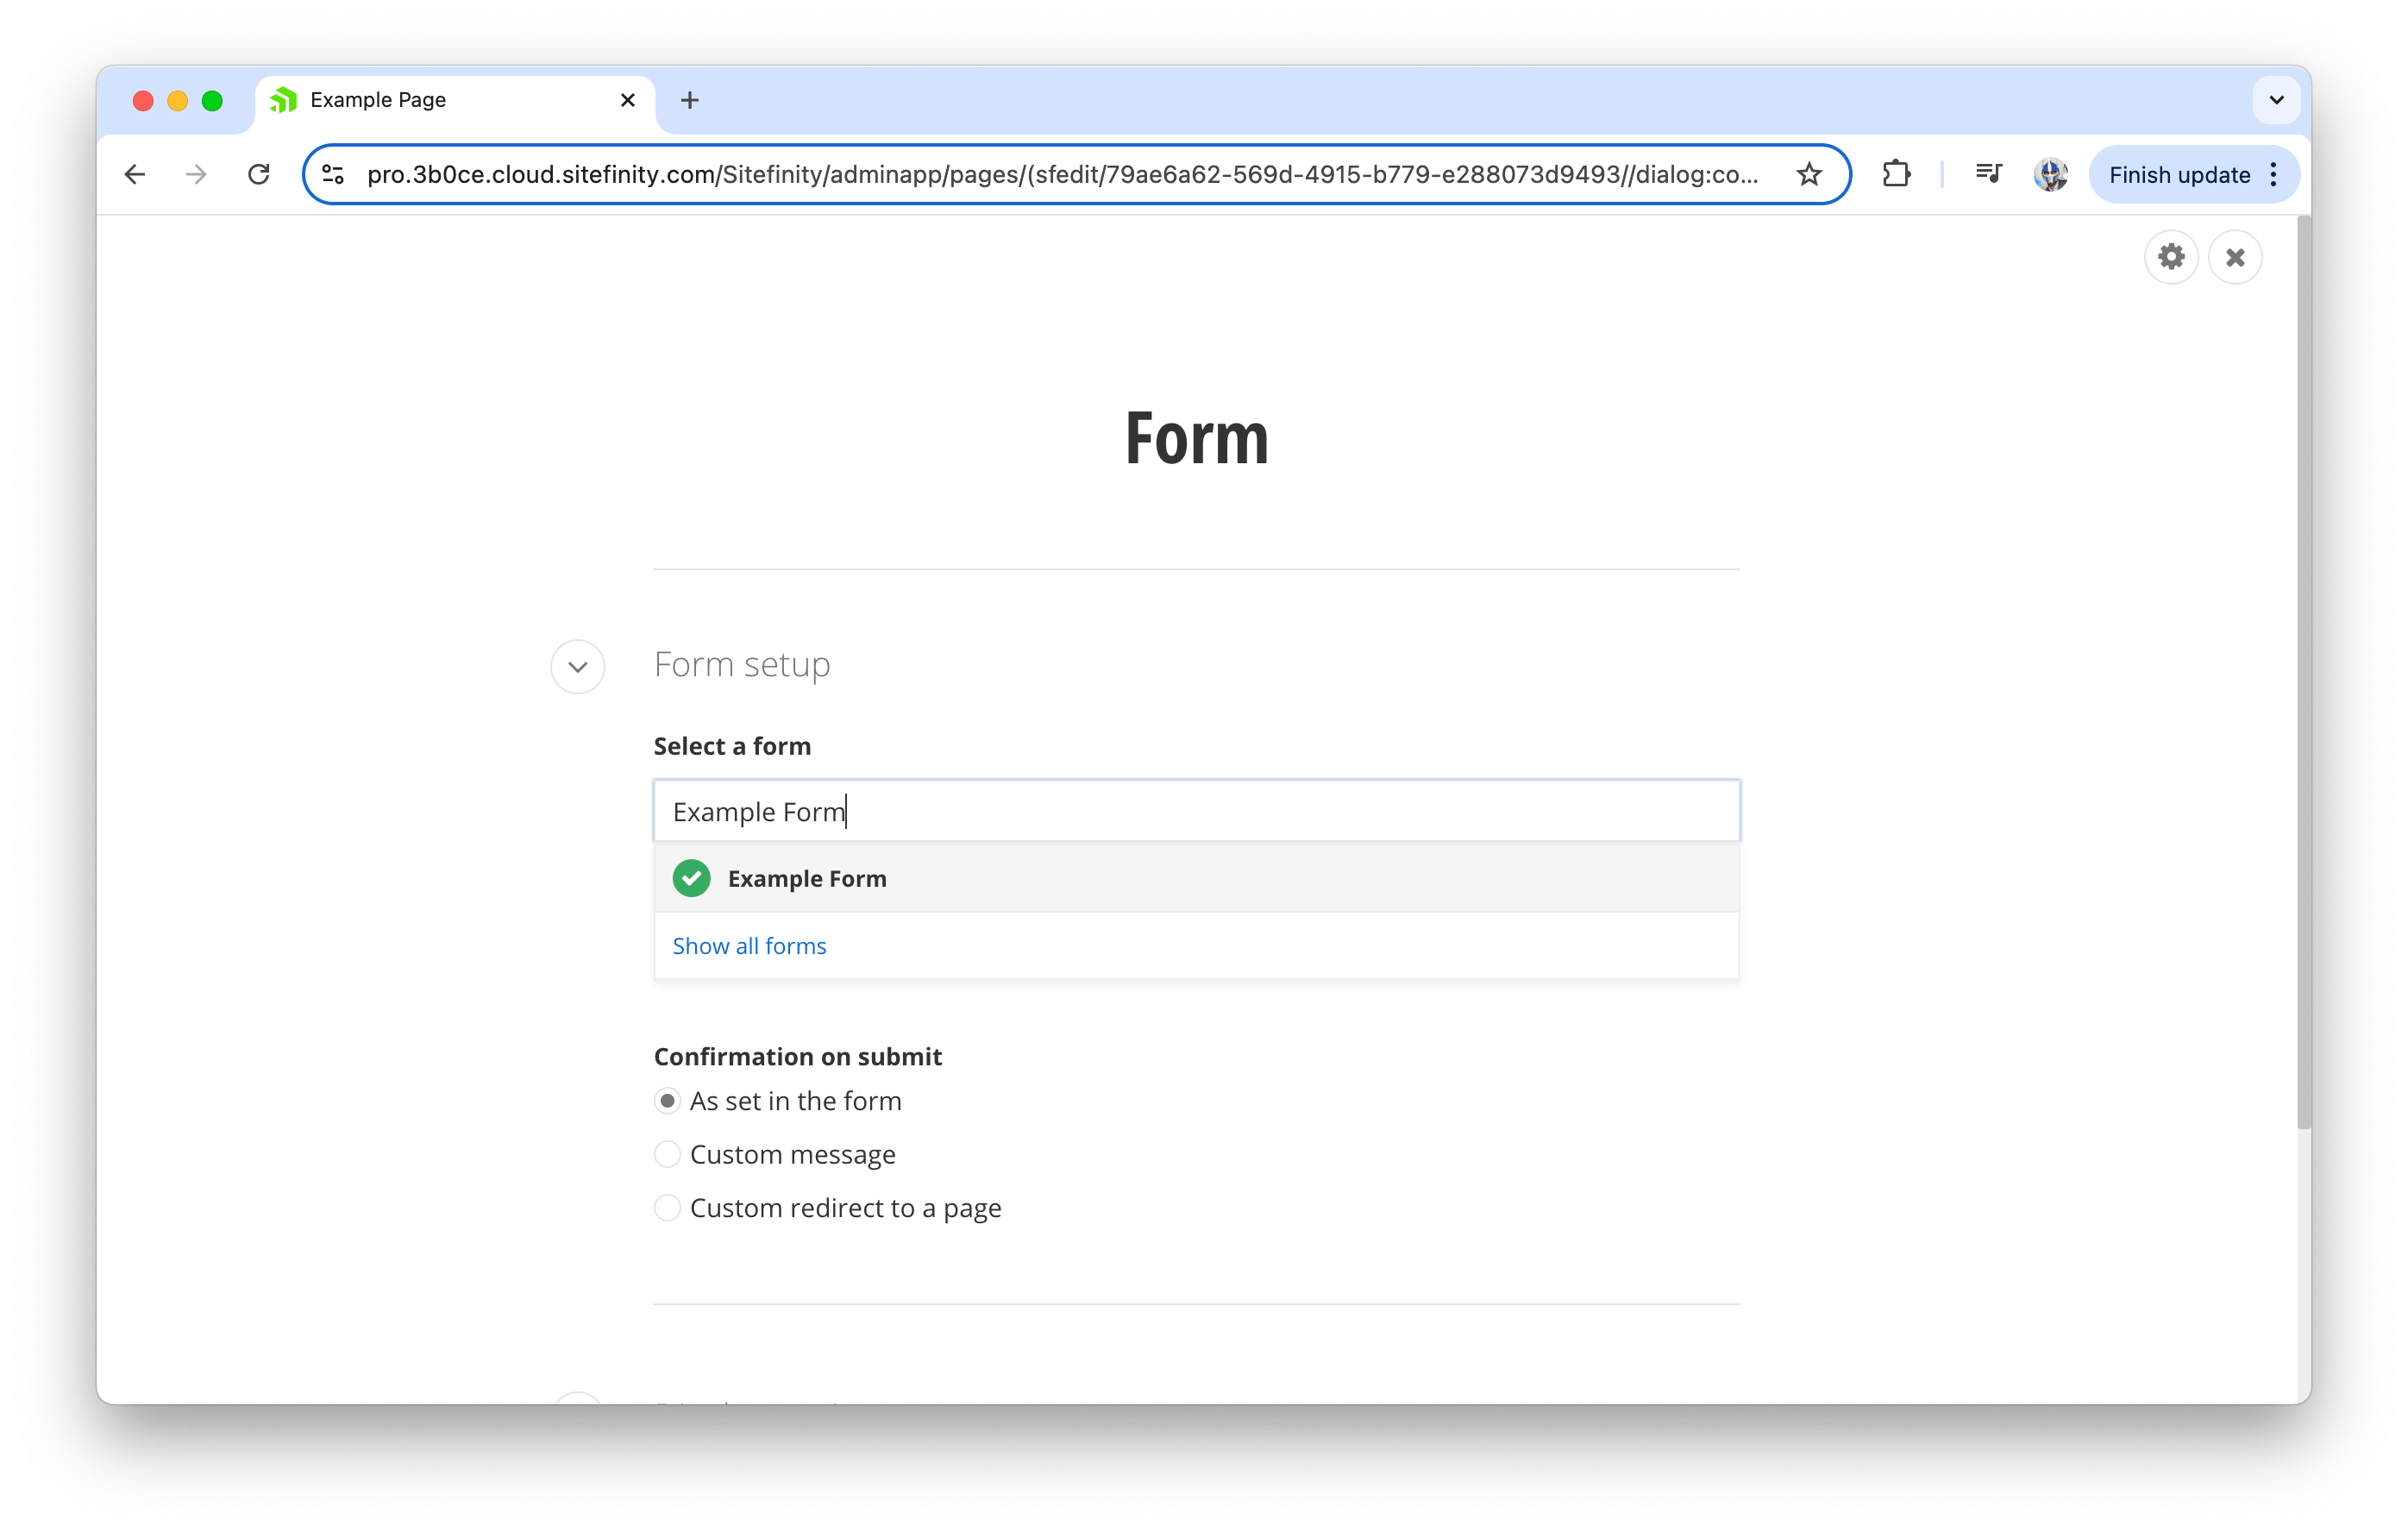
When adding the newly created form as a widget, we can configure the submission behavior, such as displaying a confirmation message or redirecting users to a custom page upon form completion. After the form widget is successfully added, we’ll have the option to preview how the form will look on the page.
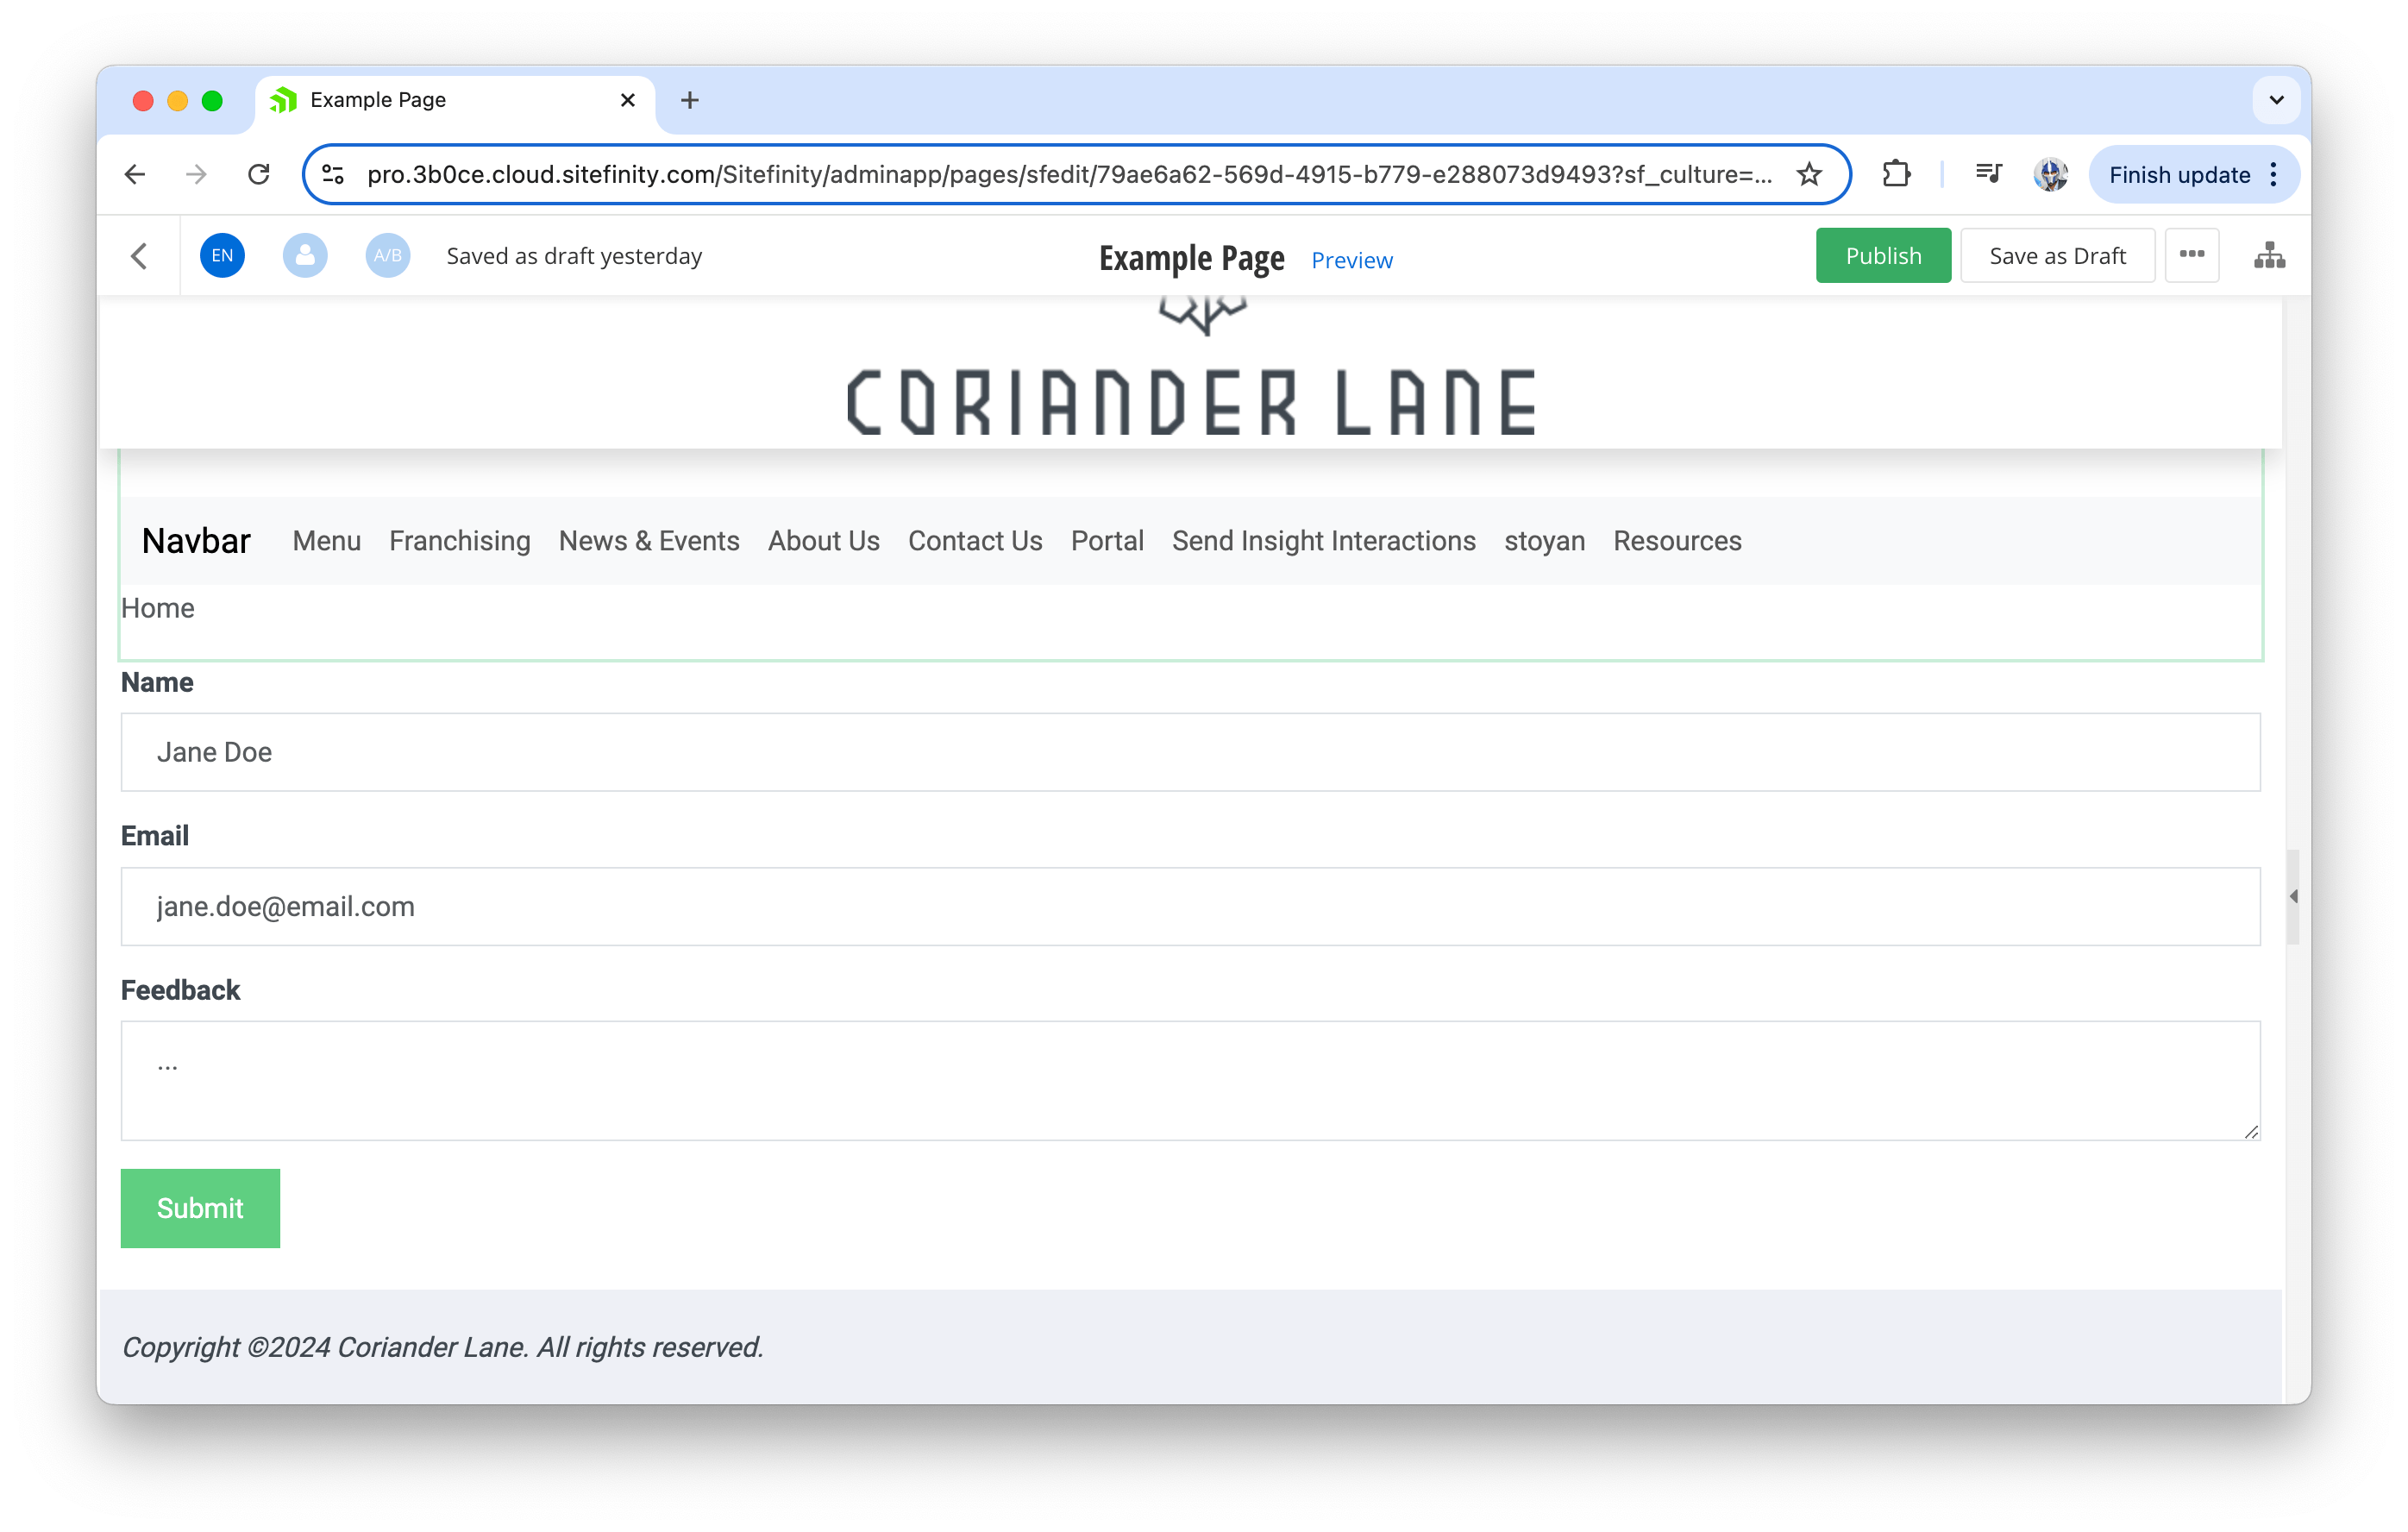
Here’s how our form will behave if we chose to display a confirmation message upon successful submission.
Wrap-up
Forms in Sitefinity CMS provide a straightforward way to collect valuable data from website visitors. By following the steps outlined in this article, we can quickly create forms, customize their layout and embed them across different pages. The ability to configure form behavior, such as confirmation messages or custom redirects, adds interactivity and enhances user engagement.
Additionally, all submitted form responses are automatically stored in Sitefinity, creating a centralized location for viewing and managing the data. We’ll cover how to access and analyze this data in more detail in future articles.
For more details on creating forms, refer to the official documentation: Progress Sitefinity Documentation — Create and design forms.

Hassan Djirdeh
Hassan is a senior front-end engineer and has helped build large production applications at-scale at organizations like Doordash, Instacart, and Shopify. Hassan is also a published author and course instructor where he’s helped thousands of students learn in-depth front-end engineering skills like React, Vue, TypeScript, and GraphQL.
