How to Create an A/B Test in Sitefinity

Learn the best practices for creating, deploying and analyzing effective A/B tests in Sitefinity.
Whether you are new to A/B testing in general or new to Sitefinity A/B testing, creating your first A/B test can seem a bit daunting. To be honest, it is a lot easier than you think, especially when using Sitefinity.
If this is your first time doing A/B testing please read my Getting Started with AB Testing post before you continue reading this.
While there are several standalone A/B testing solutions available in the marketplace, Sitefinity offers A/B testing functionality built right in the CMS. No need to spend time and money on integrating an external solution, when it is available in a system you are already using to manage your web content (or should be using 😊). Let’s create your first test!
Define Your A/B Test
Create a Test
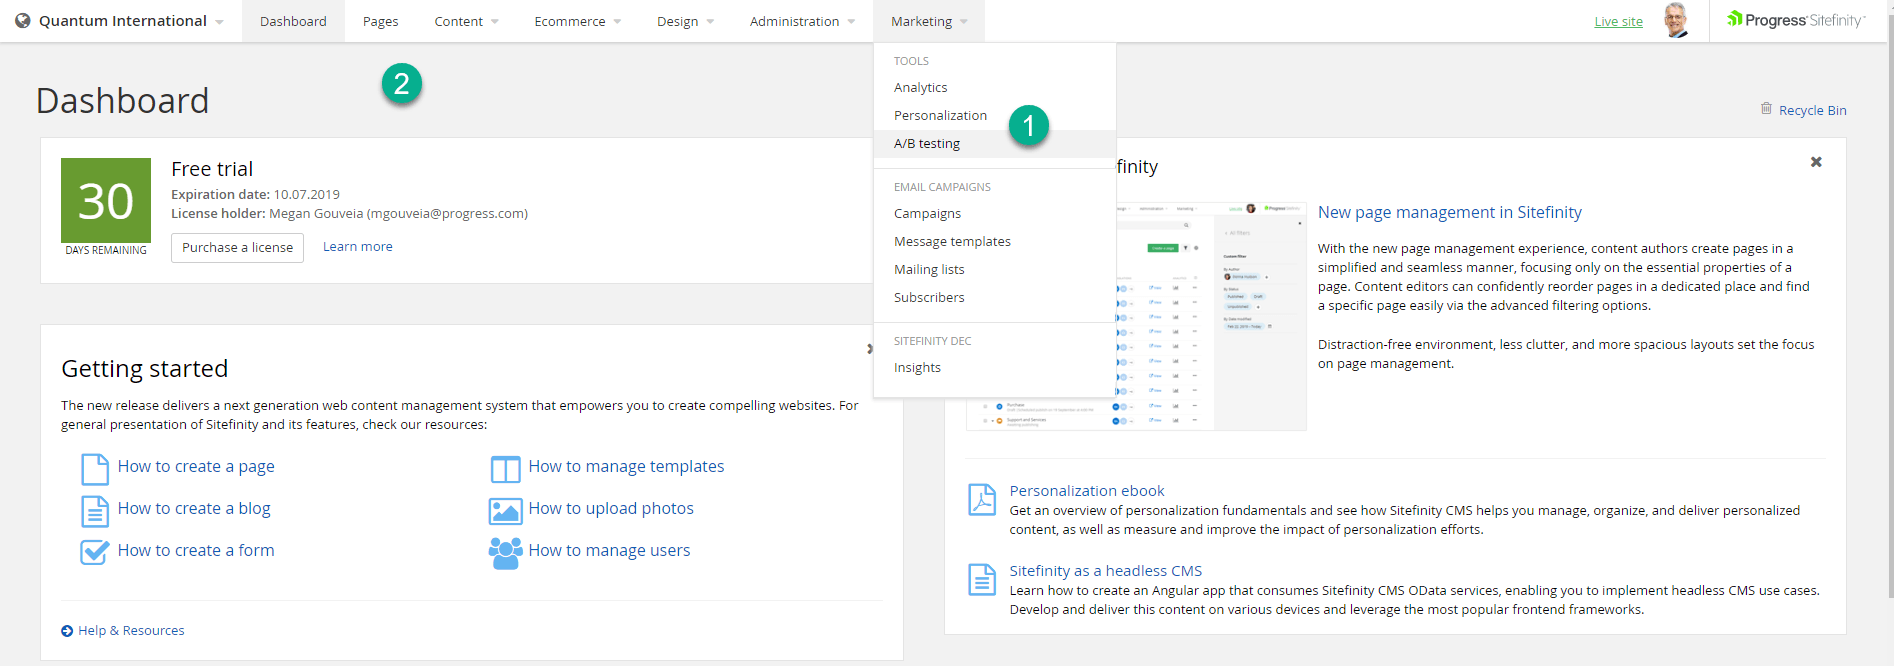
There are two ways to create an A/B test in Sitefinity. The first way is navigating directly to the page you want to conduct your experiment on. Once the page renders, select A/B testing from the top left-hand corner of the page, and click on the create test button. The other way is to select A/B Testing under Marketing in the main Sitefinity navigation, and then select create a test.
No matter how you create your test, the same screen will appear. This is where you define your experiment.
Title
When naming your experiment, the name should be unique to your test, yet descriptive enough so that you can clearly understand what it is that you are testing.
At Progress, we use a unique number plus an abbreviation for the product line we are testing, and then add a short description of what is being tested. For example, 00100-Sitefinity-TryNowCTA (This is our 100th experiment run, the product is Sitefinity, and we are testing the Try Now Call to Action.) We recommend keeping a log of all experiments, so that you have a quick reference of both active as well as old experiments. We even include the hypothesis, data run as well as results in this log, so that it is all in one place.
Description
The description field is an optional field, but one that I recommend using. This is a useful place to include your hypothesis. Putting it here keeps it top of mind and close to your experiment, so that you know exactly what you are testing and why.
Start and Stop Dates
One great thing about the start and stop dates is that they are optional. If you don’t put in a date, then your test will automatically start when the page is published.
However, you can set a future date on which you would like the test to start and / or end. I like setting dates so that we can publish our experiments at the beginning of the week. Doing so enables us to look at it from a week over week perspective, always with the same number of non-working days.
Variations
You can have several variations, although one or two variations seems to be most manageable in my opinion. This is especially important if you have concerns over the volume of traffic to your pages. This may seem obvious, but it is something we forget—the more variations you have the less traffic will be allocated to each variation. This may result in the experiment running for a longer period of time.
We can also give our variations a name other than variation. It is a great opportunity to connect it to the experiment name, while giving a brief hint of what is different in your variation. For example, if you have two different calls to action, you may name one –trial, and the other –demo so you don’t have to remember which CTA was in which variation.
Goals
The last thing that you need to do is create a goal. Right from this same screen, you can select the goal you wish to measure your experiment with. You can choose from three options:
- Next page viewed—This can be any page from the website
- Form submission—This tracks any Sitefinity CMS form on the page variations (for example, the Contact Us form)
- Sitefinity Insight conversion—You can select from the list with conversion goals you defined in Sitefinity Insight
What happens when there is a goal that you want to measure that isn’t in any of these lists? Just create it as a conversion in Sitefinity Insight and start tracking it.
You may also have more than one goal that you wish to track, but you can only have one primary goal.Only one will decide if this test was a success or not.
Demo: Learn how to define your experiment within Sitefinity in the segment below from my presentation at ProgressNEXT 2019.
Create Your Optimization
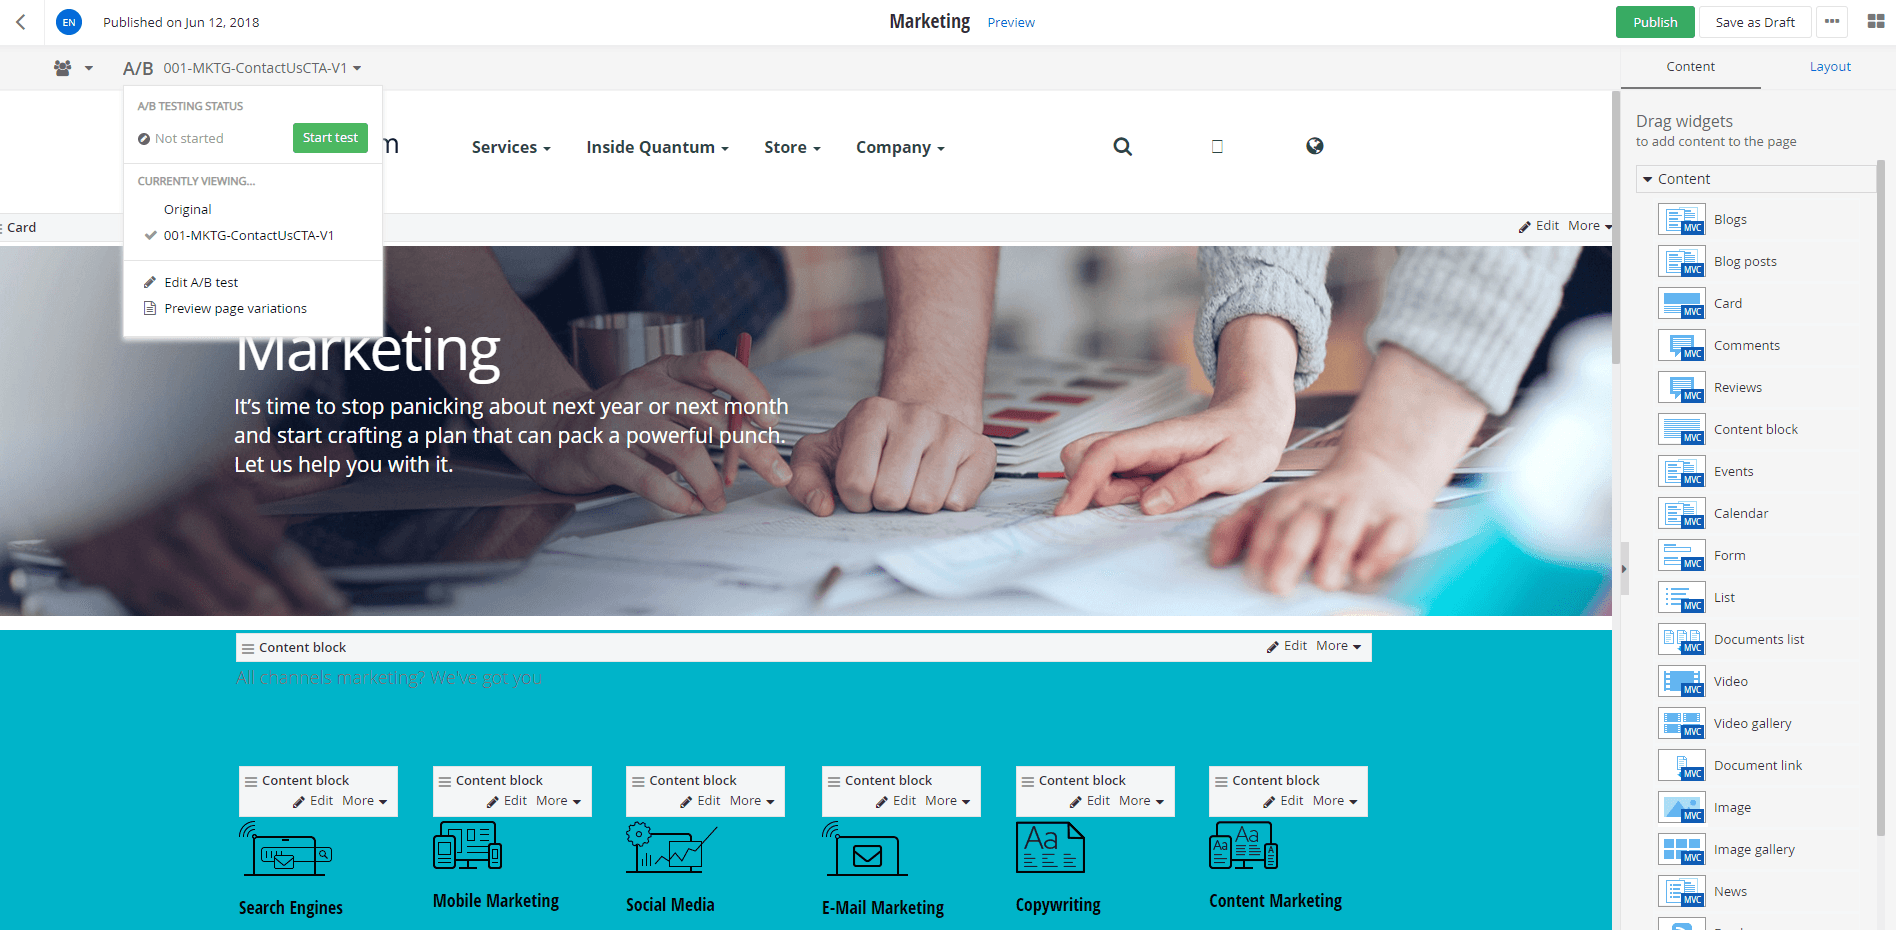
Once we have defined our test, we are brought back to our page and are ready to optimize. Before we start, we need to be sure we are on the correct version of that page. There is a little checkbox on the A/B test drop down menu to confirm which version you are on.
Now that you are on your variation, all you need to do is edit the page just as you would any other page. Select Edit on the widget you wish to change and start making your optimizations.
Once you have made your edits, be sure to save the page. Before you publish and start your experiment, preview and check to make sure the page looks and functions as you intended. You can do this by selecting the preview link on the top of the page. A preview page will then open in a new tab for you to review.
I highly recommend testing this out on various browsers and devices to make sure it looks the way you want it to, and that it clicks through properly.
Now we are ready to publish. Not only do we need to publish our version of the page, but we need to also start the test. To do so, simply drop down that A/B test menu again and click on the green “Start test” button. The hard part is done, now we let it run.
Demo: Below, watch how easy it is to create an the optimization in Siteifnity, in this segment of my presentation from ProgressNEXT 2019.
The Results
One of the other great things about having A/B testing functionality right inside your CMS is that we can access the results right from within as well. Now there are two ways of checking the results. The first way is to select the results link next to the A/B test from the pages menu. This will link you right into the A/B testing results section of Sitefinity Insight.
The other way to view the results is from the A/B testing menu.
From here, all we need to do is click on the little graph in the results section, and this will bring us directly into the results within Sitefinity Insight.
Once an experiment reaches statistical significance, Sitefinity Insight will award a winner, highlighted in green.
Not only will the results show you which variation is the winner, but also how long it has run for, the number of visitors who were in your experiment as well as details on the goals completed: goal completion rate, goal completions, visitors, improvement against the baseline, and finally a statistical significance rating of high or low. If it is above 95% significance, you will get a high rating, if under 95% you will get a low rating.
Once your test ends—not just stops, but ends—you have the choice to either select a version that you would like to deploy as the new version or make one of the versions a draft from which to build.
Congratulations... you ran your first A/B test!
Demo: See how easily you an access your results in Sitefinity Insight directly from Sitefinity in this segment of my presentation at ProgressNEXT 2019.
Don’t stop there! You are just getting started. There is a wealth of experiments you can run. Analyze those results. Turn your insights into a new hypothesis and keep on testing.
Be on the lookout for my next post on Conversion Rate Optimization (CRO) best practices I've learned along the way.


